
Let's begin with retrieving your Salesforce metadata and storing it in a GitHub repository.
Create a GitHub Repository for your Project
Your GitHub repository will be the source of truth of your Behavior App. From there, you will source-control your app metadata and Fielo configurations.
Requirements:
- Github user
Steps to create a new repository:
- Navigate to your personal GitHub (
https://github.com/<your username>/) - Click on the Repositories tab.
- Click new.
- Enter a name that fits your repository.
- Leave the default values.
- Click on Create repository.
Example:
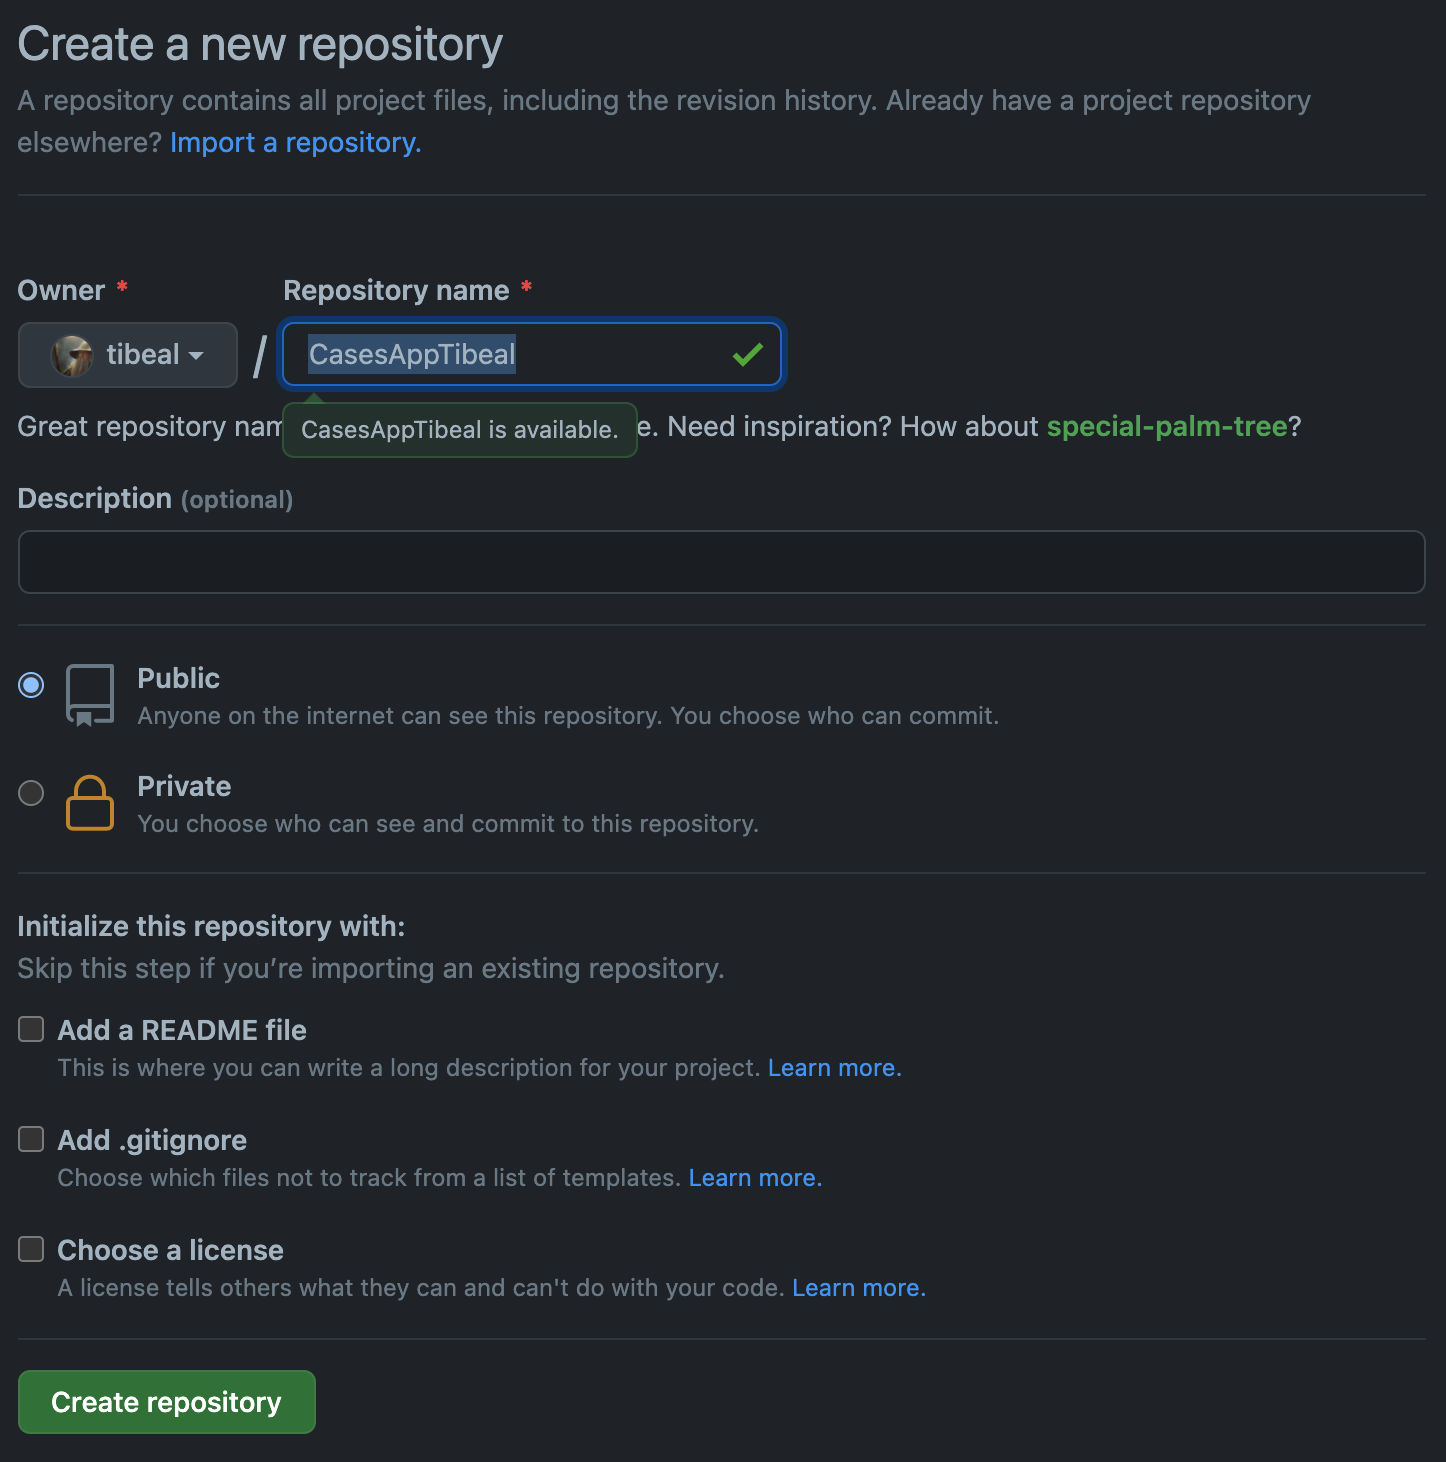
Creating a new repository
Create Your Salesforce DX Project
- Using VSCode, hit
Ctrl + Shift + P(on Windows) orCommand + Shift + P(on Mac), then choose SFDX: Create Project from the dropdown that will appear.
This command only works inside a DX project. You have to go to an existing project to execute this.
- Select Standard project template:
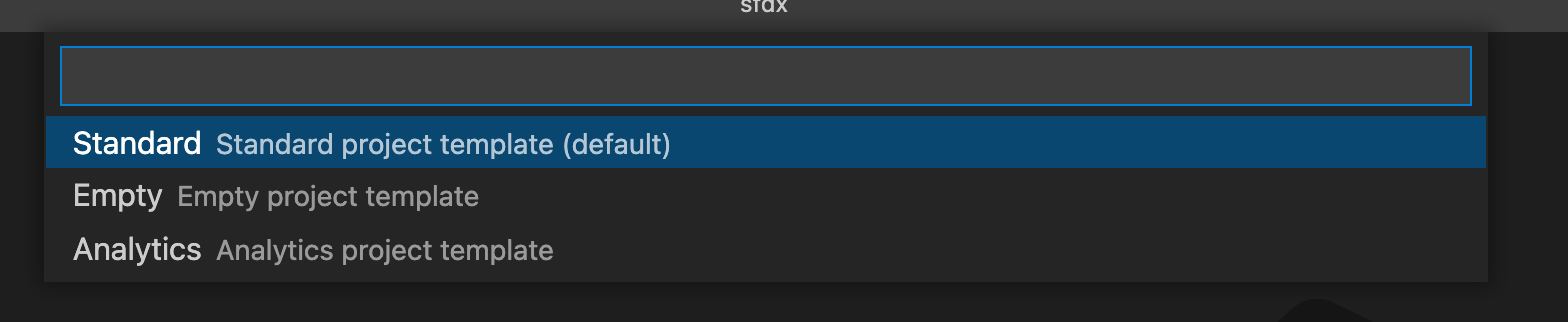
Choosing a project type
- Give it a proper name:

Naming the project
- In the end, you will have to choose a folder to place it. Usually, we choose our workspace as the root folder and we place the new project on the next level.
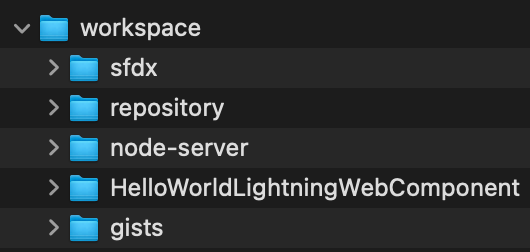
Folder example
In the previous example, we created all SFDX (Salesforce DX) projects under the folder "sfdx" in our workspace. But feel free to create it the way that is better for you.
Add Your Local Project to Your GitHub Repository
Open the new project that you just created, open the terminal, and execute the following commands:
git init
git add .
git commit -m "First commit"
git remote add origin <REMOTE_URL>
git remote -v
git push -u origin master
Where the <REMOTE_URL> can be retrieved from:

OR
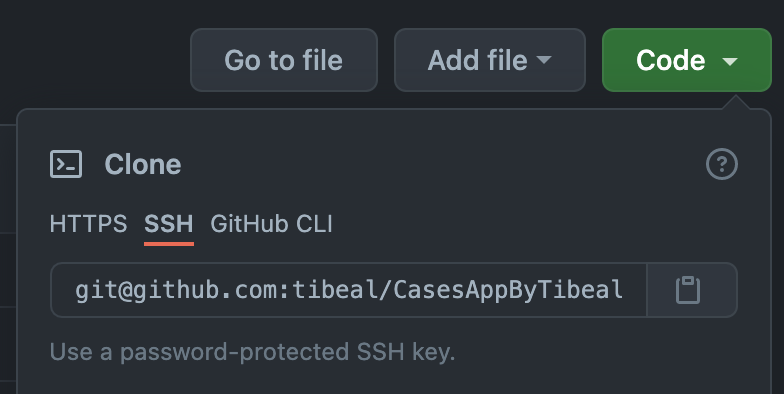
You can check more information about how to sync your repository at Adding a project to GitHub without GitHub CLI.
After you execute these commands, your local project is in sync with your GitHub repository.
Authenticate Your Dev Orgs in Your Project
Before retrieving your project's metadata, you must authenticate the Orgs in your project.
- Using VSCode, hit
Ctrl + Shift + P(on Windows) orCommand + Shift + P(on Mac) - Choose SFDX: Authorize an Org from the dropdown that will appear.

Choosing 'Authorize an Org'
- Next, choose Project Default:
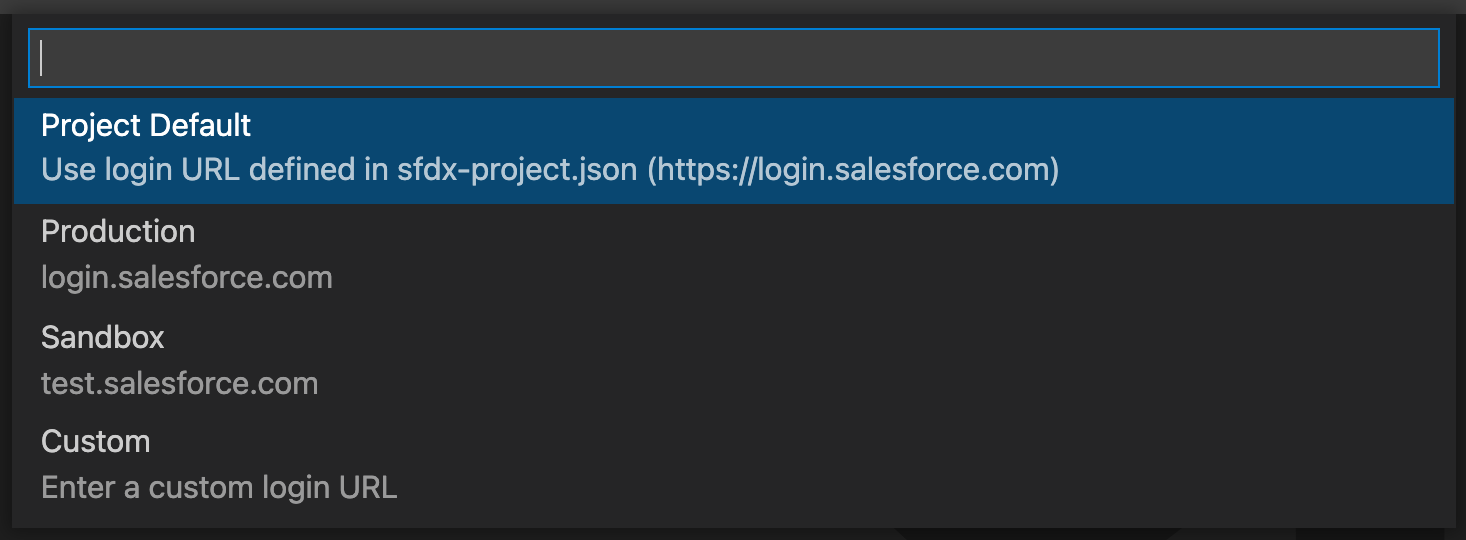
Choosing 'Project Default'
- Give a proper name to it:

Naming the project
Now you are ready to start retrieving your project's metadata.
Retrieving Salesforce Metadata
Once you know what kind of metadata you are using, you can retrieve them from the Org using Salesforce DX. To get the list mentioned before, we executed the following commands:
# retrieve classes
sfdx force:source:retrieve -m ApexClass:F_Cases,ApexClass:TestF_Cases

# retrieve trigger
sfdx force:source:retrieve -m ApexTrigger:F_Cases

# retrieve fields
sfdx force:source:retrieve -m CustomField:Case.Member__c
sfdx force:source:retrieve -m CustomField:Case.SLAInDays__c
sfdx force:source:retrieve -m CustomField:Case.SLAInHours__c
sfdx force:source:retrieve -m CustomField:FieloPLT__Point__c.Case__c
sfdx force:source:retrieve -m CustomField:FieloPLT__Transaction__c.Case__c
sfdx force:source:retrieve -m CustomField:FieloPLT__Tracker__c.Case__c

# retrieve permission set
sfdx force:source:retrieve -m PermissionSet:CasesAppPermissionSet
When you have the metadata in your hands, add all files you just retrieved from the Org to your Github repository. Commit and push them using commands such as:
git add .
git commit -m "Project Metadata"
git push