
Course Modules
Setting up the modules of your course
You've installed and set up your Learning App and you've got your Course ready, which means you're raring to go with creating some Modules and generally give your Course a bit of structure.
Modules are the components of a Course. You can have several Modules in each of your Courses so that Members have to progress through each Module sequentially before completing the Course. Once you've created all the different parts of the Module, you can play around with it and add new features, media, questions, and settings according to your Members' needs. We're here to take you through everything though - so just follow these steps:
Creating a New Module
On the Course details page, go to the Modules section and click New.
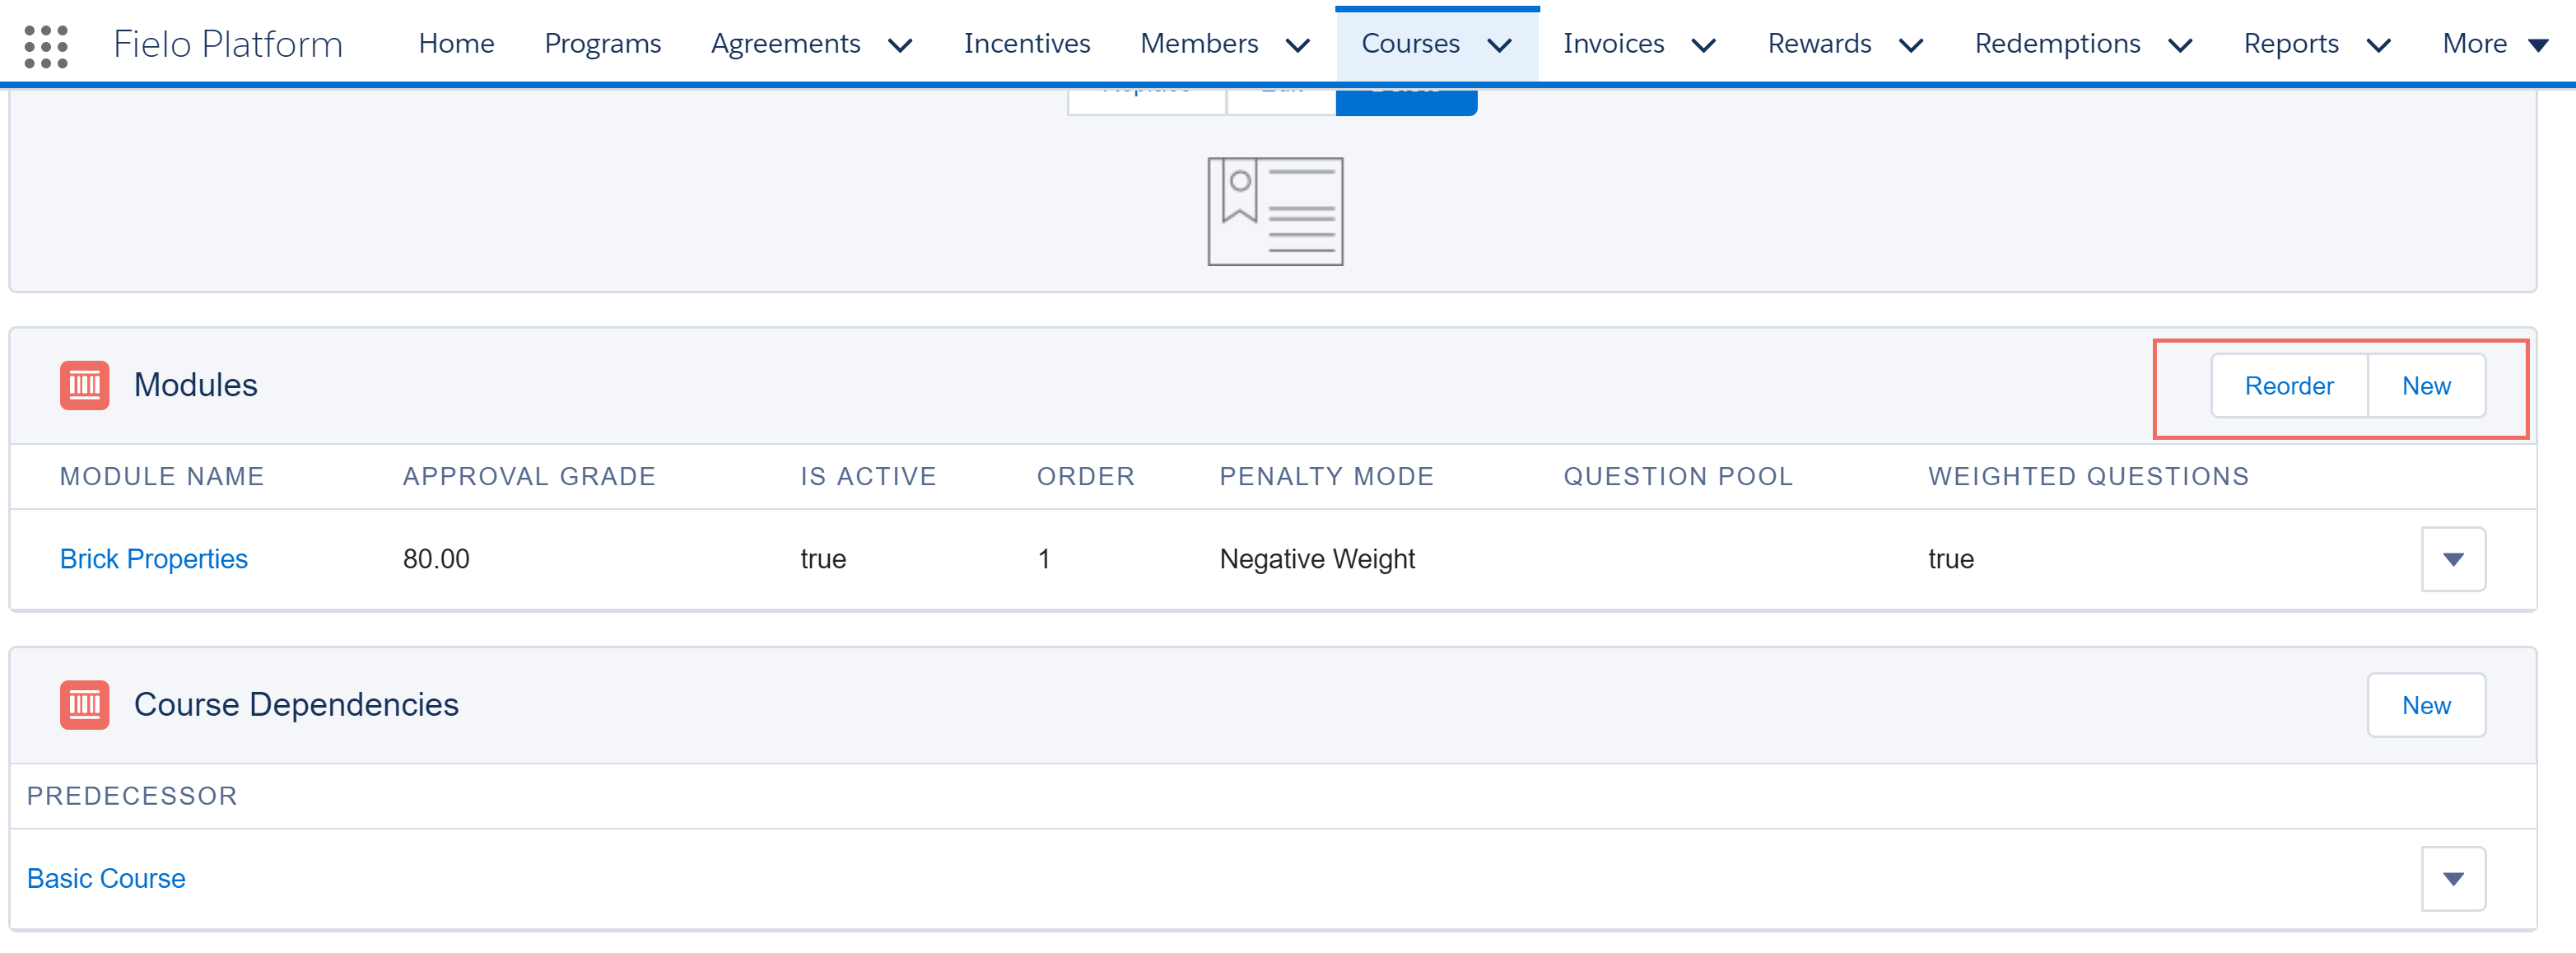
New Module
On the form that will appear, fill in the following fields:
- Module Name: Give your module a clear and catchy name that your Members will recognize and understand. This field has an 80-character limit.
- Description: Clearly describe your Module, so that the members know what the aim and intent of it is. This field's content is displayed in the list of Modules and has a maximum limit of 255 characters.
- Approval Grade: This is the minimum percentage that your Member needs to get in the Module to progress to the next stage of the course. This value can be anything from 0 to 100.
- Attempts Allowed: This refers to the number of attempts each Member can make to complete the Module. Let's say the number is 2, so if they fail to pass twice, they will no longer be able to take it. If this field is left blank, the Member can take the Module an indefinite number of times, until the course is made inactive or has reached its end date.
- Enforce content view: check this box if you want to enforce front-end members to view the module content before being able to engage in the module quiz.
Note that for SCORM content types, this setting is determined by the 'Quiz Unlock Criteria' field and cannot be modified (or set) here.
- Content View Timer (ms): some content types like Image, Rich Text, HTML, Youtube, and Videmo, require you to set a timer (in milliseconds) if you want to enforce content view on members. Once the timer reaches 0 members will be able to take the module quiz.
- Request Member Feedback: if you'd like, you can request members to submit their feedback about the Module they have just engaged. The following options can be selected:
-Disable: member feedback will not be shown.
-Always: member feedback will always be shown regardless of the member's grade.
-Only on Approval: member feedback will only be shown when they approve/pass the module.
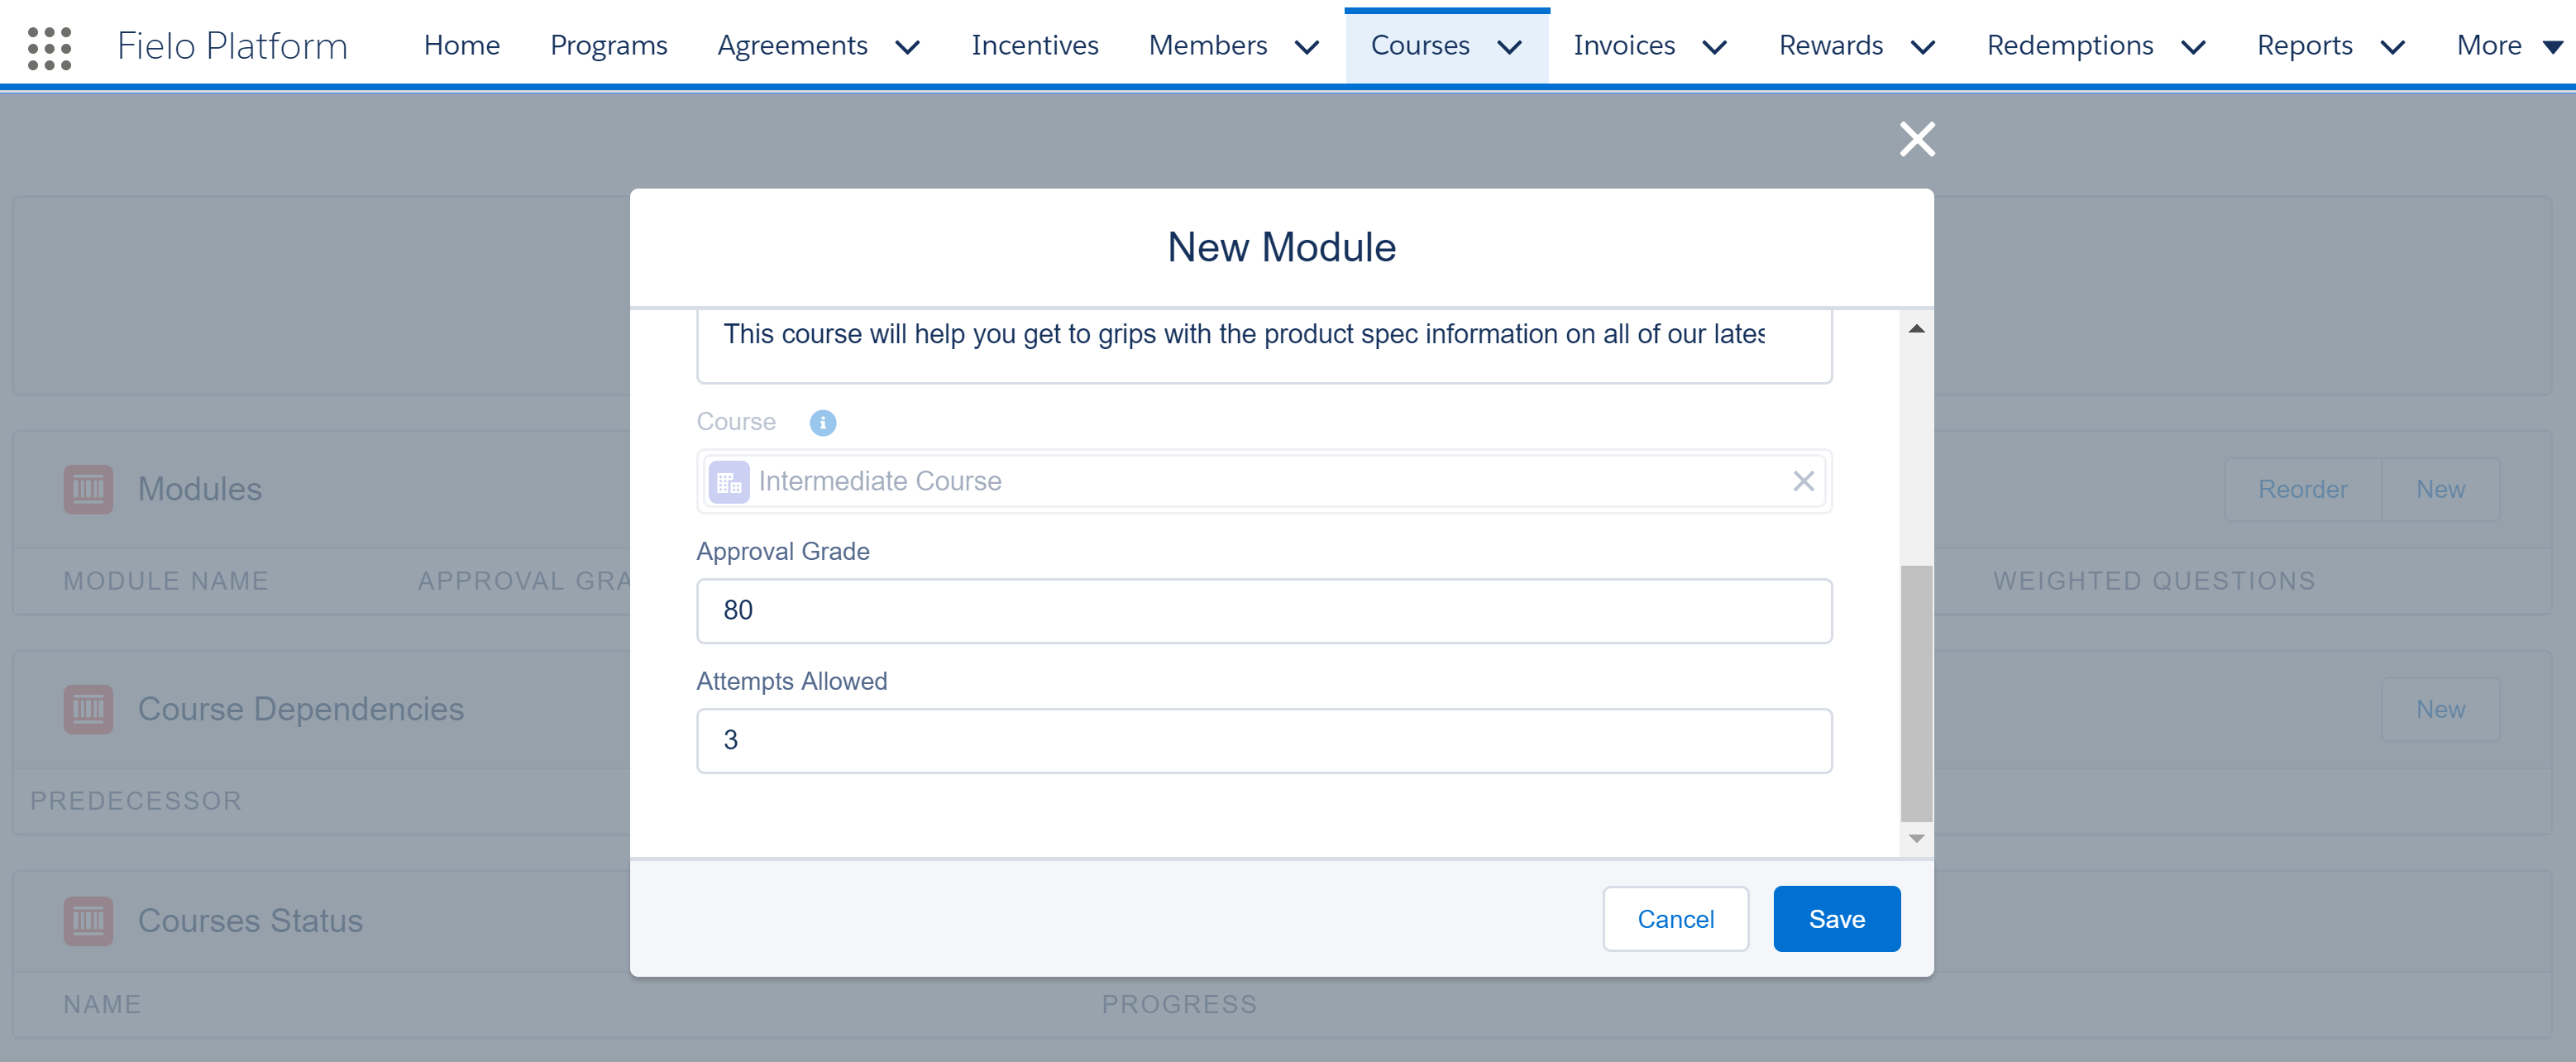
Creating a New Module
After clicking Save, you'll be directed to the Module overview page.
Module Overview
On the Module detail page, you'll see all of the information you inputted above.
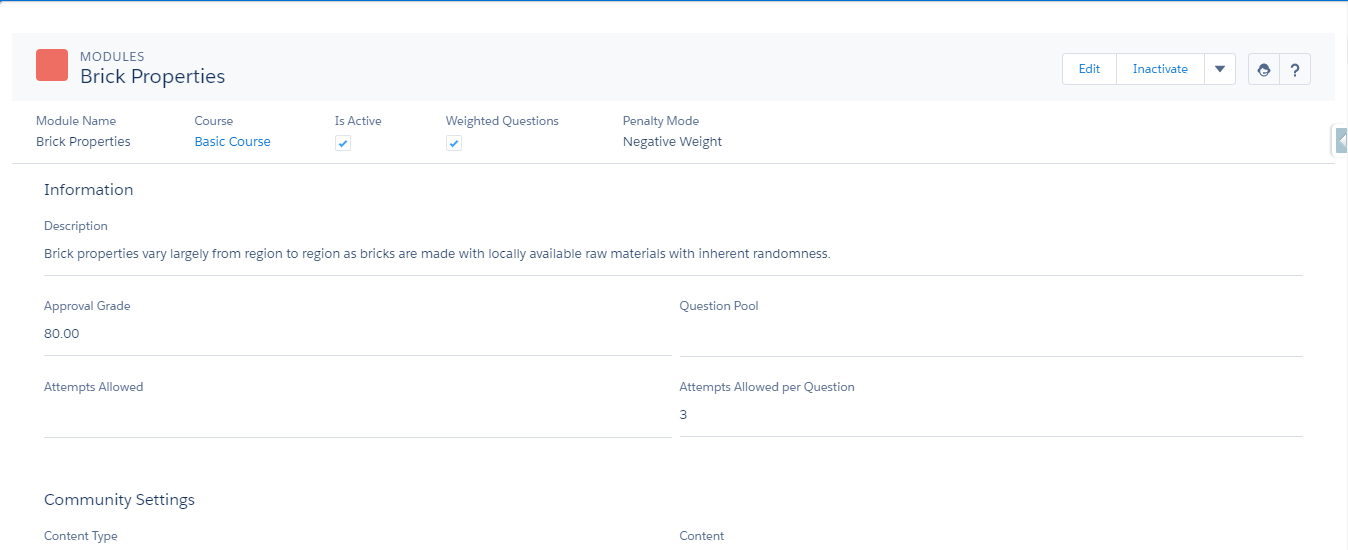
Module Overview
The next related list will give you the option to add Questions. For detailed instructions on how to go about creating Questions, refer to Create Questions.
Module Dependencies
Use the Module Dependencies box to define whether the Member needs to have taken another Module before they can proceed to this one. If you would like this to be the case, select New on the related list and type in the name of the Module you'd like them to take first in the Prerequisite box. Then press Save.
Content (SF Experience Cloud Sites Only)
When using Salesforce Experience Cloud site to build your Member portal, you can use the Content Editor to add content to your course. Members will see this content - which can be a YouTube video, Vimeo video, Video, Audio, Files, Image, HTML, Rich Text, or Carousel.
In order to insert content in your Module (or Course), go to its detail page, click the menu button (▾) on the Content Editor section, and click Edit.
Under Content Type, choose the kind of content you'll use:
SCORM - New!
Fielo is SCORM 1.2 compatible. If you want to make use of this content, select SCORMfrom the Content Type picklist:
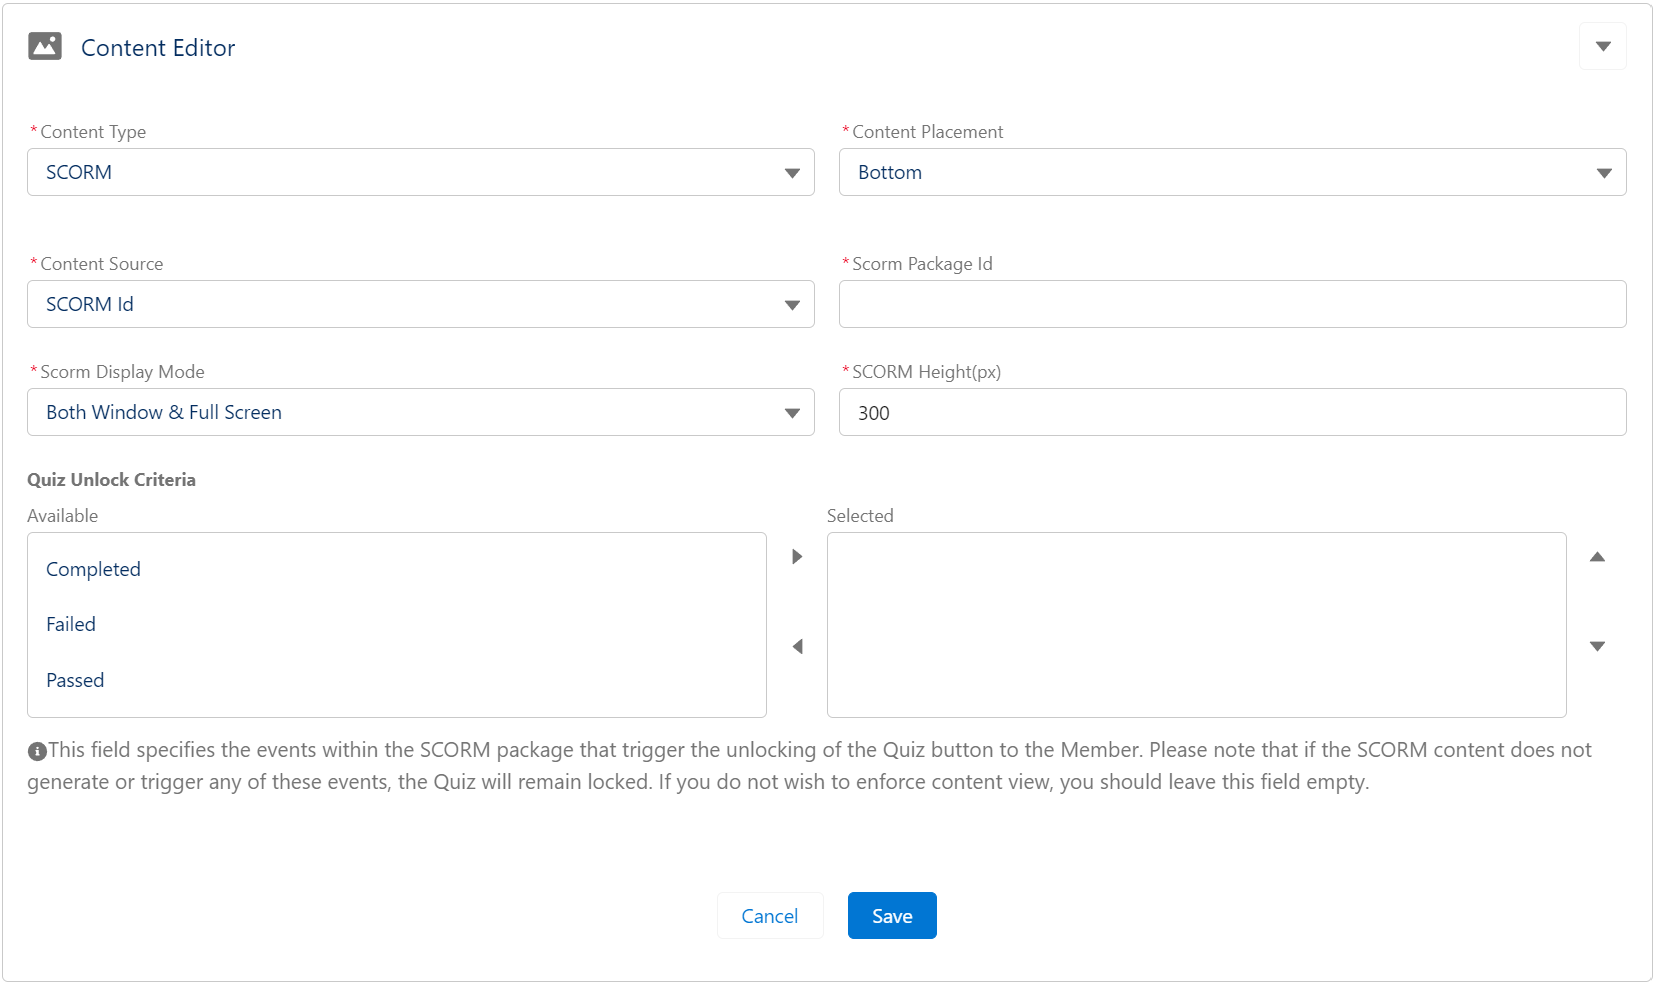
SCORM Content Type
- Content Placement: this picklist field controls where the content will be placed in the front-end component: "bottom" or "top".
- Content Source:you can choose one of two options:
-Upload New Package:allows you to upload a new SCORM package. Once the process has finished you receive a SCORM Id. It's recommended not to change any settings while the SCORM package is being uploaded. If the uploaded SCORM package contains more than one SCO, you'll have to define which SCO will be shown.
-SCORM Id: allows you to relate an existing SCORM package by providing the SCORM Package Id - SCORM Display Mode: this field controls how the content will be displayed the the Members in the front-end component. You can choose the following:
- Both Window & Full Screen: when selected the SCORM Content will be displayed on the Course/Module detail page and Member will be able to extend the content to be shown in full screen.
- Only on Window: when selected the SCORM Content will be only be displayed on the Course/Module detail page. Member won’t be able to extend to full screen.
- Only Full Screen: when selected the SCORM Content will be only be displayed in full screen full screen only. - SCORM Height (px): this field controls the height ,in pixels (px), the iframe displaying the SCORM content will contain in the front-end component.
- Quiz Unlock Criteria: this field allows you to enforce content view on SCORM content types, by specifying which events (triggered by the SCORM content), will enable the Quiz button to the Member. If you do not wish to enforce content view, you should leave this field empty.
Please note that if the SCORM content does not generate or trigger any of these events (Completed; Passed; Failed), the Quiz will remain locked.
Important notice regarding SCORM contentIn order to utilize the SCORM content type, after you have installed the ELR package in your SF ORG, kindly open a support case to request the enabling of SCORM features and settings. Please provide the Salesforce Organization IDs in which you have installed the package. Fielo Support team will enable and share the SCORM settings with you.
Carousel
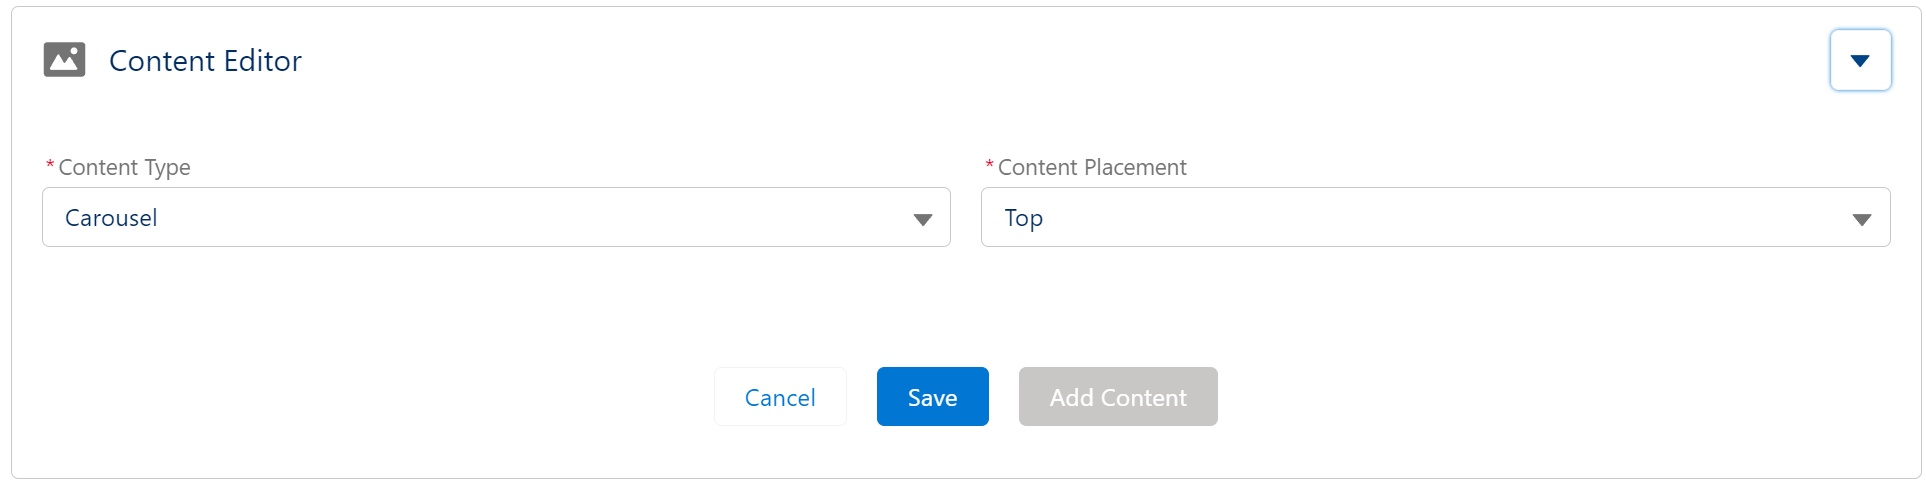
If your content is a Carousel, you can display images in the same place.
Select the Carousel Content Type > Select the Content Placement: "bottom" or "top" > Click Save.
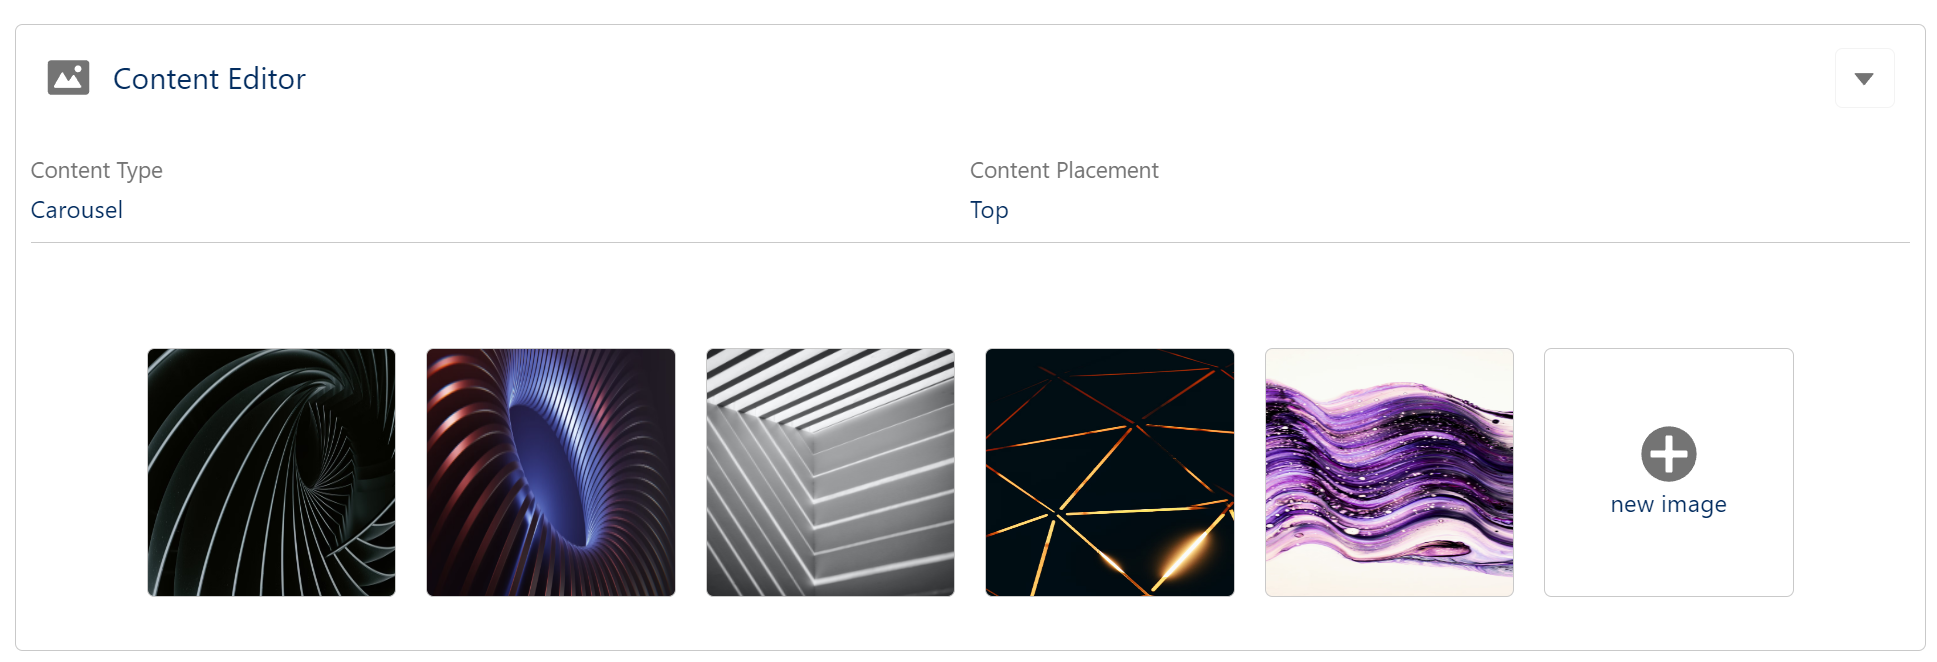
Then add the images by clicking on "new image".
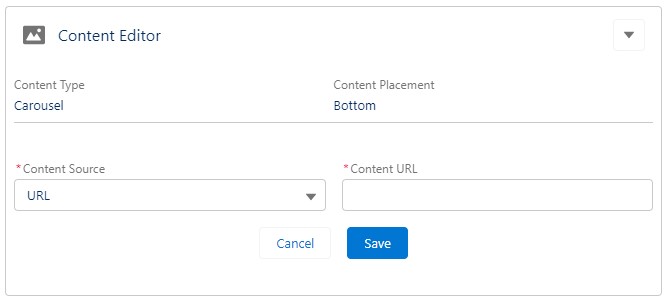
Choose and set the Content Source:
-Upload: choose this option if you want to upload the content and have it hosted in salesforce. If you are using this alternative check the File size & storage limits section below.
-URL: choose this option if your content is hosted on an external site. Make sure to check the External Hosted Content section below.
and click save.
Files
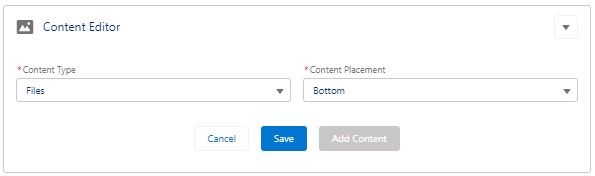
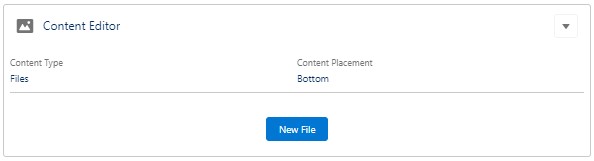
If your content is Files, select the Placement Position (Bottom or Top), enter the content, and click "Save".
Then click on Add Content and New File.
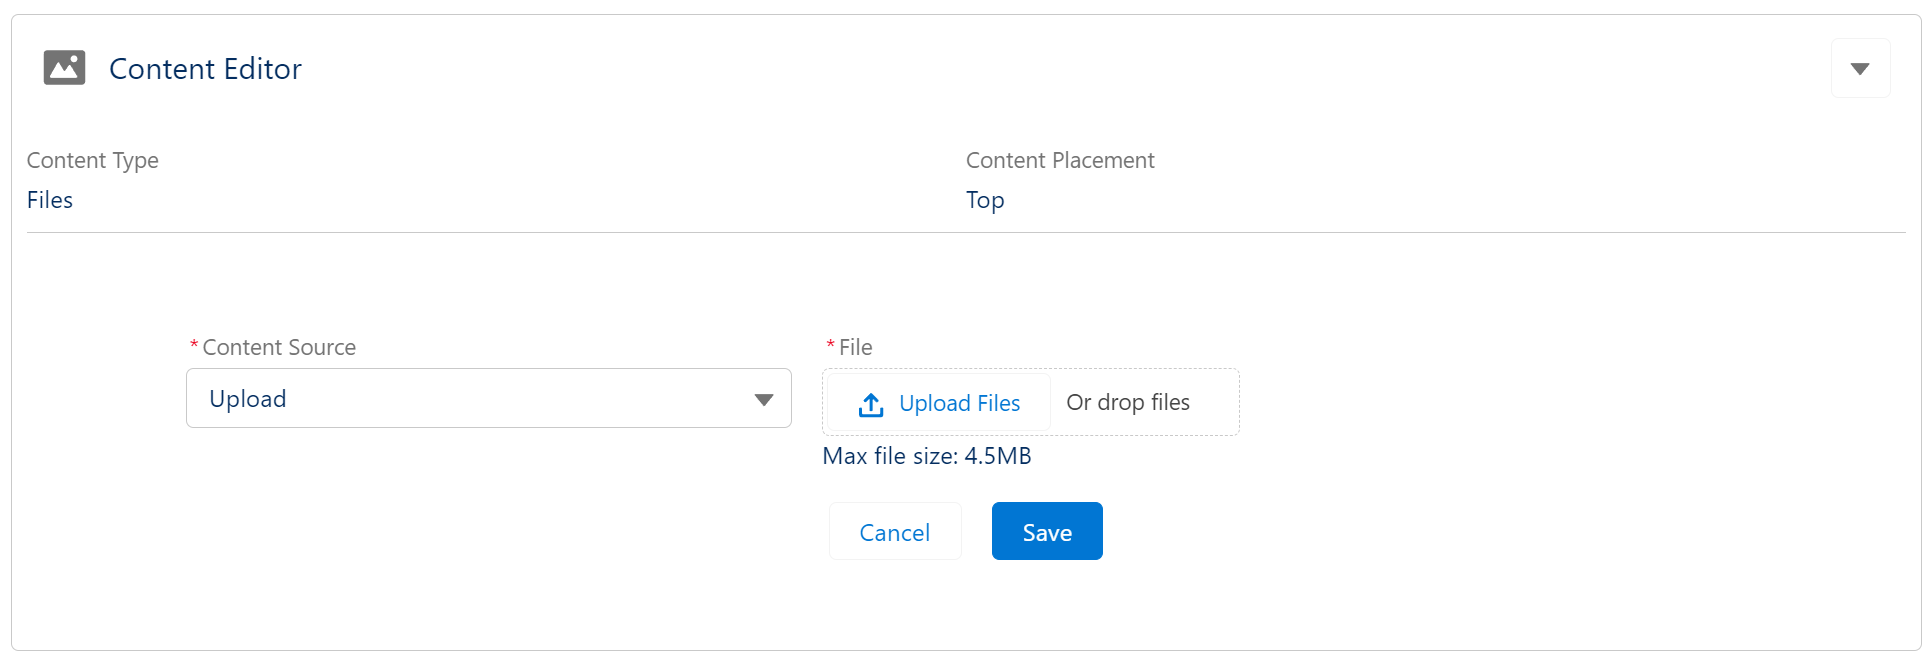
Choose and set the Content Source:
-Upload: choose this option if you want to upload the content and have it hosted in salesforce. If you are using this alternative check the File size & storage limits section below.
-URL: choose this option if your content is hosted on an external site. Make sure to check the External Hosted Content section below.
and click save.
File size & storage limitsAny file that you upload (images, videos, audio, etc) will follow Salesforce's upload limits, and will count in your Org storage usage.
If the files are externally stored, you'll need to check with your external provider for more information on their storage limits.
HTML
If your content is HTML, select the Content Placement (Bottom or Top), enter the Content URL, and click "Save".
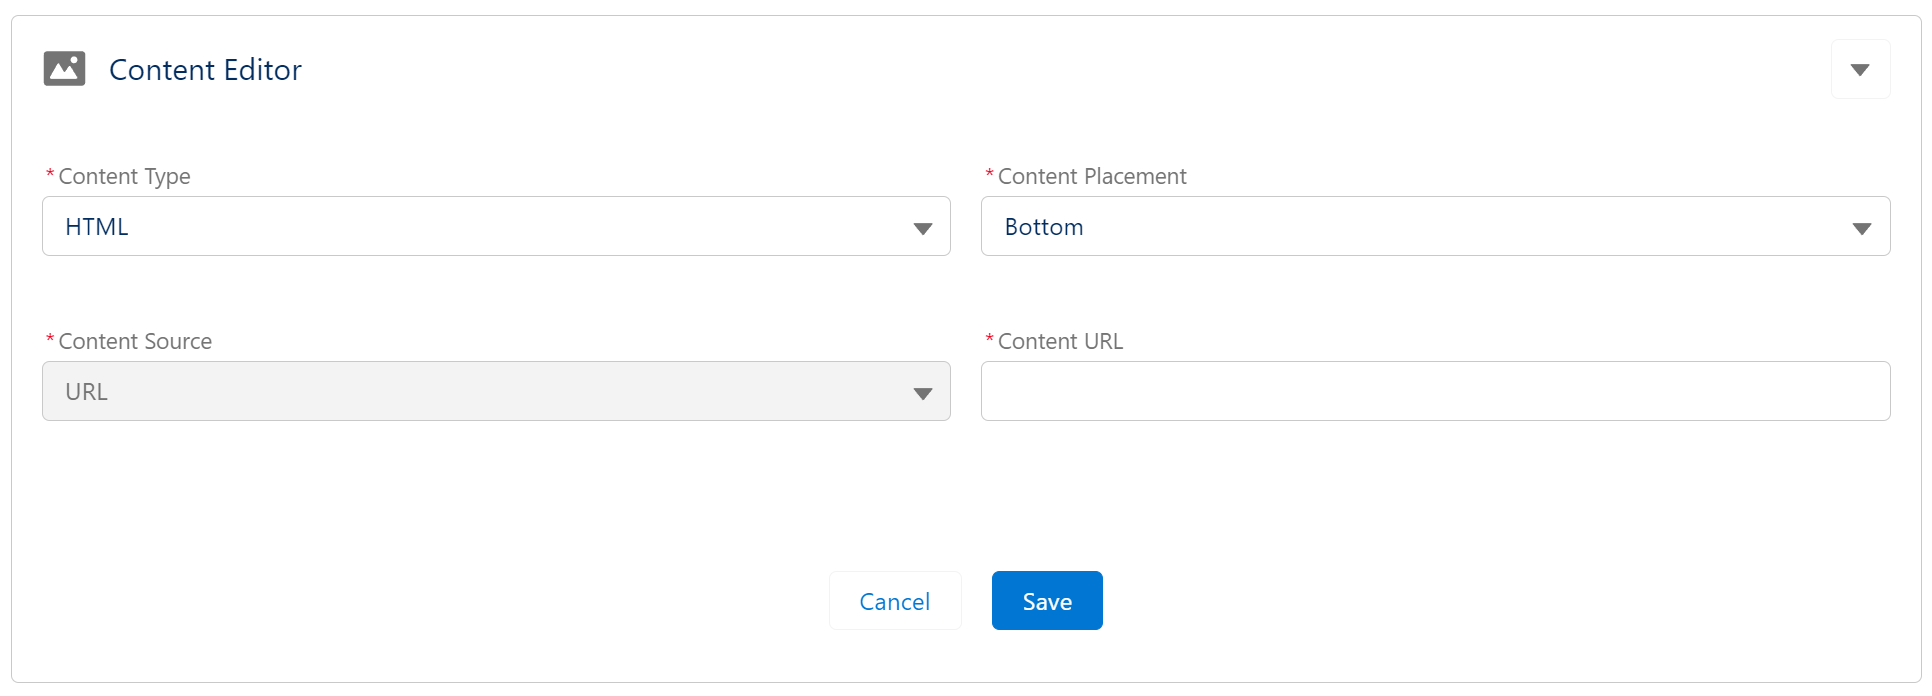
Please note that certain HTML sites may not be compatible with the Salesforce platform and security restrictions.
Rich Text
This content type allows for the storage and display of formatted text, including elements such as headings, bold text, italic text, hyperlinks, lists, and images. It provides a more dynamic and engaging way to present text-based information.
If your content is Rich Text, select the Content Placement (Bottom or Top), enter the content, and click "Save".
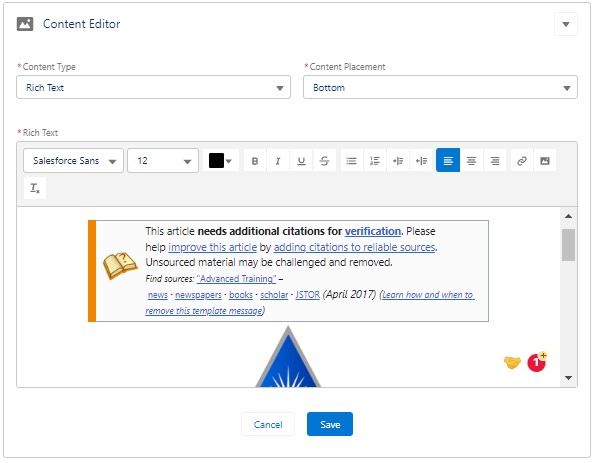
Remember to whitelist the source of multimedia elements in your content if it's being copied from another location (e.g. another URL). For more information, consult the External Hosted Content section below.
YouTube or Vimeo video
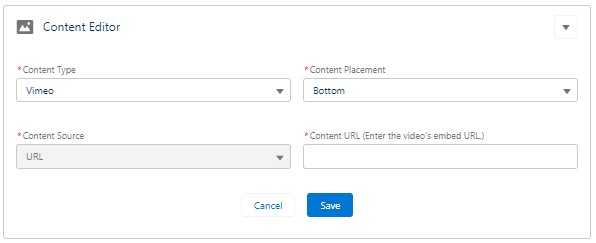
If your content is a Youtube or Vimeo video, enter the Content URL and click "Save".
Single Image, Audio, or Video
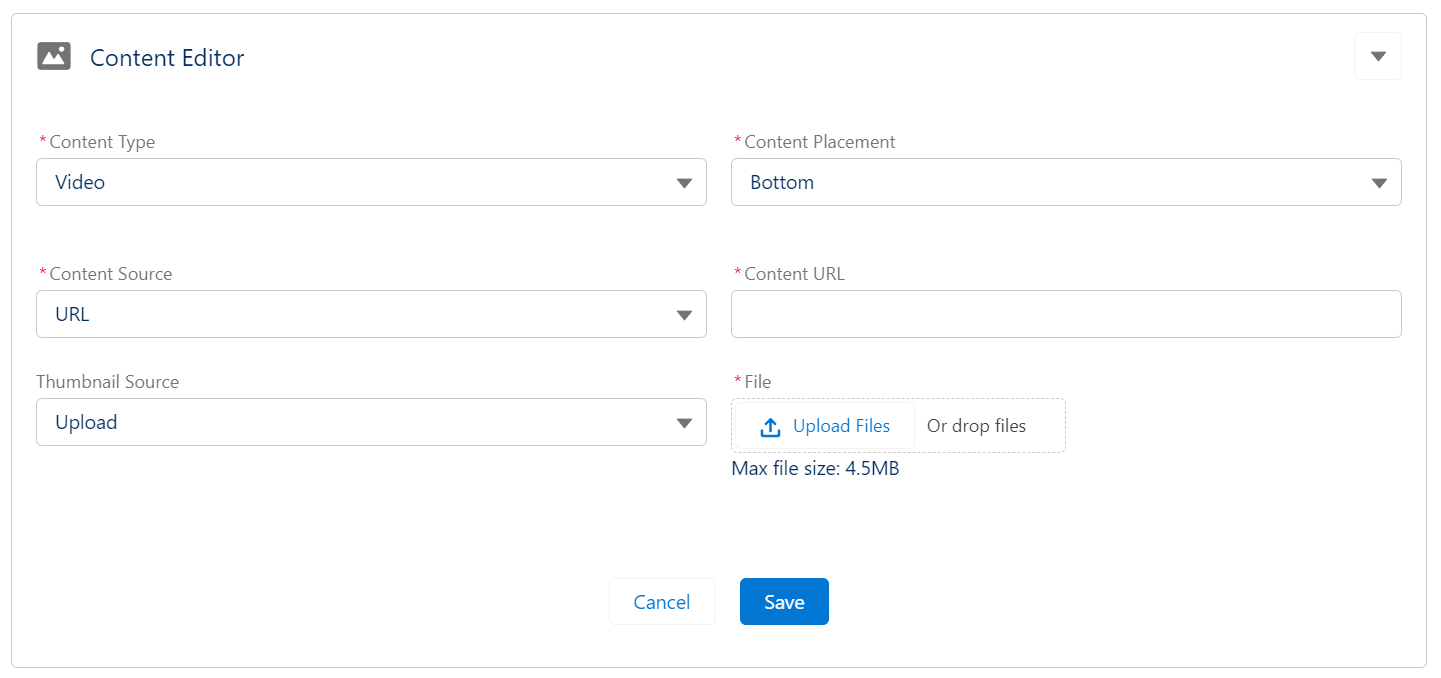
If your content is a Single Image, Audio, or Video, define and set the content source:
-Upload: choose this option if you want to upload the content and have it hosted in salesforce. If you are using this alternative check the File size & storage limits section below.
-URL: choose this option if your content is hosted on an external site. Make sure to check the External Hosted Content section below.
-Thumbnail image (for video content only) - New!: allows admins to set a image as thumbnail to shown to Members before the video content is played. Three settings are available:
- None[Default]: when set no video thumbnail image will be shown.
- Upload: admin can upload the image they want to show as the video thumbnail image.
- URL: admins can specify an external site hosting the image they want to use for video thumbnail. Note the URL needs to be whitelisted in CSP Trusted Sites to work.
External Hosted Content
If you are planning to use content that will be hosted outside your Salesforce org, you need to whitelist the host URL to be shown inside your digital experience.
Go to Setup > CSP Trusted Sites and click on “New Trusted Site”. Complete all required fields. Make sure to check (set true) the “Active” field as well as all “CSP Directives” listed.
Module Responses
The Module Responses list will show all of the Members who have taken or are in the process of taking this Module as well as their current Progress.
Activating and Inactivating your Module
Once you have created your Questions and you're happy with the Module's structure and setup, you can activate it. Then, as soon as the Course is enabled, this Module will be available for your Members to take. All active Modules contribute to your Member's progress in the Course.
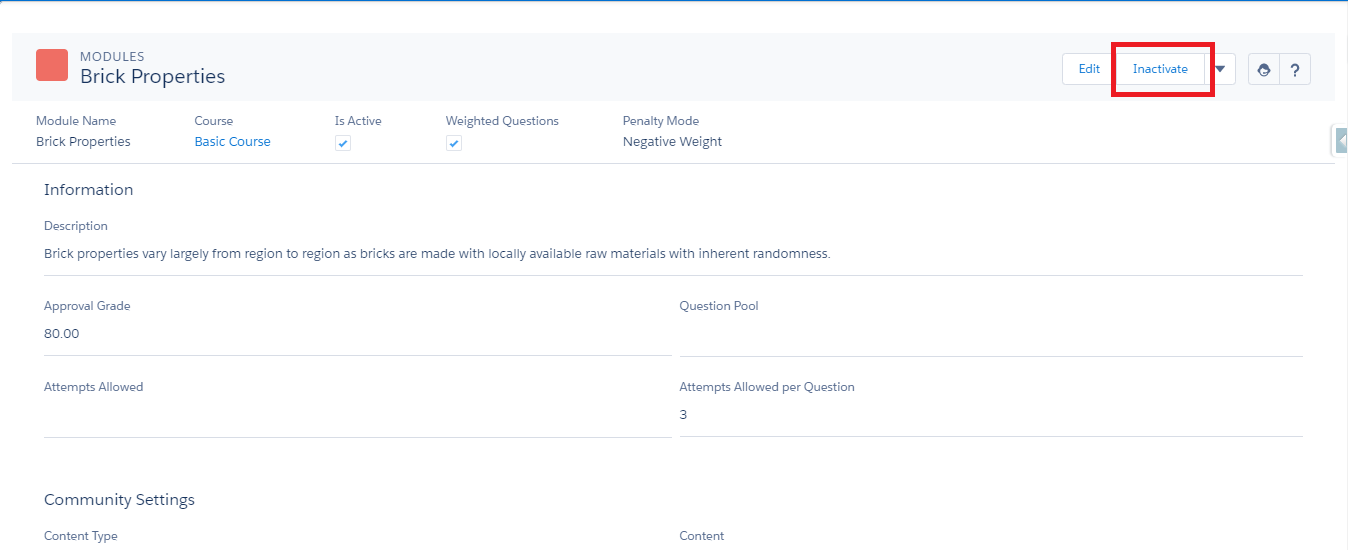
To enable your Course, click Activate in the upper right corner of the Module overview. Once activation is confirmed, the Activate button will be replaced by an Inactivate button.
Inactivating a Module
The Module can be disabled at any time, even if it has already been taken by any of the Members.
Editing an Inactive ModuleSome fields are fundamental to the course structure and therefore cannot be changed if a Member has already taken the Module. These fields are: Attempts Allowed, Approval Grade, Penalty Mode, Question Pool, Attempts Allowed Per Question, and Weighted Questions.
For the same reason, you're not allowed to create new questions and new answer options or delete them.
It is possible to edit questions and answer options when the Module is Inactive or Active, but not the Correct Weight, Penalty per Attempt, and Incorrect Weight.
Activating a New Module When the Course is Active
By default, if you ever need to activate a new Module in a Course that is already Active, you would have to deactivate the Course first. However, it is possible to schedule a batch (also known as job) that will be responsible for activating your Draft Module. No matter your Course's status.
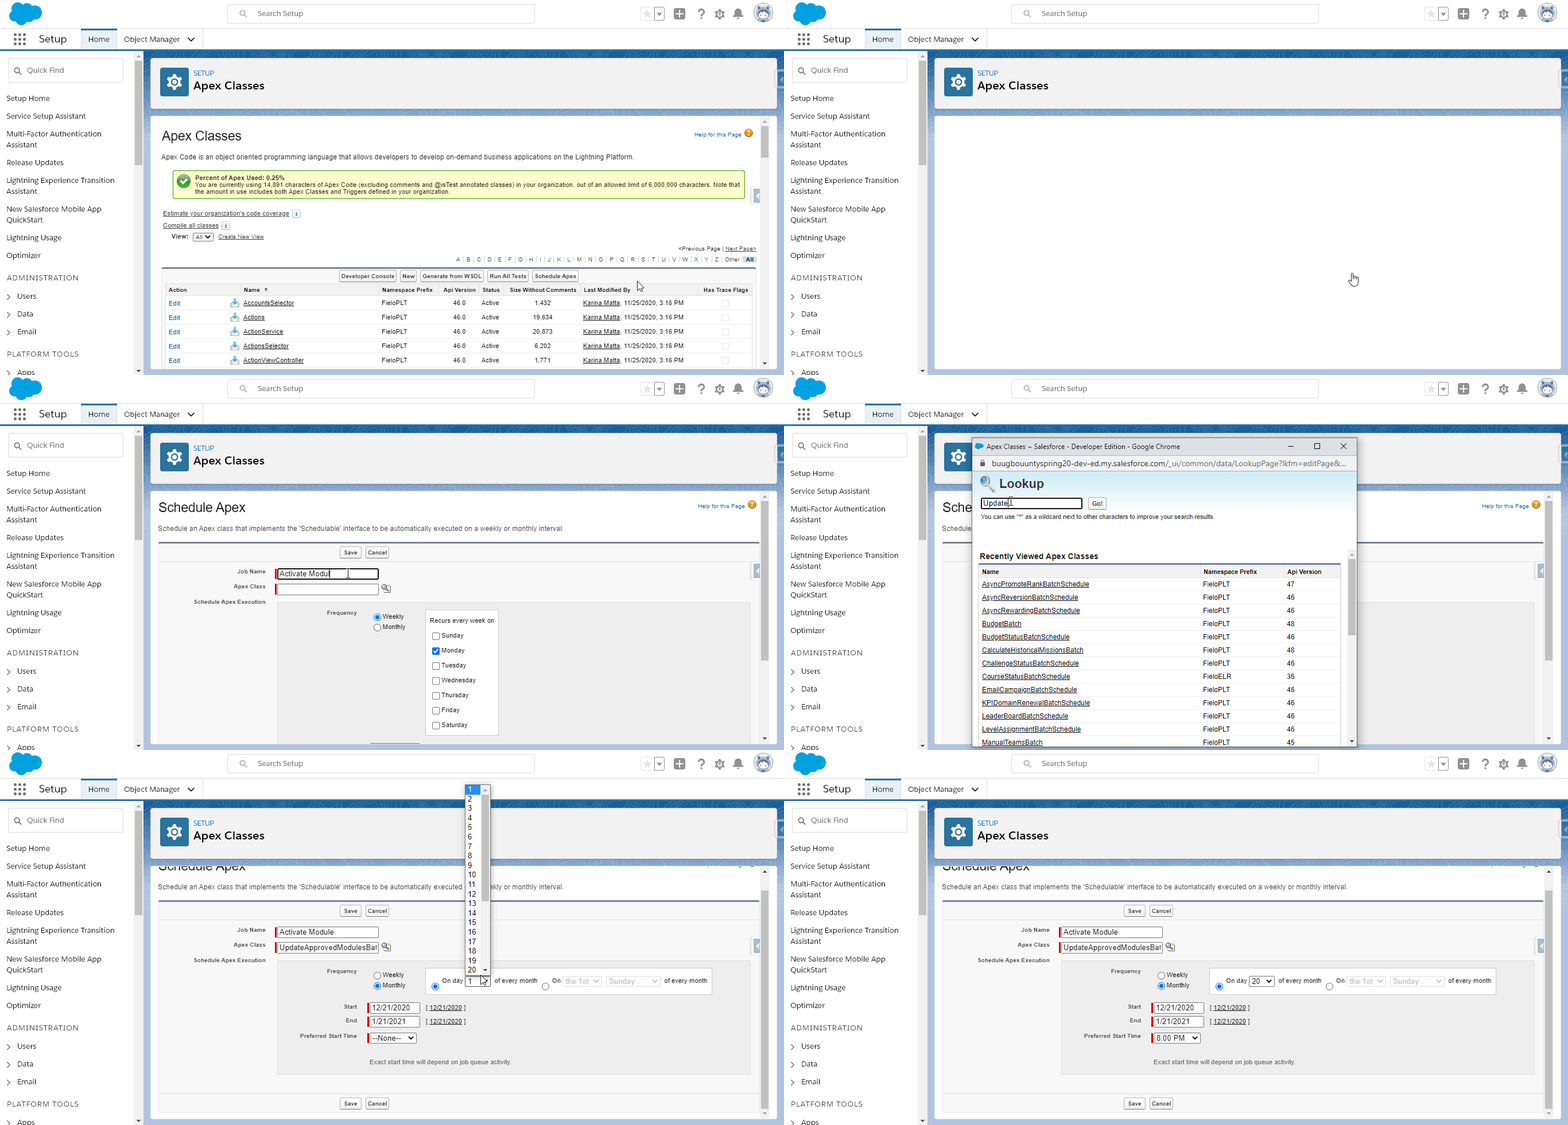
To schedule the batch, go to Setup, look for, and access Apex Class. From there, click on Schedule Apex.
In the Job Name field, enter a name of your choice. To the right of Apex Class, click on 🔍 and select the UpdateApprovedModulesBatchSchedule class. Then, decide the frequency, start and end dates and the preferred time for it to run. Don't forget to Save afterward.
Scheduling a job to activate the Module
When it runs, this batch will automatically activate any new Modules - with a Draft status - inside your Active Courses. You can keep track of any batches that have already run thorough Setup > Apex Jobs.
Reordering Modules
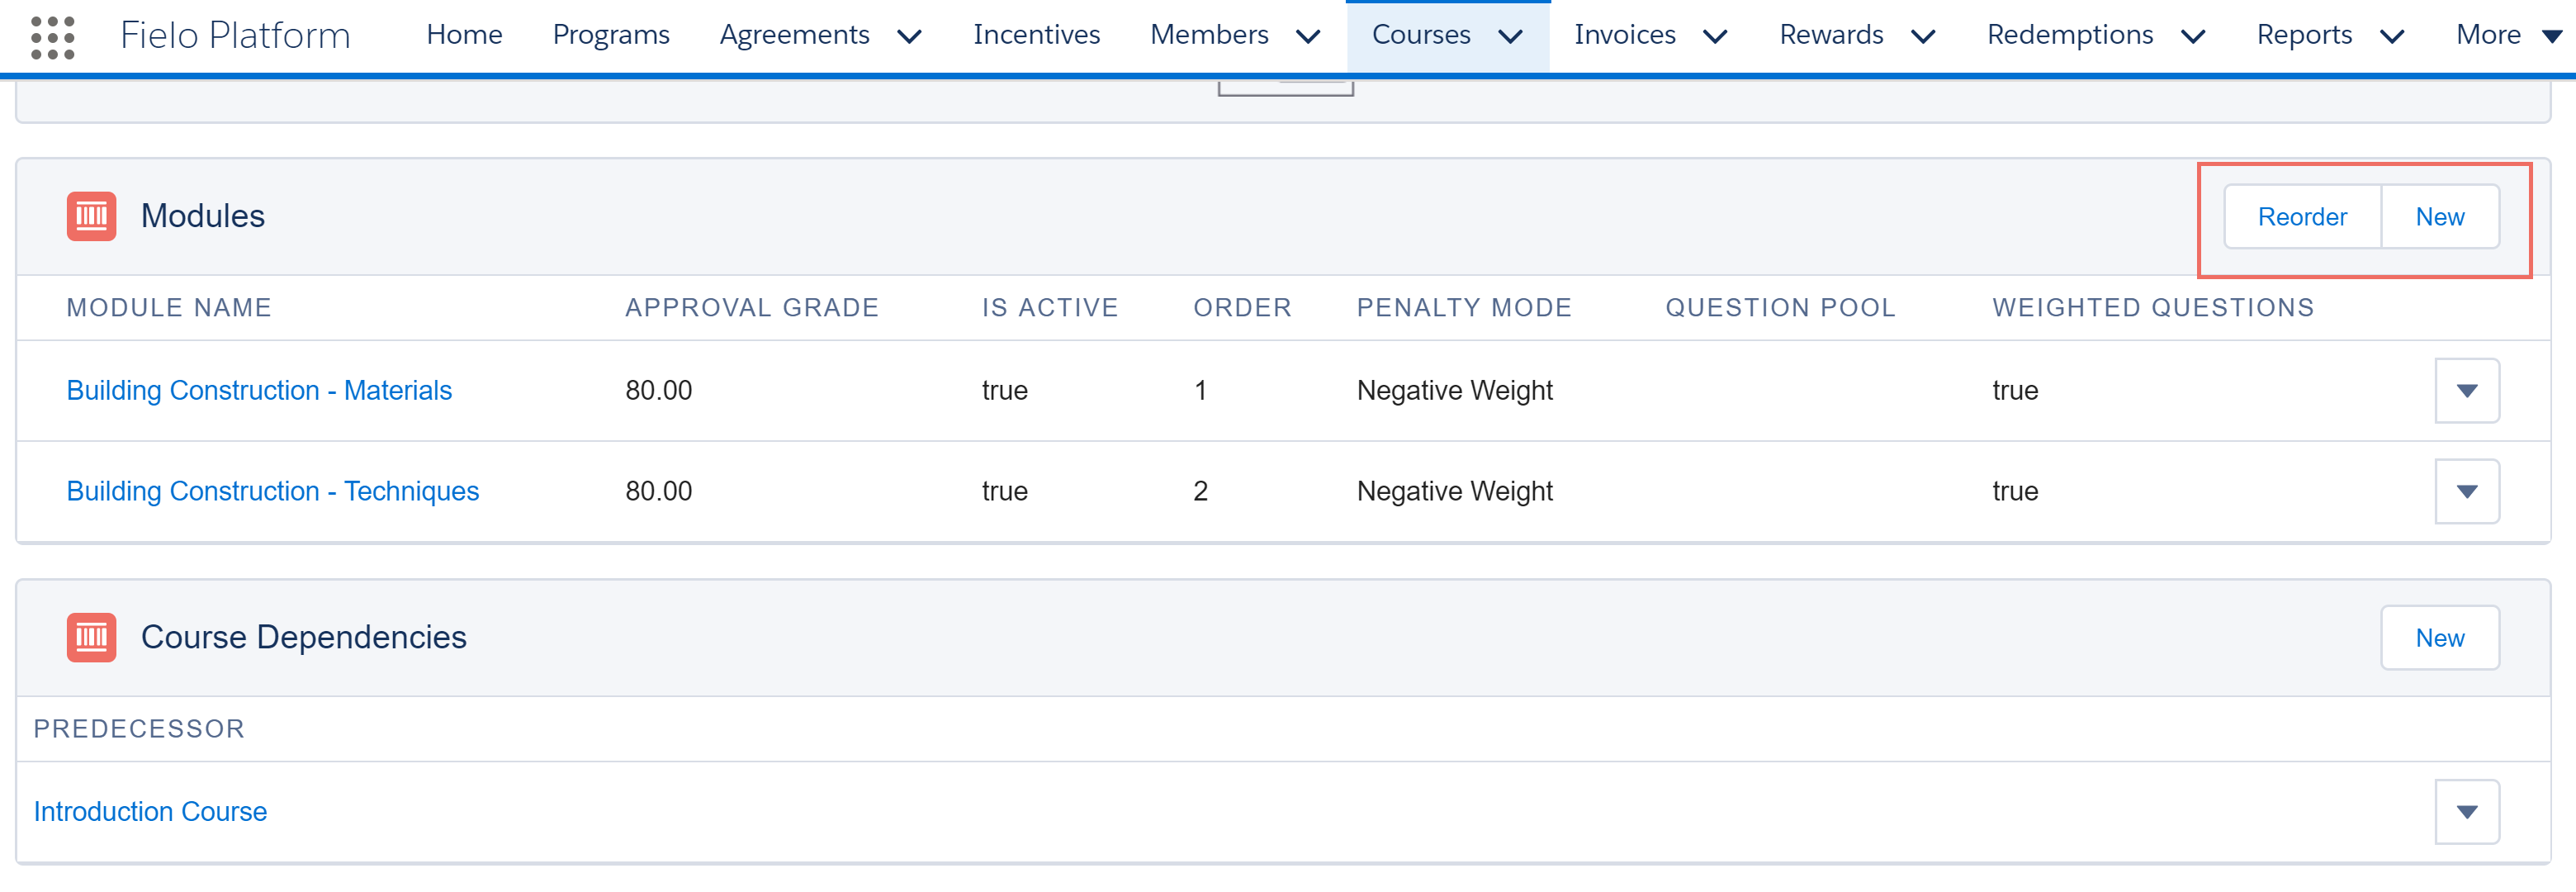
Once all of your Modules have been created, you might want to change the order they appear in. For that, go to the Modules section within the Course page and click on Reorder.
Once you've pressed this button, you can define the order that the Modules will appear in during the course by dragging the Modules and dropping them in the desired position.
Reordering Modules
Updated over 1 year ago