
Courses
Setting up your Members' Courses
Once your Learning app is installed and set up, you're free to begin developing your Courses.
Courses are where you and other actors in your company can develop and add learning materials and activities for your Members to complete. Courses contain Modules, which in turn contain Questions. Once created, you can add content and re-organize Courses according to your Members' needs. The sections below will provide more information about creating, organizing and managing Courses.
Creating a Course
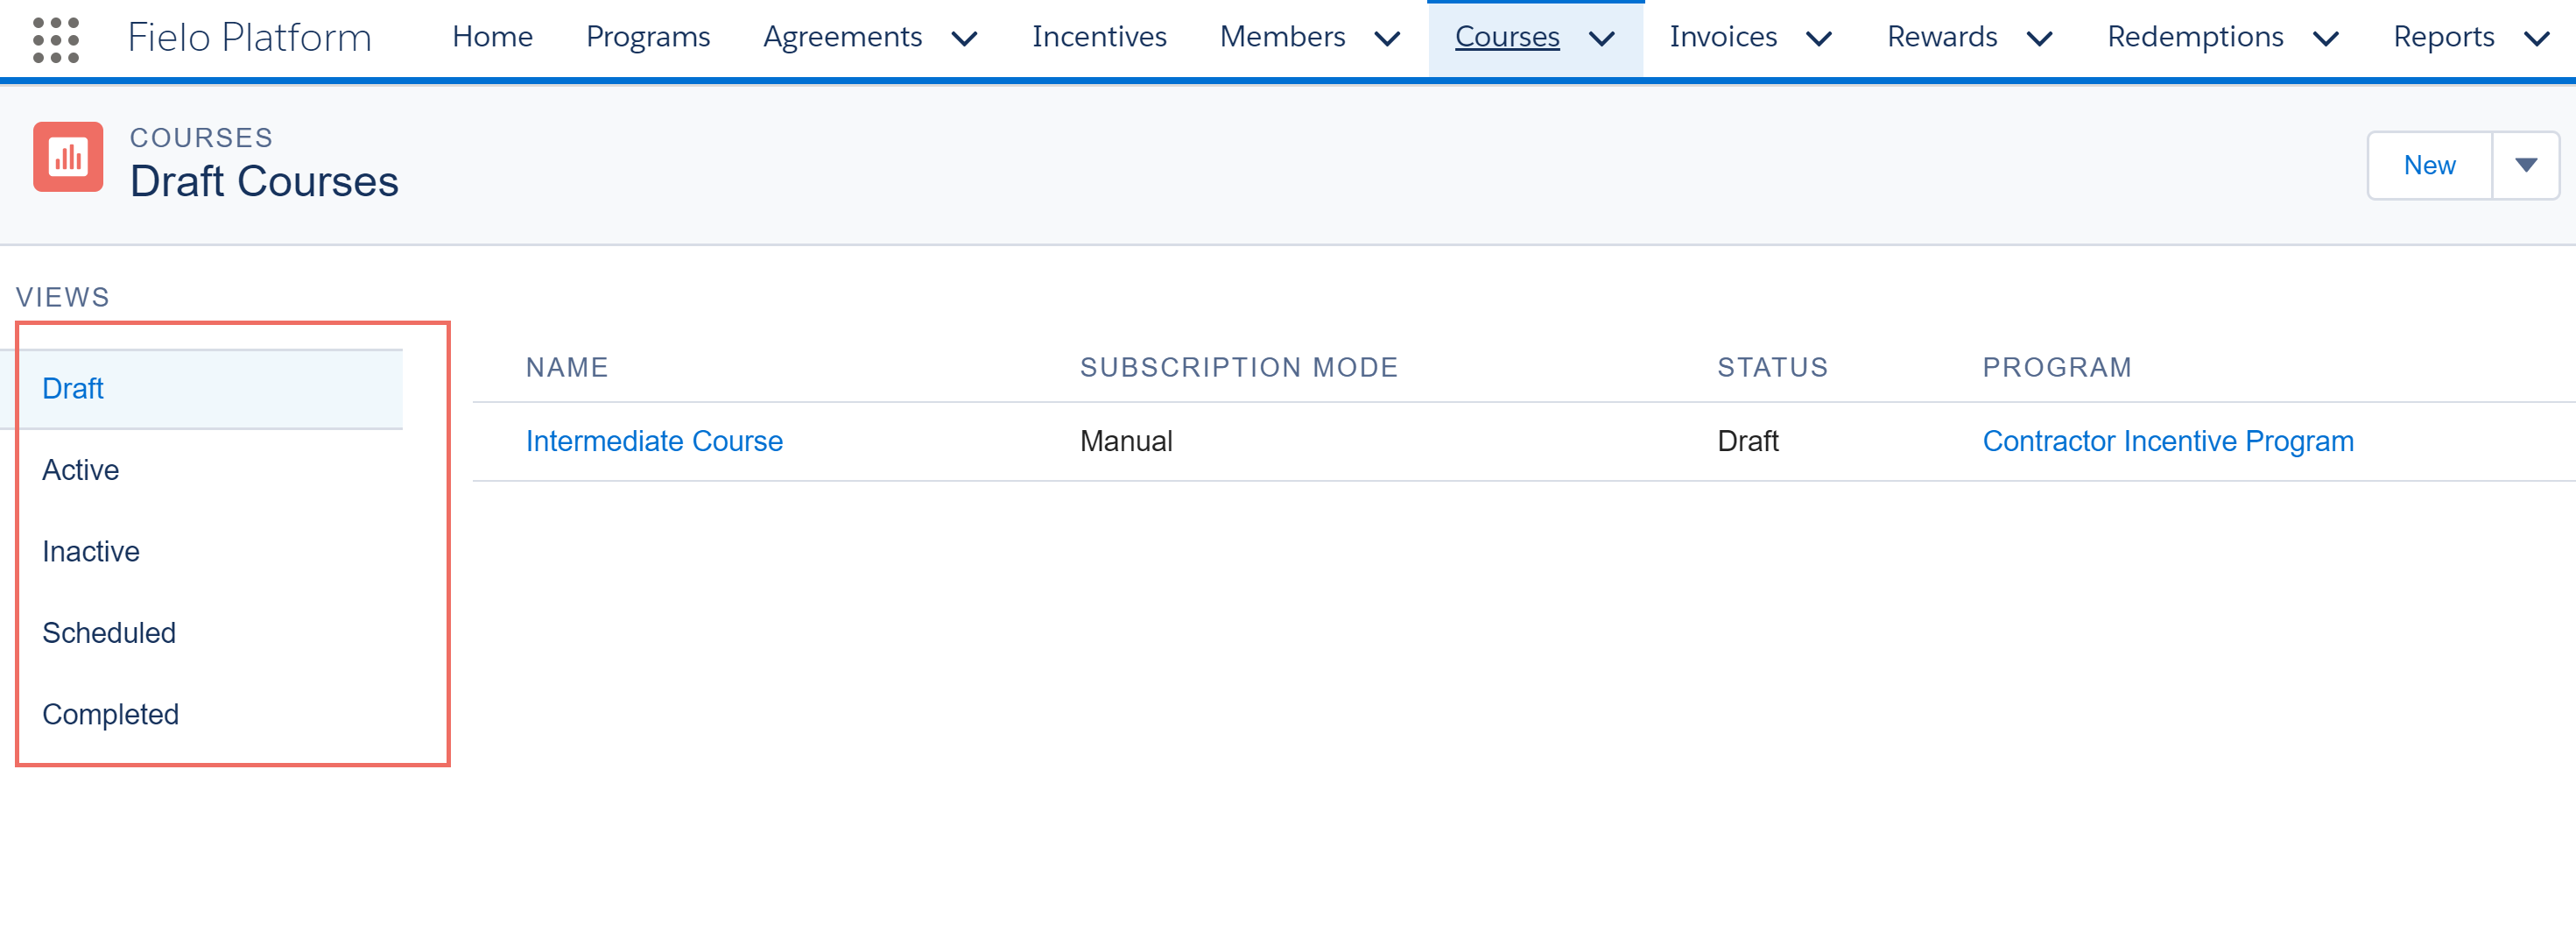
Once in IAS, go to the Courses tab. As you can see, there are different Status settings along the lefthand side of the screen:
Course status
- Draft: This means that you are working on developing the Course.
- Active: This means the Course is currently available and Members are free to participate.
- Inactive: This means the Course is not currently available. The Course settings, including Modules and Questions, can only be edited in Inactive mode.
- Scheduled: This means the Course has been set to start on a future date, and is not currently Active.
- Completed: This means the Course has ended. Members are no longer able to participate.
Check how to automatically change the Status of Courses based on completion criteria.
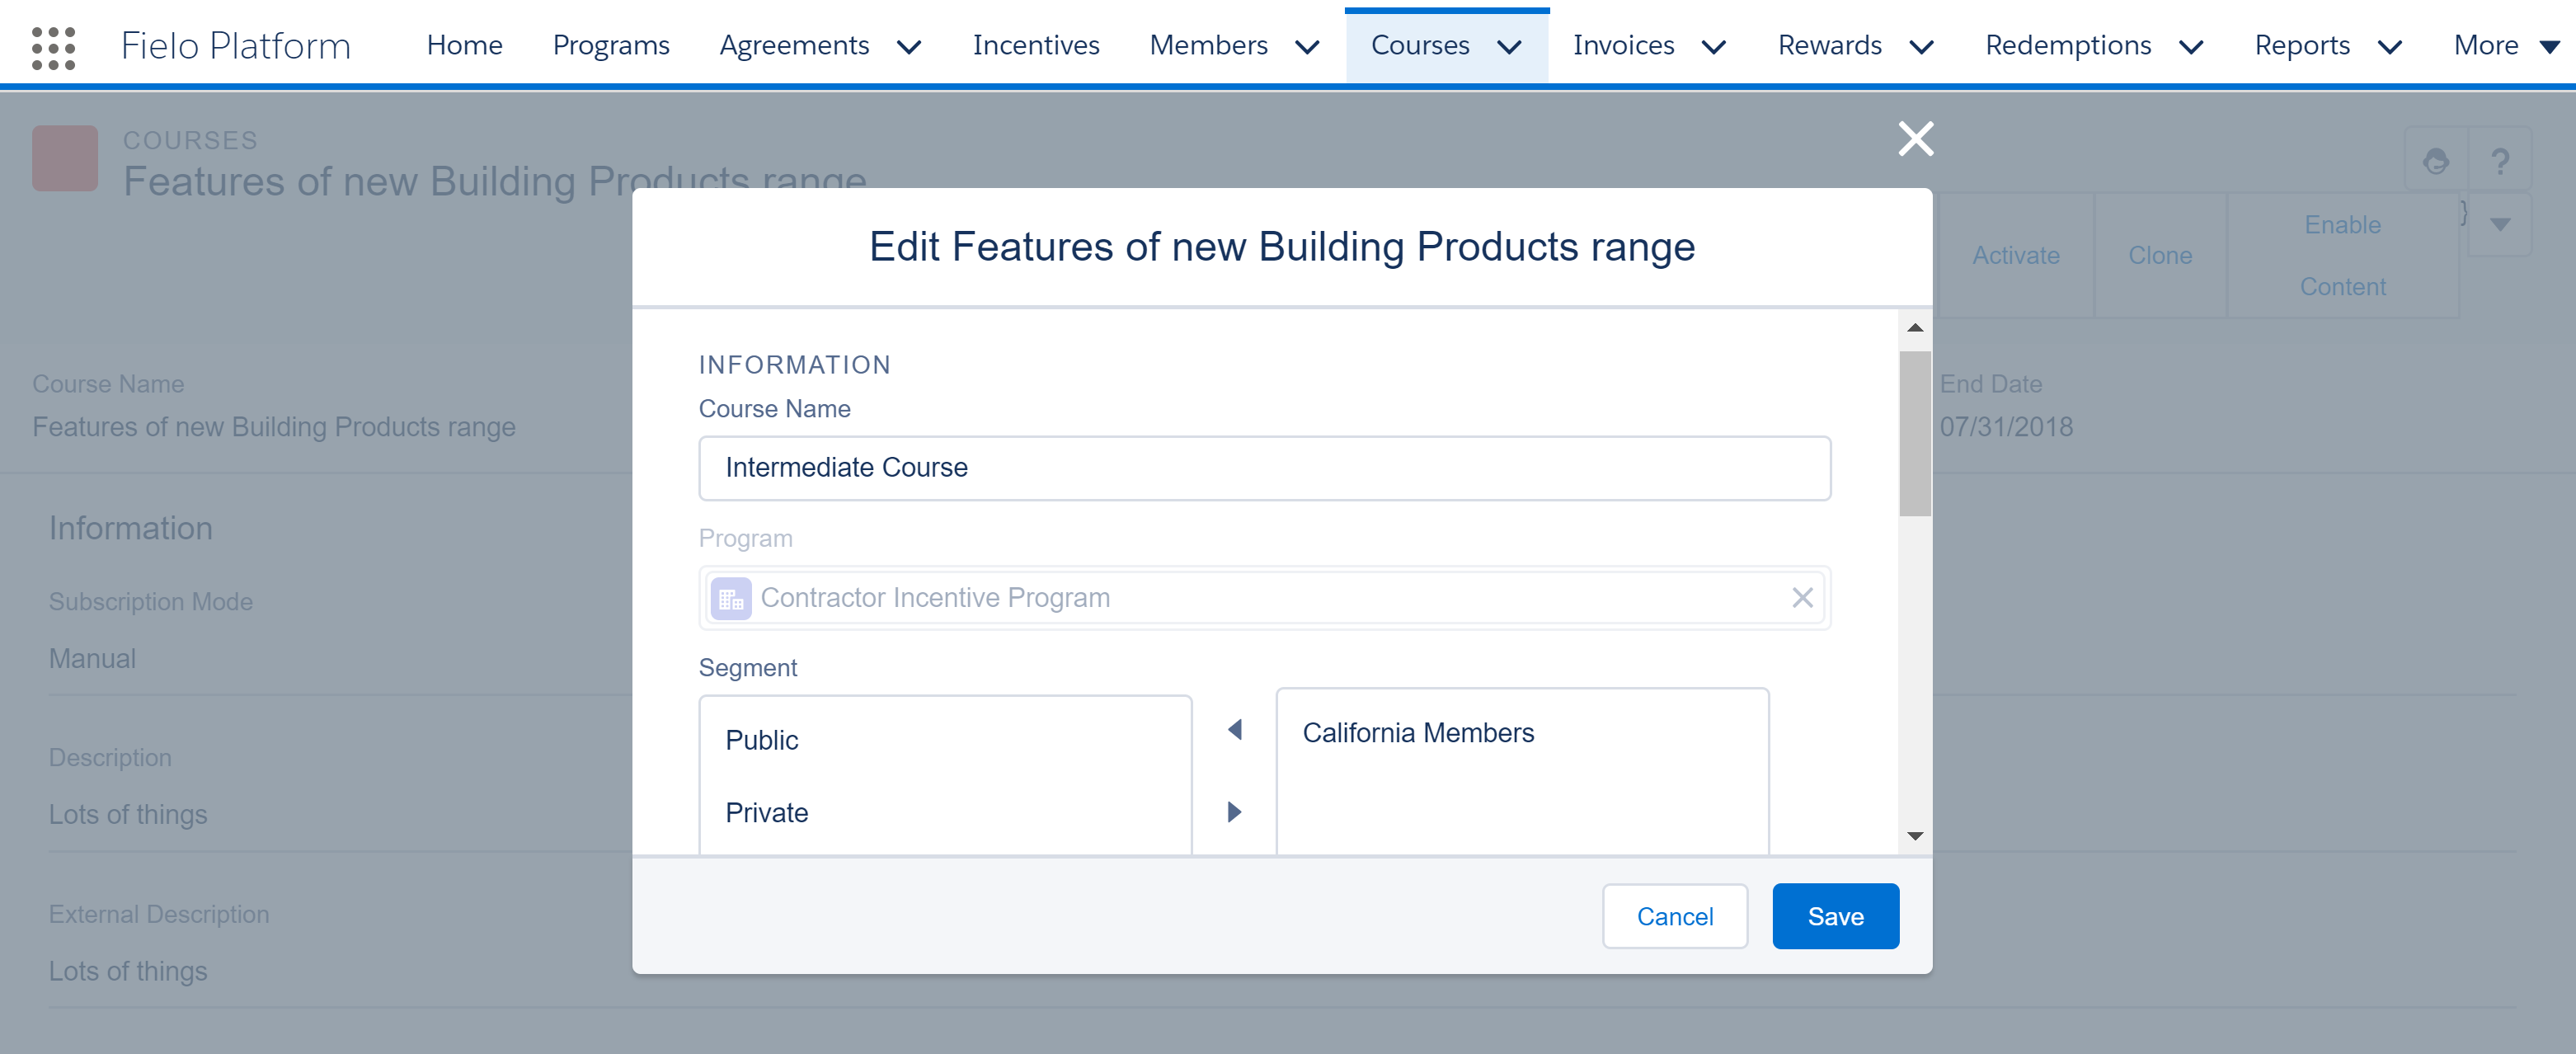
To create a Course from scratch, click on New in the top right-hand corner. You then have to fill out all of the sections of the form:
- Name: Give your course a clear and catchy name, which Members will recognize and understand.
- Program: This is the Program your Course will belong to.
- Segment: If you have segmented your Members, select which Segments you would like this Course to be available to. After selecting each desired Segment, click . If you leave the list on the right empty, all Members will be eligible to take your Course.
Creating a New Course
- Subscription Mode: Here you select whether you want your Members to have to manually join your Course, or whether they automatically join if eligible.
View from the Member's SiteIf the Manual Subscription option is selected, on the Member Site, the course will be accessed using the Join button. The Member cannot take a Module before joining the Course. If the Automatic Subscription mode is selected, the Course will be accessed via a View button. The course can be automatically joined by pressing the Take button on one of the Modules.
On the Member site, you can also filter courses depending on whether the Member has already joined it or not.
- Description: Here you can write a description of the course, including a bit about how it will be organized and its key learning outcomes. This field has a 255 character limit.
- Start Date: Select a date if your Course has a specific date to start. Note that it can't be earlier than the current date. If blank, your Course will be available as soon as it is activated.
- End Date: Select a date if your Course has a specific date to finish. It can be left blank if you want it to run indefinitely. This date cannot be earlier than the current date nor earlier than the Start Date.
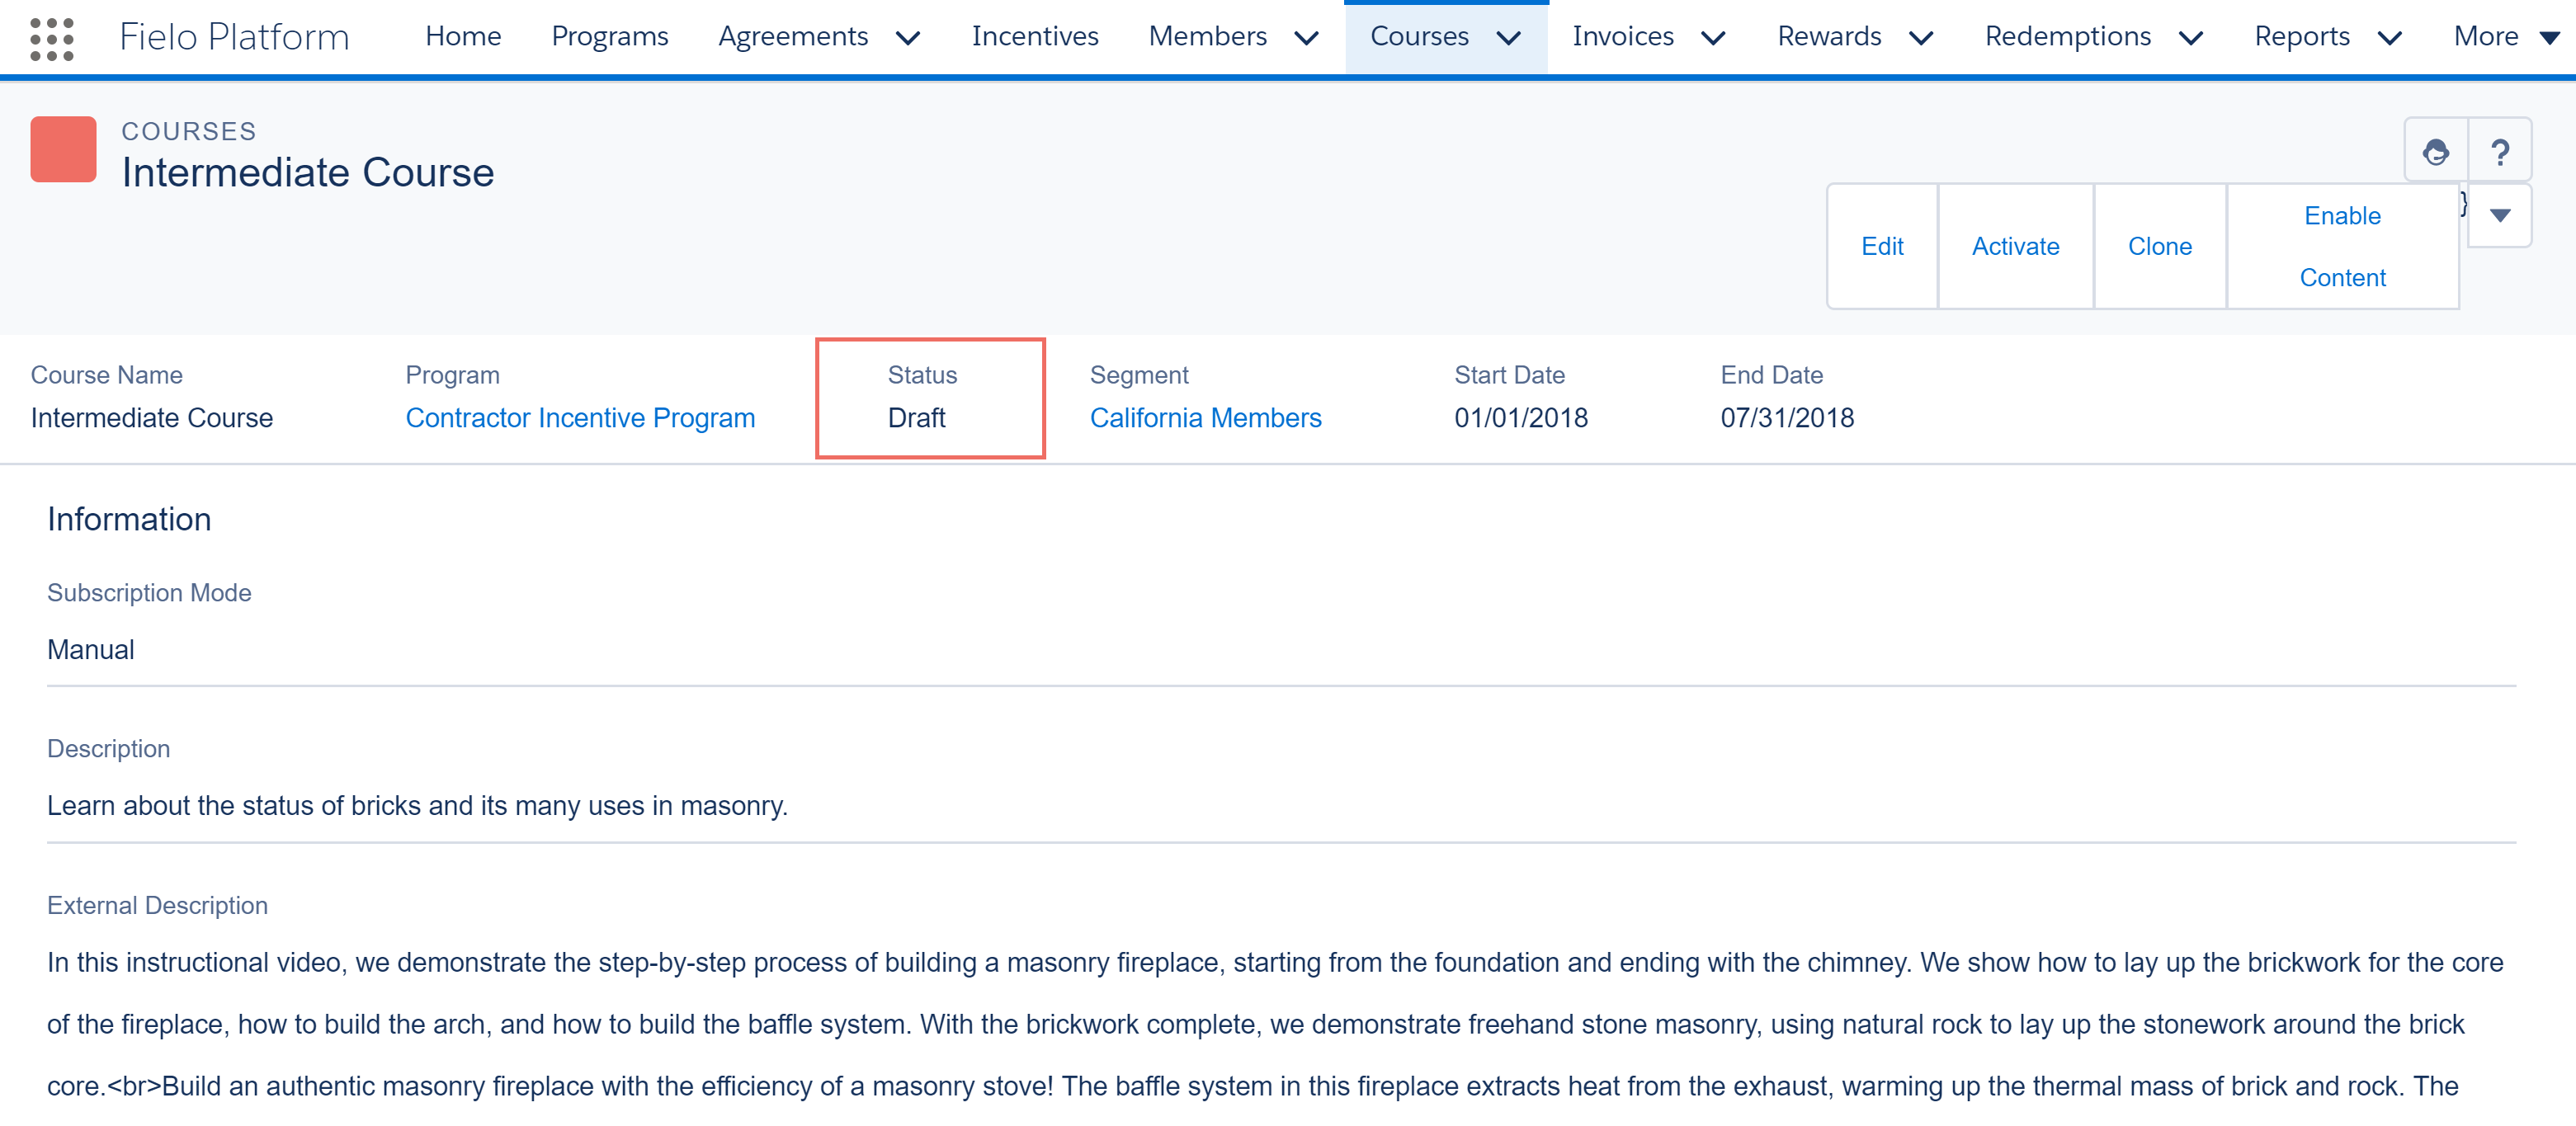
When you've filled out all the necessary fields, hit Save. You will then be automatically taken to a Course overview Page and the Course status will be set to Draft. Now it's time to set up the Course structure.
Course overview page
Course Models
We've tried to make your life that little bit easier by developing Models for Courses, with Modules and Questions already built in.
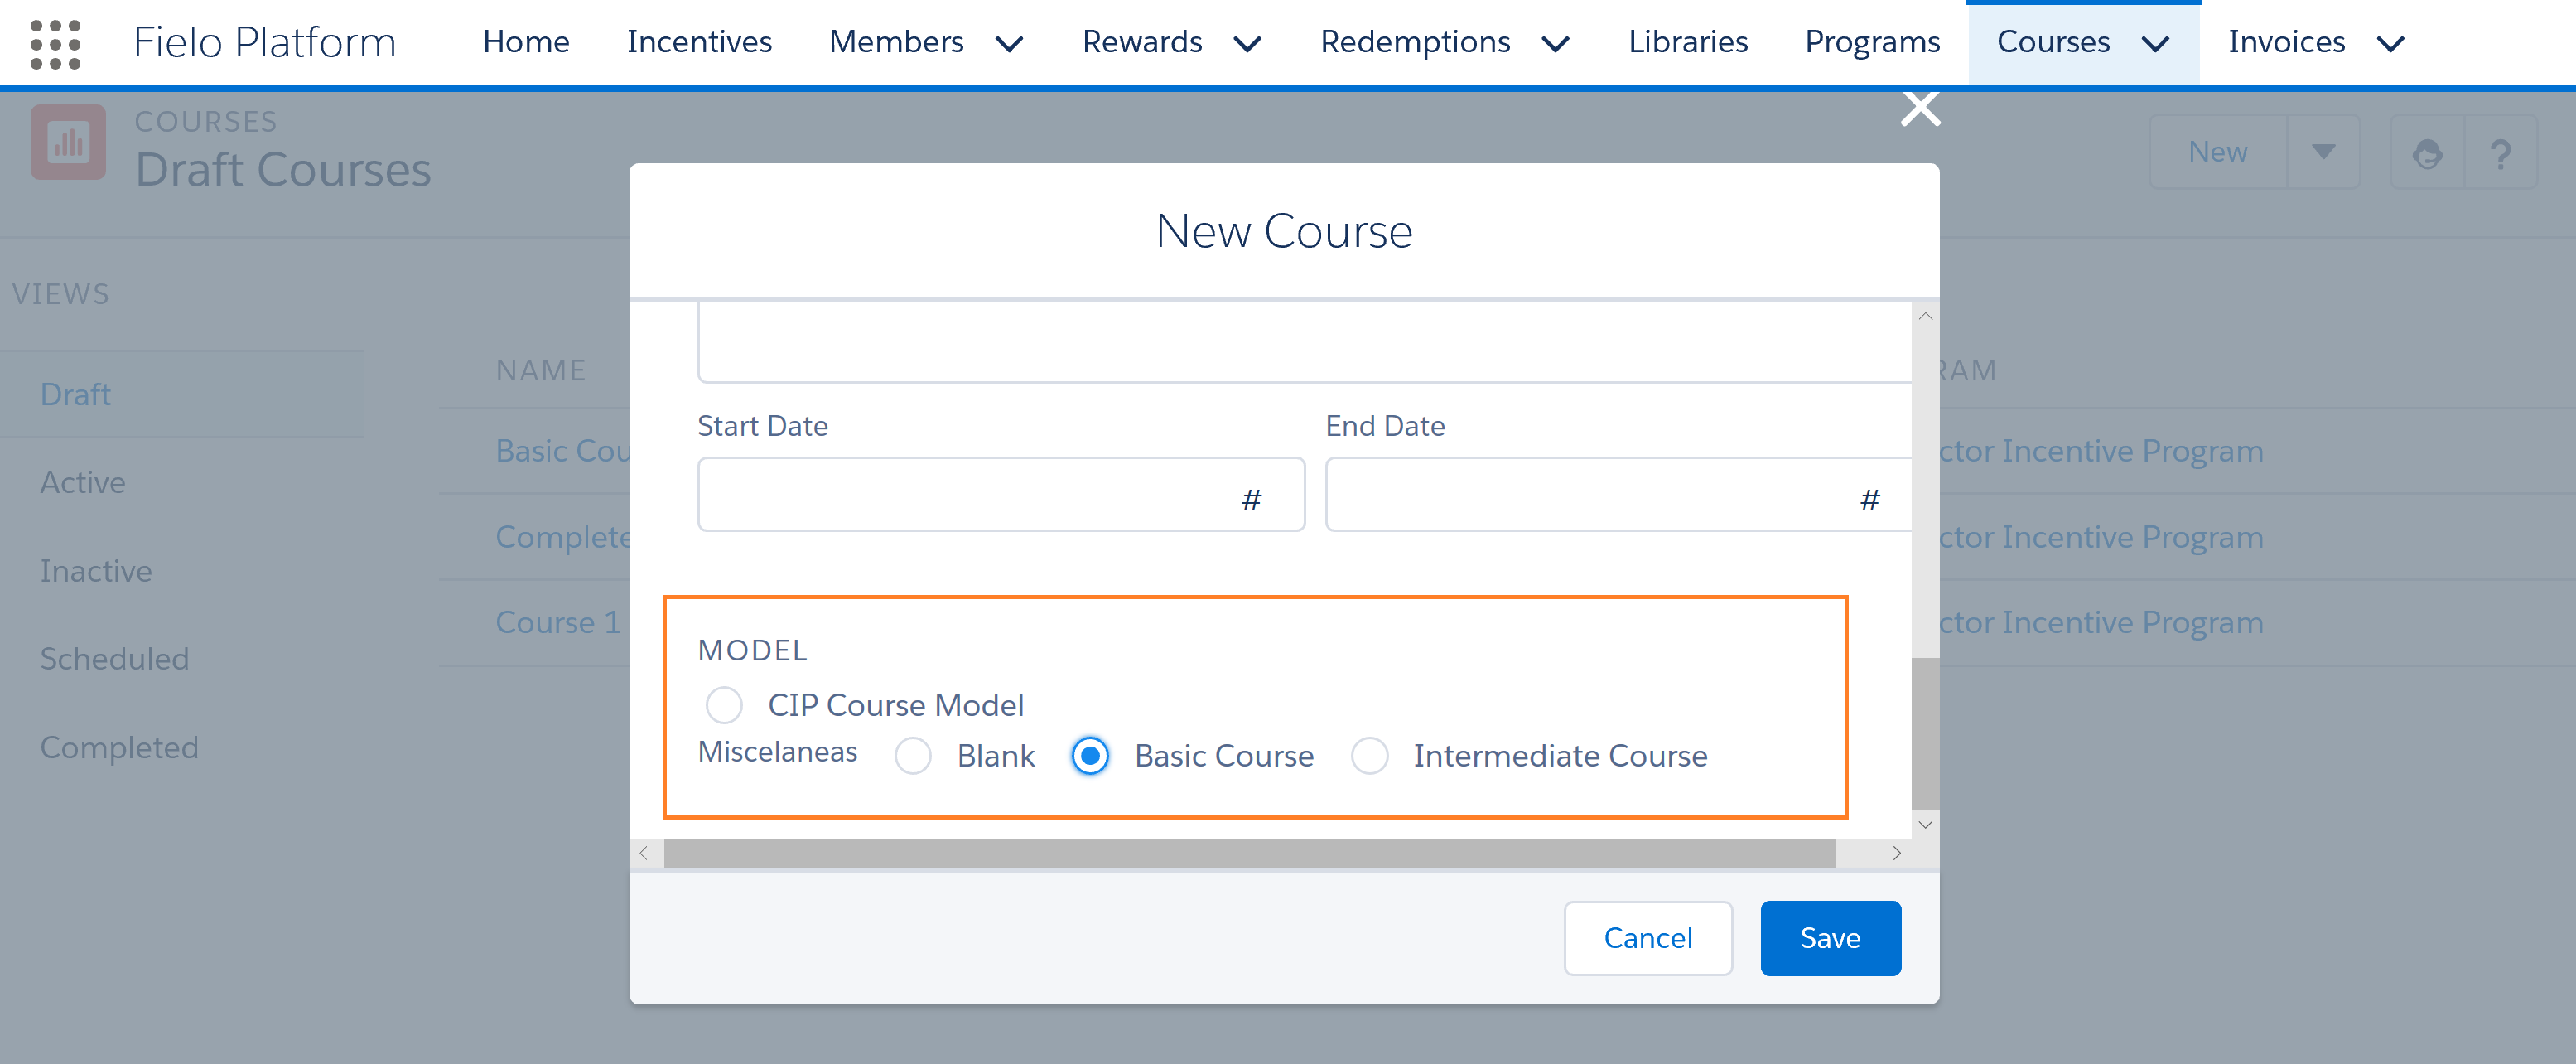
For the E-Learning App, there are two Models available: Basic Course and Intermediate Course. When you select one of these Models, you don't have to select a Start Date or End Date - just simply give the Course your desired Name and select the Model and then hit Save.
Basic Course
Selecting Basic Course
Once you've Saved, you'll be taken to the Courses overview. If you scroll down, you can see that Model Modules have also been created.
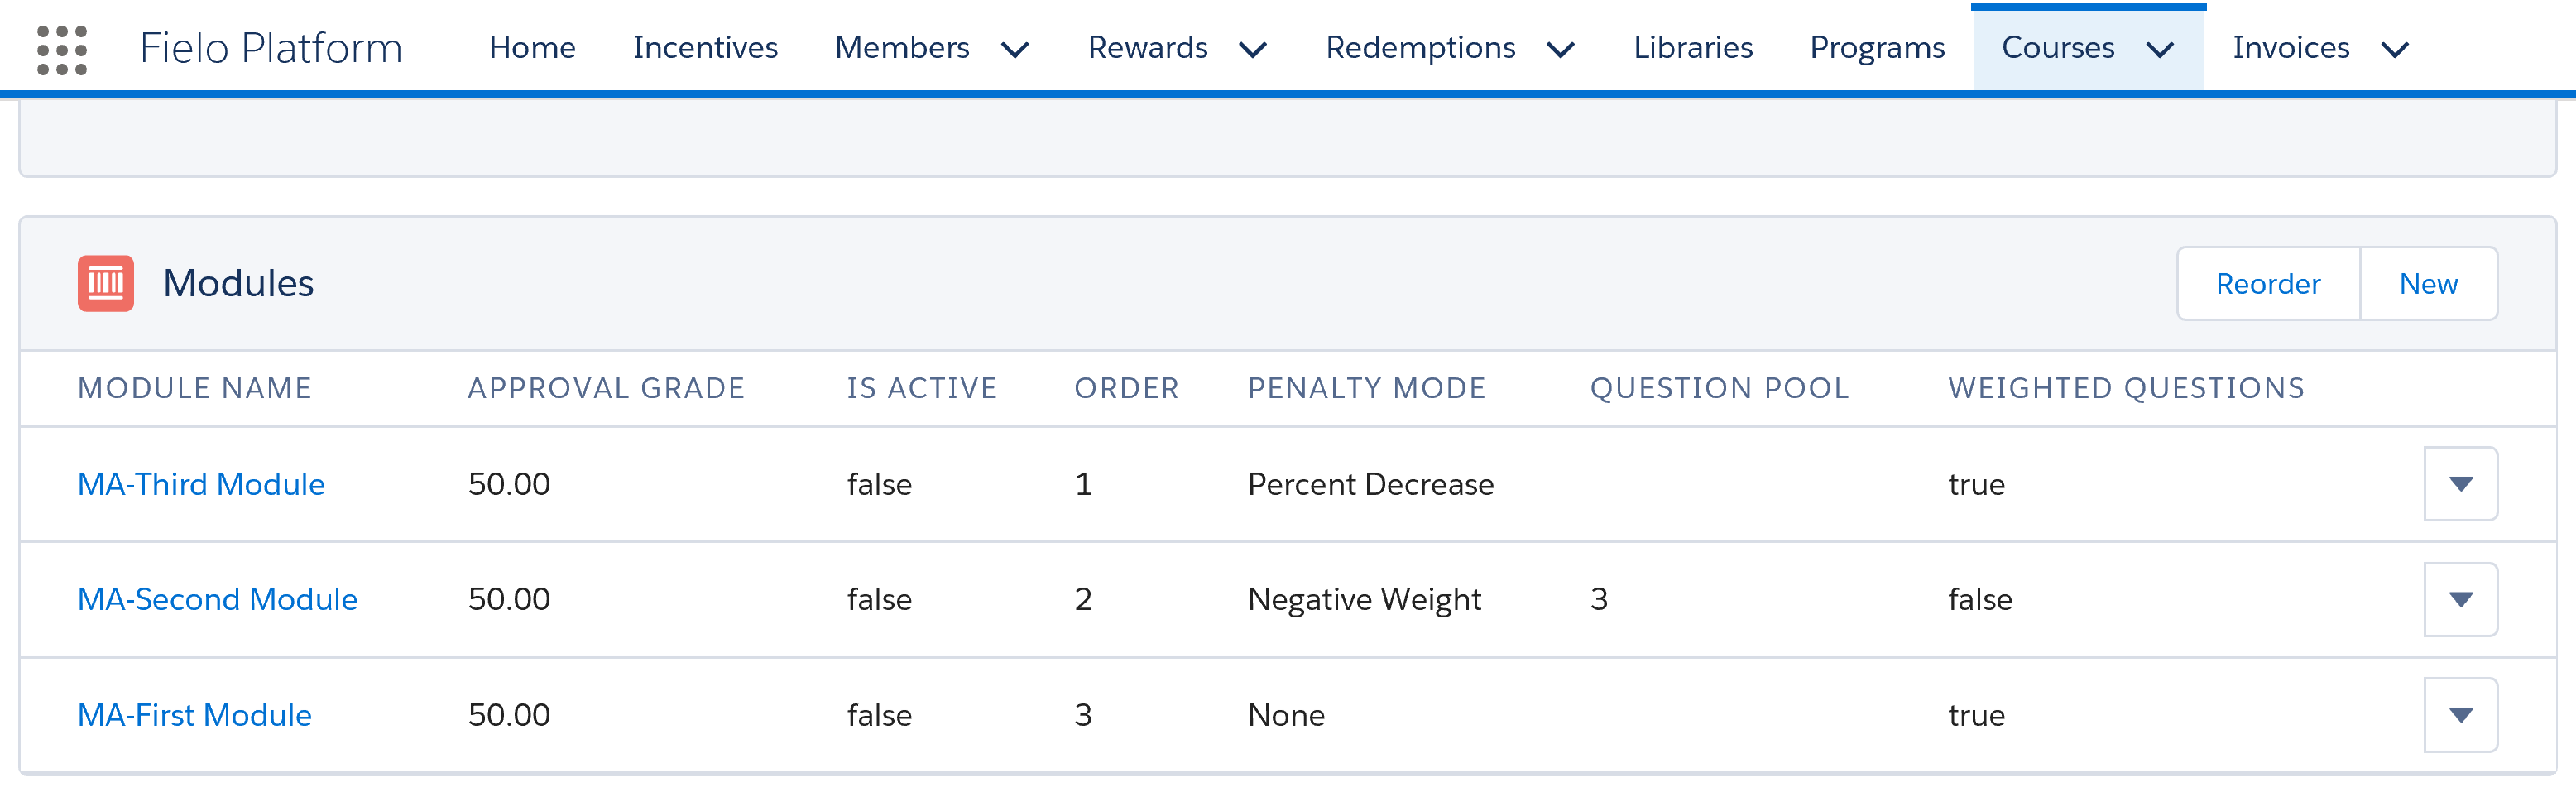
Modules Models
If you click through to any of these Modules you will see that they each come with pre-configured Question Models. They are all different Question Types, ranging from Multiple Choice to Matching Options. They have different configured weightings and different Penalties incurred for getting them wrong.
There are also pre-configured Module Dependencies, meaning that you have to complete certain Modules before you can proceed to the next. In this Model, for example, the Member has to complete Module 1 and Module 2 before they can complete Module 3, and they have to complete Module 1 before they can complete Module 2.
Now all you have to do is input the Course and Module descriptions, and create your Questions and Answers using the Models already set up for you. Easy peasy!
Feel free to tinker with the settings as you see fit - this is just a guide after all, and you're the boss. To do this, simply click Edit in the top right corner of the page.
Intermediate Course
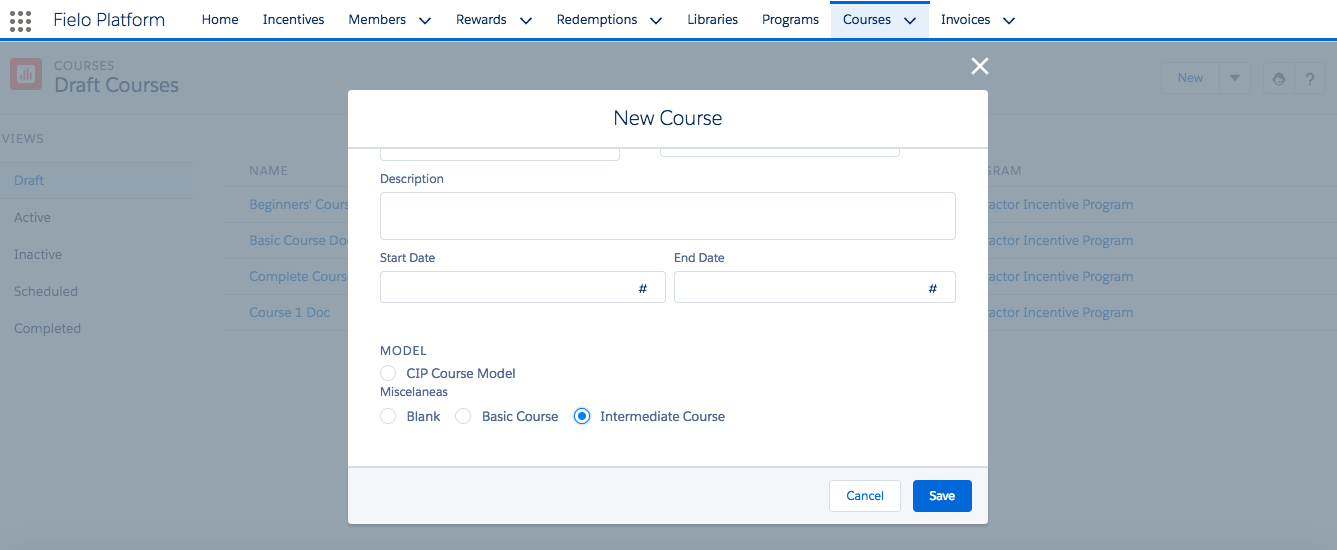
Intermediate Course Model
Once you have selected the Intermediate Course Model, hit Save. You will then be taken to a Course overview. Model Modules have already been set up.
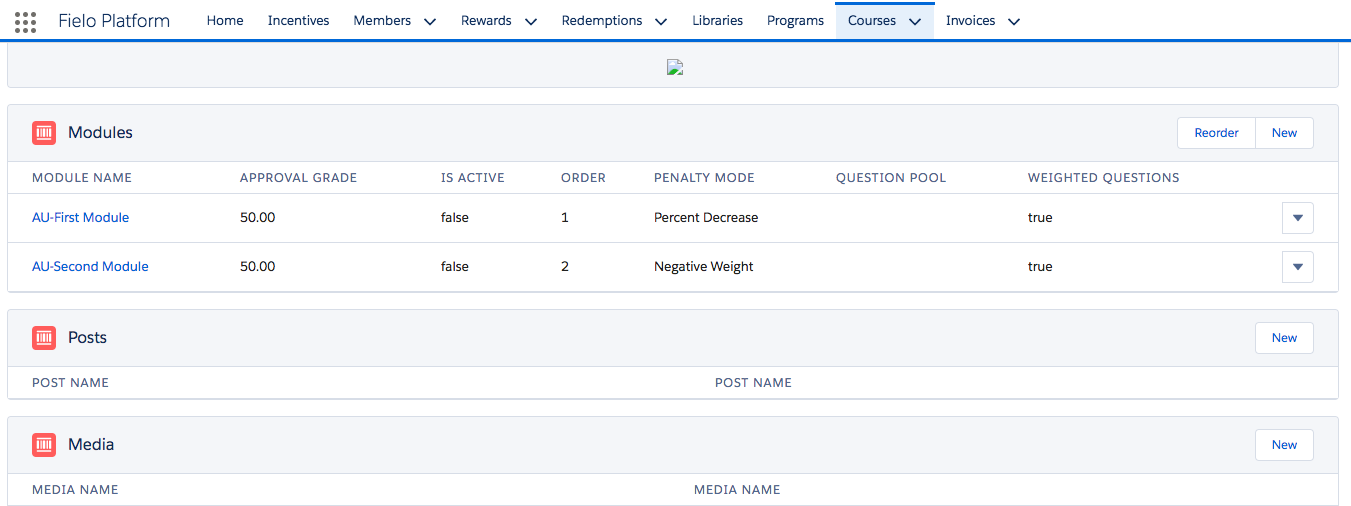
Intermediate Course Model: Modules
As you can see, they both have their Approval Grade set to 50, which means that Members only have to achieve 50% in the Module in order to pass. They each have different Penalty Modes and their Questions are weighted.
If you click through to any of the Modules, you will see that many of the settings are already configured. Members are allowed 3 attempts per Questions and also 3 attempts per Module.
A number of Model Questions have also been created as a guide.
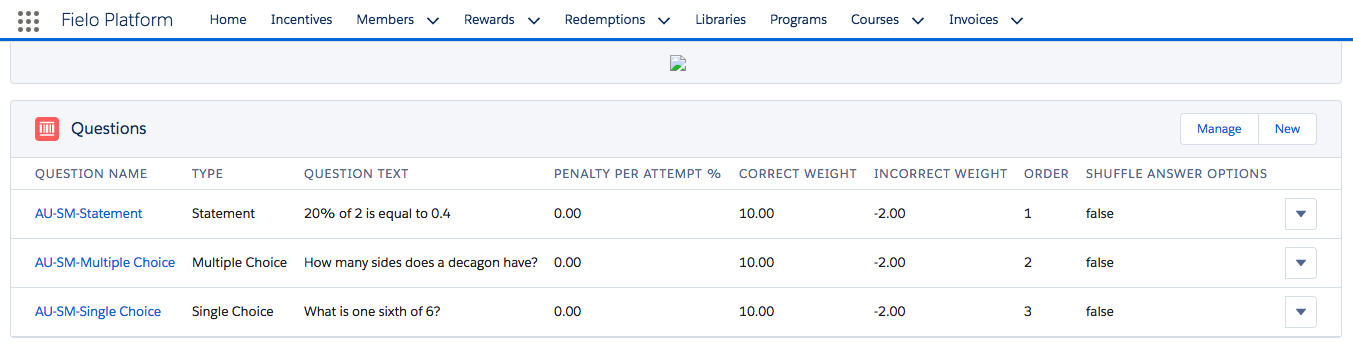
Intermediate Course Model Questions
Now all you have to do is input the Course and Module descriptions, and create your Questions and Answers using the Models already set up for you. Easy peasy!
Feel free to tinker with the settings as you see fit - this is just a guide after all, and you're the boss. To do this, simply click Edit in the top right corner of the Page.
Creating your own Model
It's also possible for you to create your own Course Model. Let's say you make a Course with a structure, Modules and settings you're really happy with, you may want to save it as a Model so you can use the same structure again. To do this, from the Course Overview Page, simply click on the on the top right of the Page, and select Save as Model.
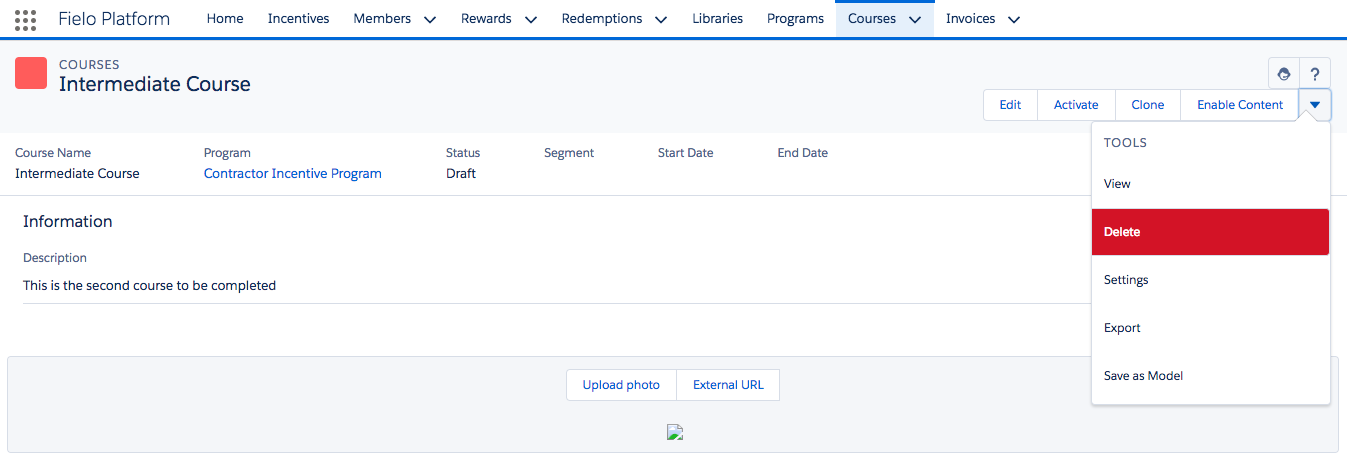
Create your own Model
You then simply have to give it a Name and Category and click Save.
Course Details
As you scroll down, you can see you have the option to upload a Course photo, which will be seen by the Member when they log in to their Site.
The section called Modules is where you will begin developing your Course structure and Content. Refer to the Make Course Modules page for a detailed walk-through on how to develop your Modules.
The Course Dependencies section refers to whether the Member needs to have taken another Course before they can proceed to this one. If you would like this to be the case, select New on the related list and type in the name of the Course you'd like them to take first, in the Predecessors box. Then press Save.
Course Status will show all of the Members who are taking the Course in the Name column, and their current Progress in the Progress column.
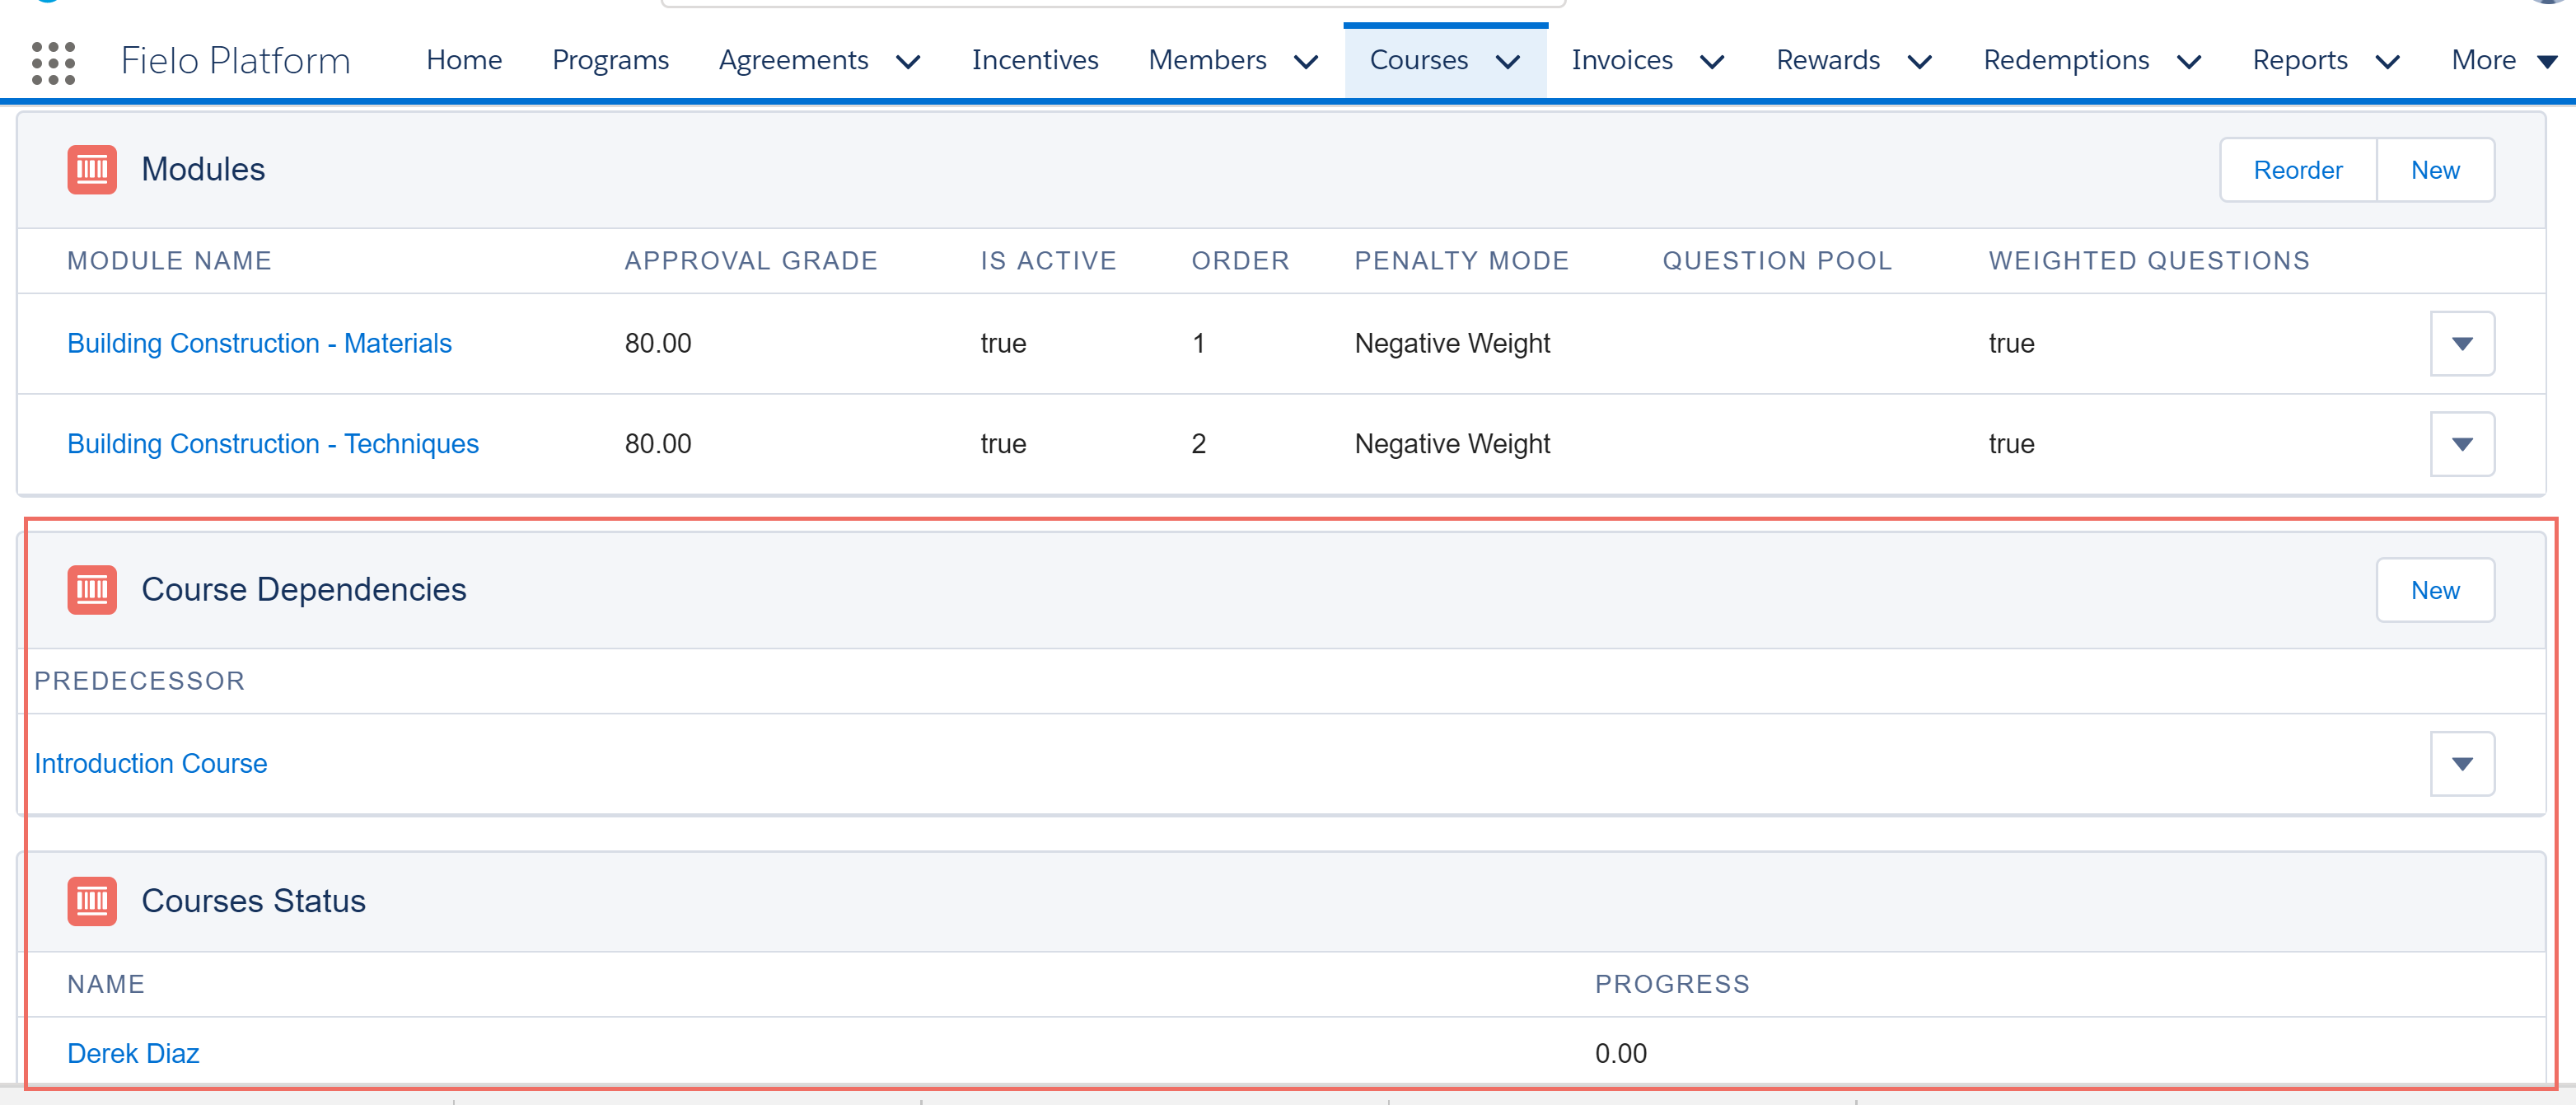
Course Dependencies and Member Status
Activating and Inactivating a Course
To activate a Course, it must have at least one active Module. To find out more about how to create Modules, refer to Make Course Modules.
To activate your Course, simply go to the Course overview Page and click Activate.
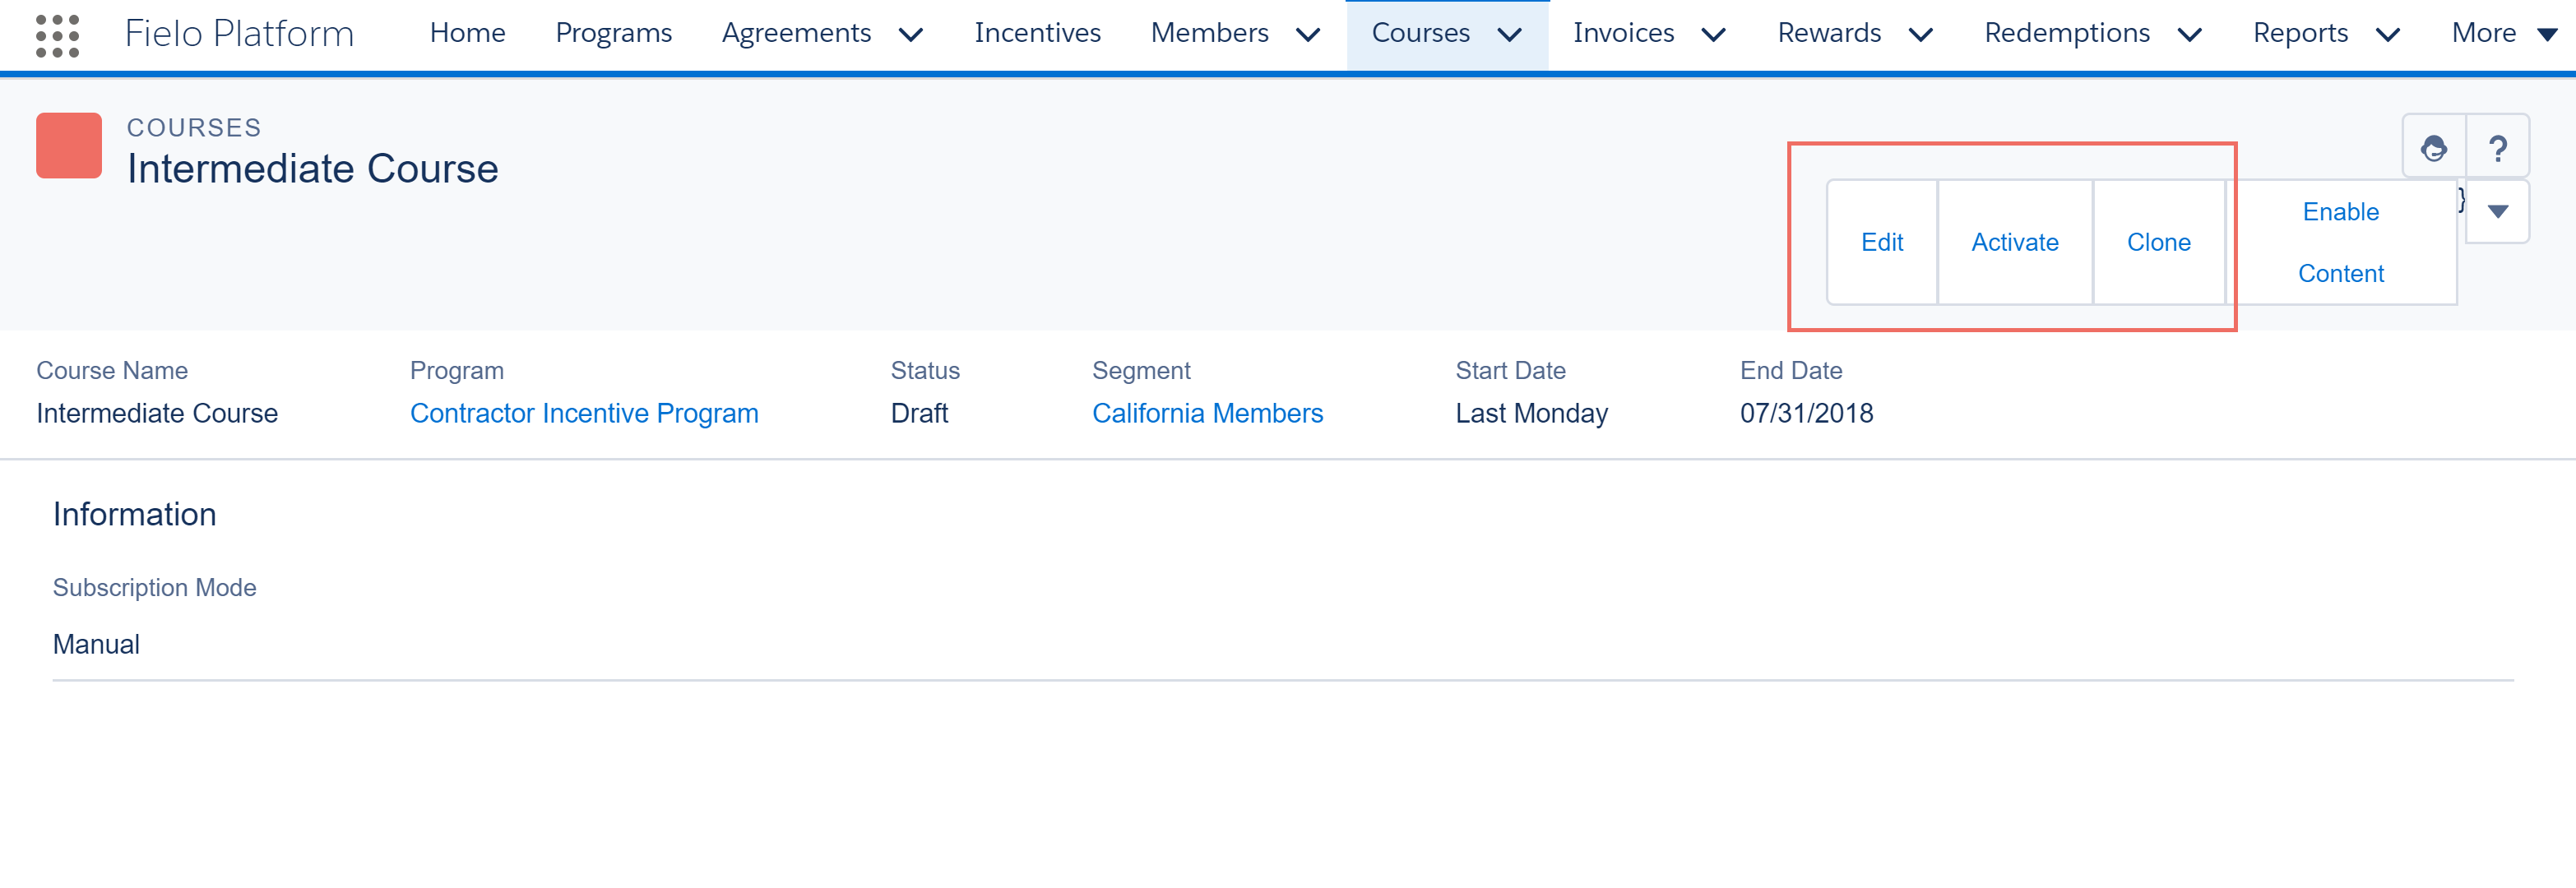
Activating a Course
Now, depending on the dates that you configured for your Course, your Course will then become either:
- Active: Your Course will appear as Active if you didn't set a start and end date, or if the current date falls within the active period you set.
- Scheduled: Your Course will appear as Scheduled when the start state is later than the current date.
- Completed: Your Course will appear as Completed when the end date is before the current date.
Automatic changesFor courses which are Scheduled, the system automatically changes their status to Active as soon as the Start Date arrives.
For courses which are Active, the system automatically changes their status to Completed as soon as the End Date arrives.
A course can be disabled at any time. When you deactive a Course, its status is set to Inactive and none of the fields can be edited.
Cloning Courses
There may be times when you really like an existing Course structure and want to reuse it for a new Course you're developing.
From Course overview, simply click the Clone and the whole course structure (with its Modules, Questions and Answer options) will be duplicated.
The cloned Course must have its Start Date and End Date edited to a valid period, and all the other fields can be edited as well. When created, the cloned Course will automatically have its status set to Draft and its Modules will be Inactive, allowing you to make all necessary changes.
Updated over 1 year ago