
Add a Communication
Communications are the messages you send to your recipients. They reside inside Campaigns. Once you've set up a Campaign, you can add Communications to it.
To do so, navigate to a Campaign and, on its detail page, click New Communication.
Create a Communication
Give the communication a name and, optionally, a description.
Then, choose whether you want to create the communication from scratch or start off from a template. When choosing a template, you can still make changes before finalizing the communication.
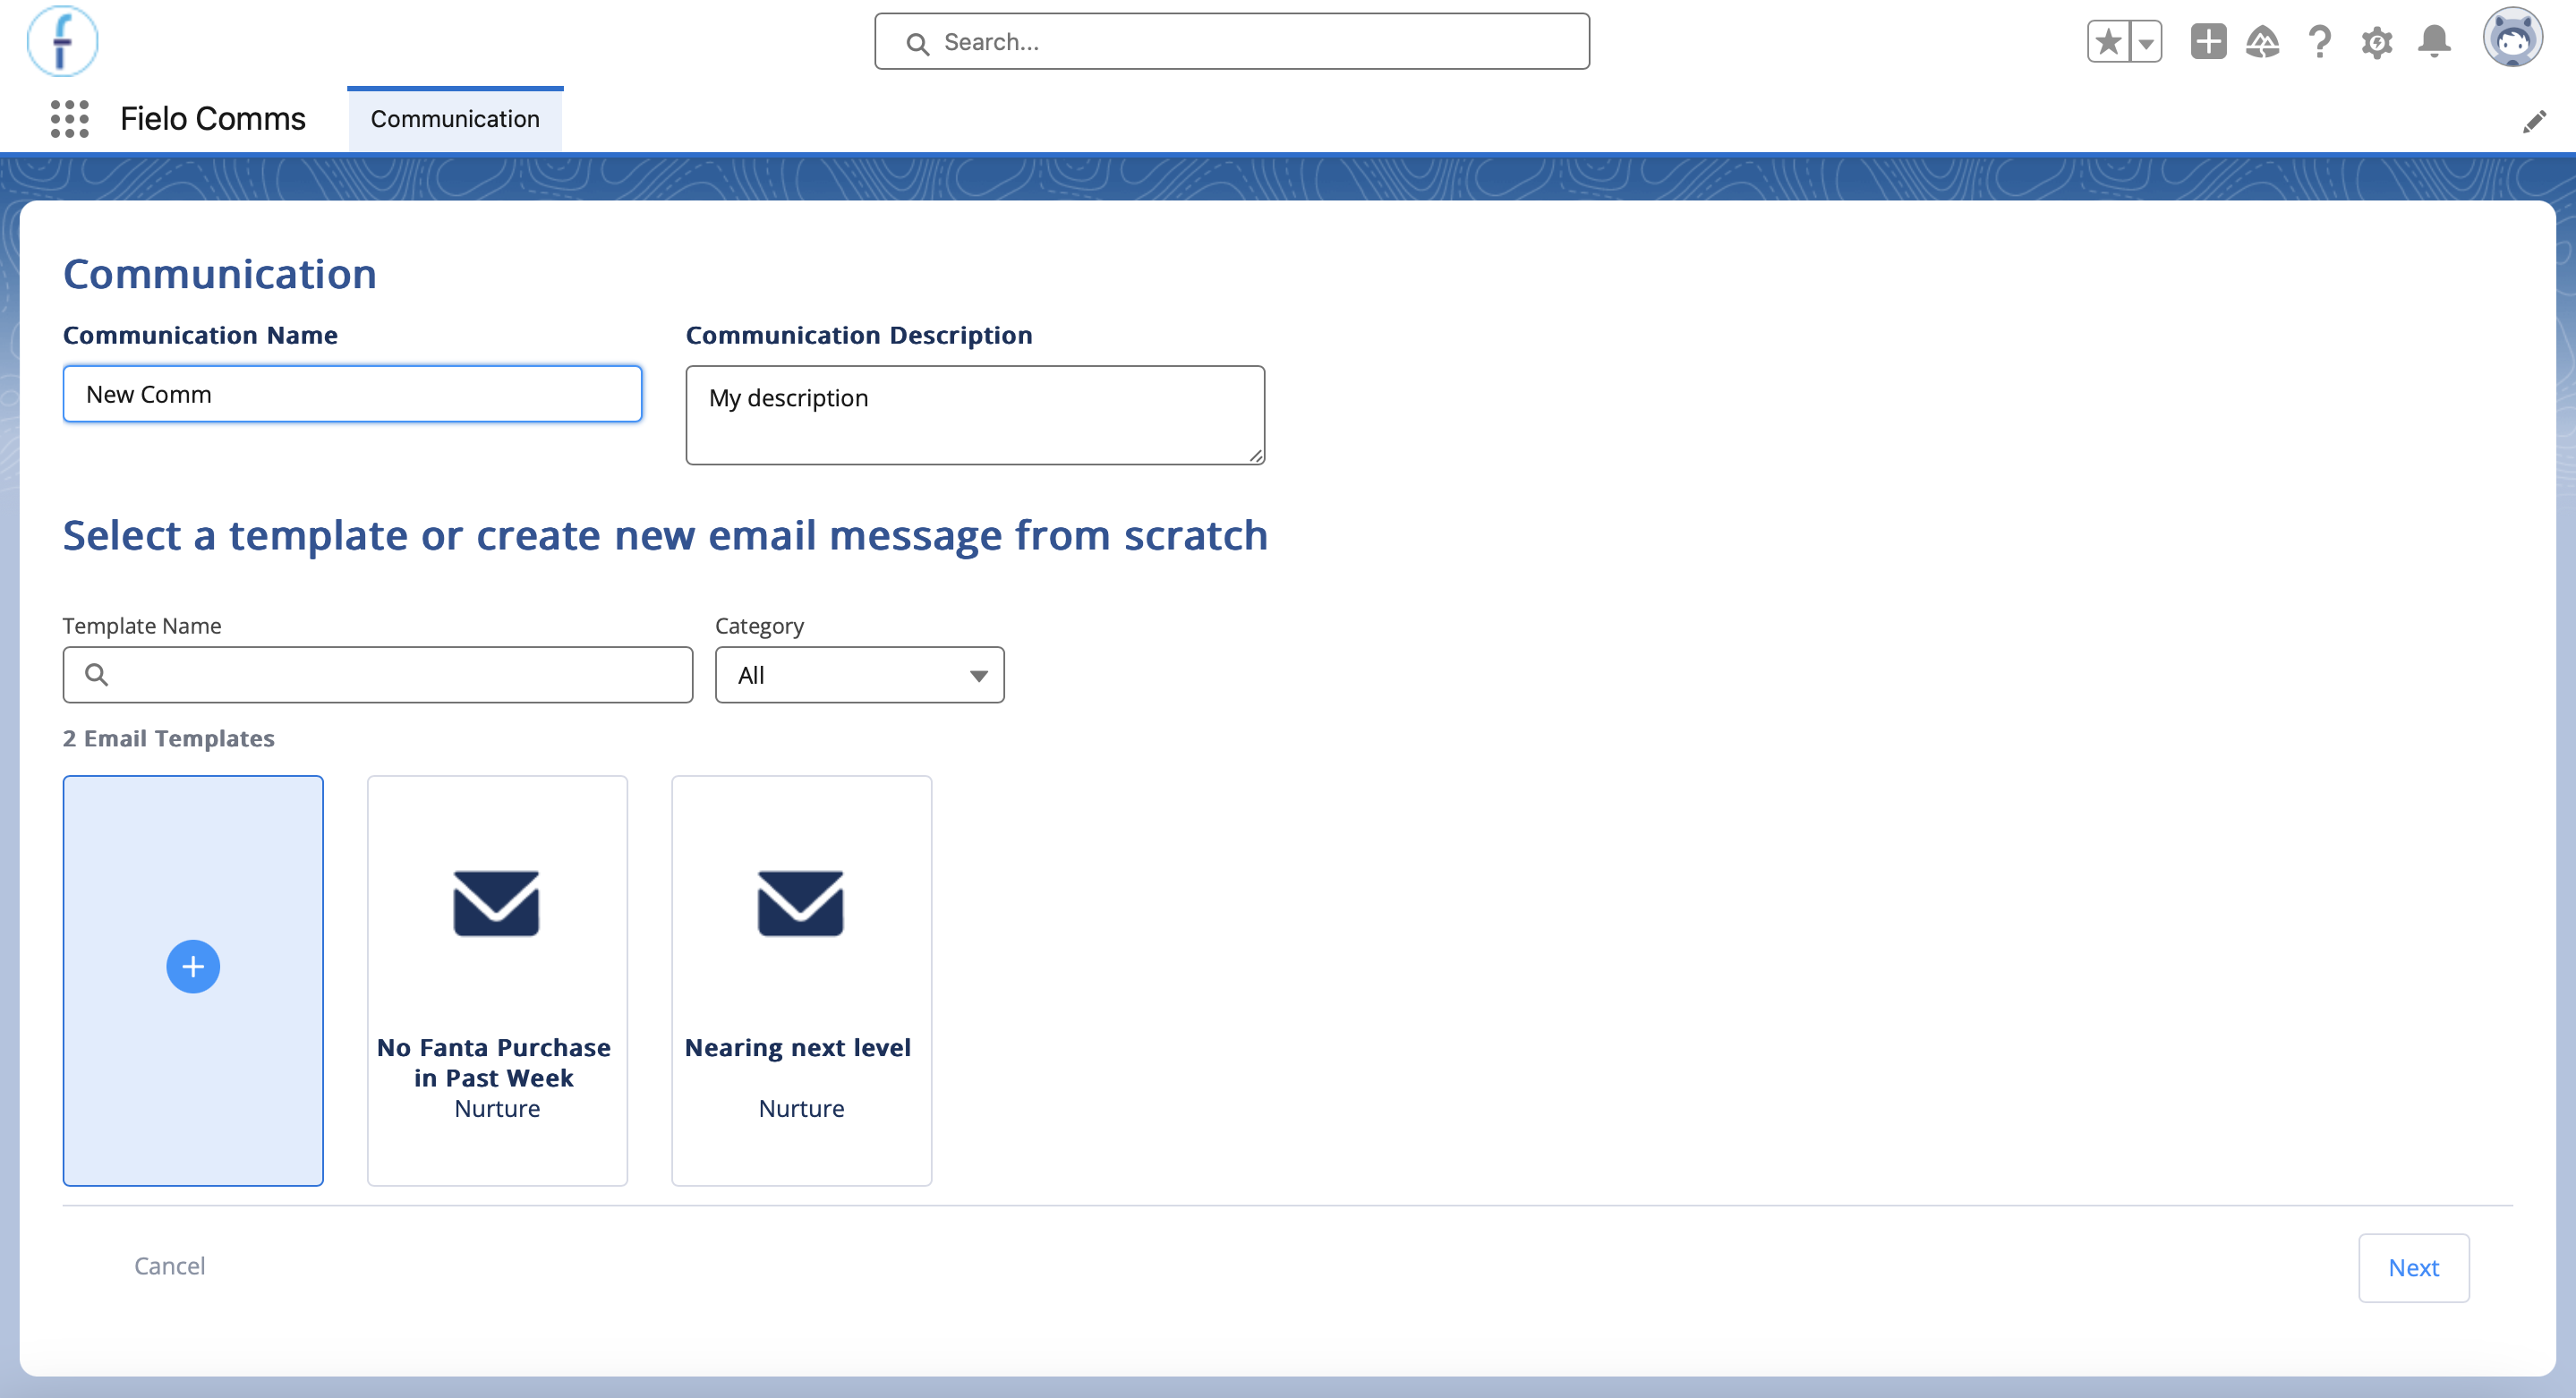
When you're ready, click Next.
Configure Your Message
Once you've decided whether to use a template or create from scratch, you can configure the details of your message.
Choose a Sender
Choose which sender your recipients will see. You can choose from any of your verified organization-wide email addresses.
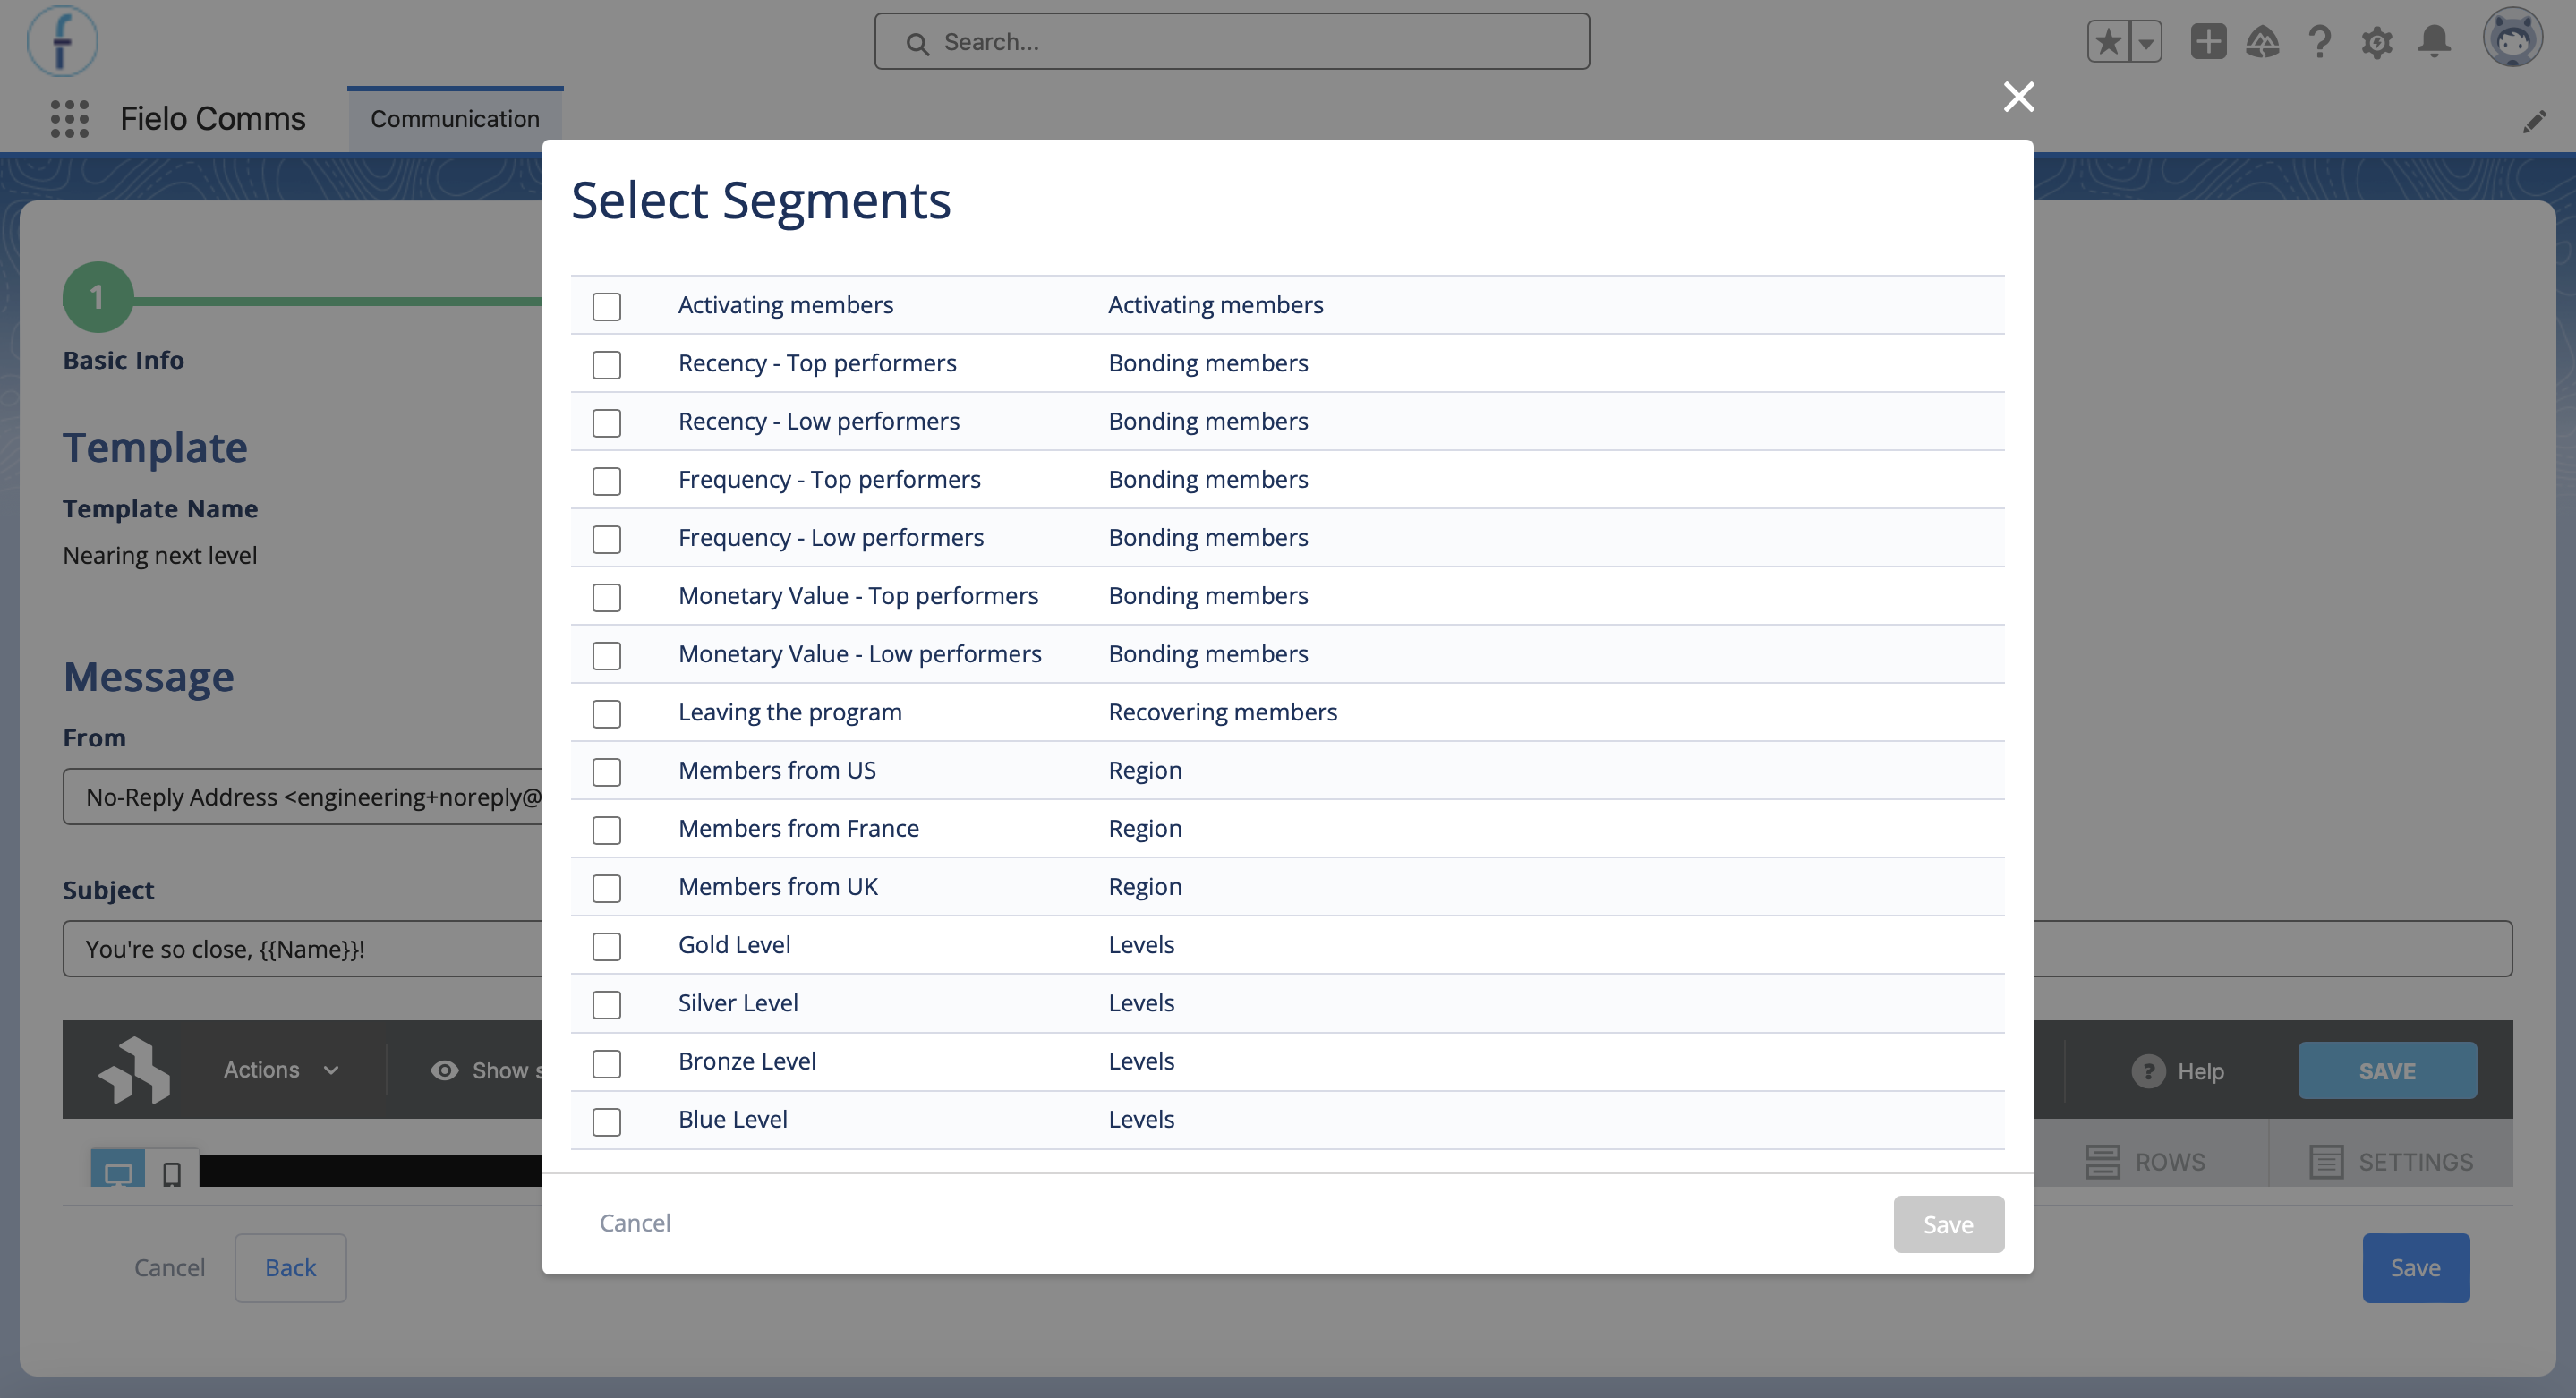
Select One or More Segments
Select which segment(s) will receive your message. You must select at least one.
Specify When to Send
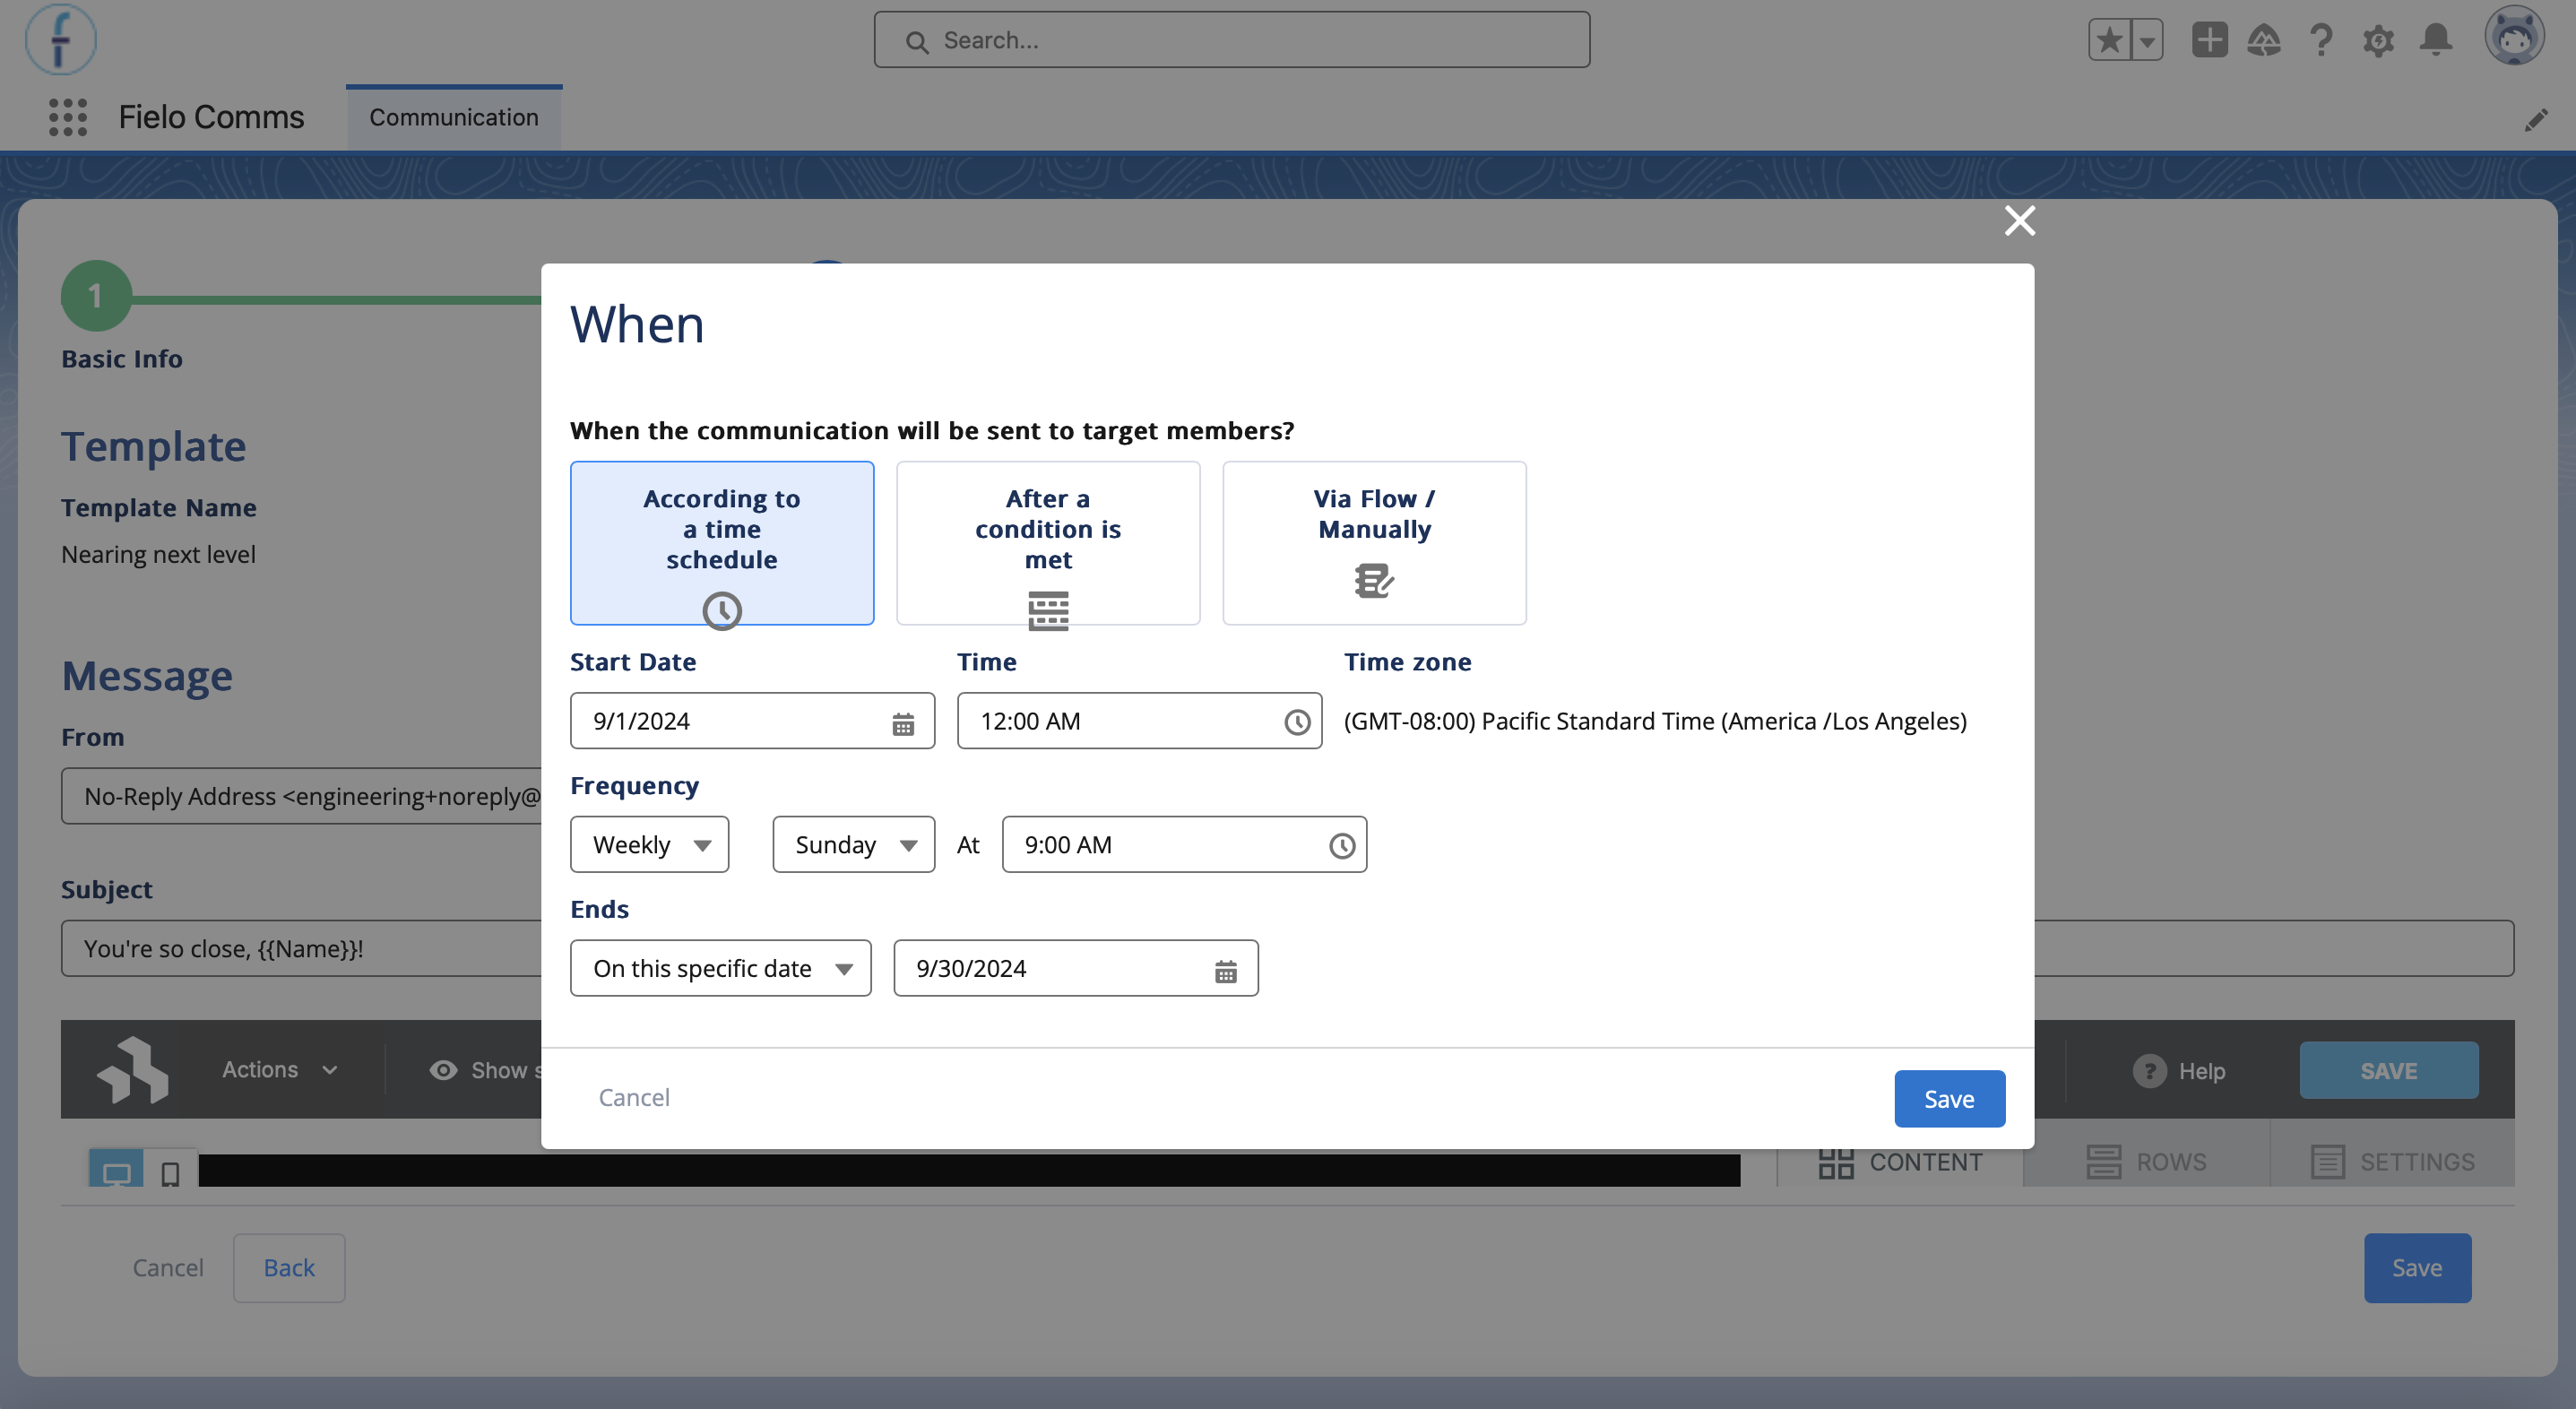
You can send messages according to a schedule, after a condition is met in Fielo, or via Salesforce Flow.
According to a Time Schedule
This mode sends out your communication when you schedule it. The start date and time defines when the comm can start to be sent out. The frequency determines the actual cadence and timing of when it will be sent, such as:
- Daily at a specific time
- Weekly on a specific day at a specific time
- Quarterly on a specific day of the first, second, or third monthly of the quarter, at a specific time
- Semiannually on a specific day of the first, second, third, fourth, fifth, or sixth month of the half, at a specific time
- Annually on a specific month and day at a specific time
The cadence can end either after a certain number of sends, or on a specific date.
After a Condition Is Met
You can send out your comm whenever an action is triggered in Fielo. Comms Center leverages the Actions you've already set up. When choosing this option, members inside the segment(s) you selected will receive your comm when they've performed the action you specify here.
Via Flow / Manually
Finally, you can trigger the sending of your comm through external means, such as through a Salesforce Flow.
To do so, simply create the flow of your choice and, as part of it, create a Communication Request record with the following fields filled in:
- Communication: The ID of this Communication
- Target: The ID of the Member who is to receive the Communication
- RecordId: The ID of the record to which the Communication refers (we use this to include dynamic content relevant to the context of the Communication)
AI Assistant
Next, create content for your email. For help in writing email copy, feel free to ask our AI Assistant by clicking Help me write this message.
When using the AI Assistant, you send initial instructions and then, optionally, refining instructions. Alternatively, you can restart from scratch, in which case the assistant will discard any previous dialog. When you're satisfied with the text, you can copy and paste it into the template builder.
Additional ContextBy default, Fielo will include contextual information to help the assistant craft better copy. You can control what supporting data is sent in the Include content in the prompt settings.
Dynamic Content
You can add dynamic data to your message. This can be data from the Member and Program objects. You may also have the options of Promotion or Challenge (if the Campaign's scope is a specific incentive) and/or triggering object (if the Communication is triggered by the Fielo rules engine or via a Salesforce Flow).
To use dynamic data, select an object and then a field of that object, and then copy the resulting string and paste it into the message body.
Advanced: Multi-HopIf you know how to work with Salesforce field paths, you can hop up to 4 times on Fielo objects and up to 5 times on triggering objects. Be sure to append lookups from custom objects with
__rinstead of__c.Example:
{{FieloPLT__LevelMember__r.FieloPLT__Level__r.FieloPLT__Benefits__c}}
Message Body
Fielo Comms leverages the BeeFree editor for email content. BeeFree allows you to add rows, spacers, images, buttons and more. For in-depth info on the editor, check out BeeFree's End User Guide. (Note: Not all features listed on the guide are available in Comms.)
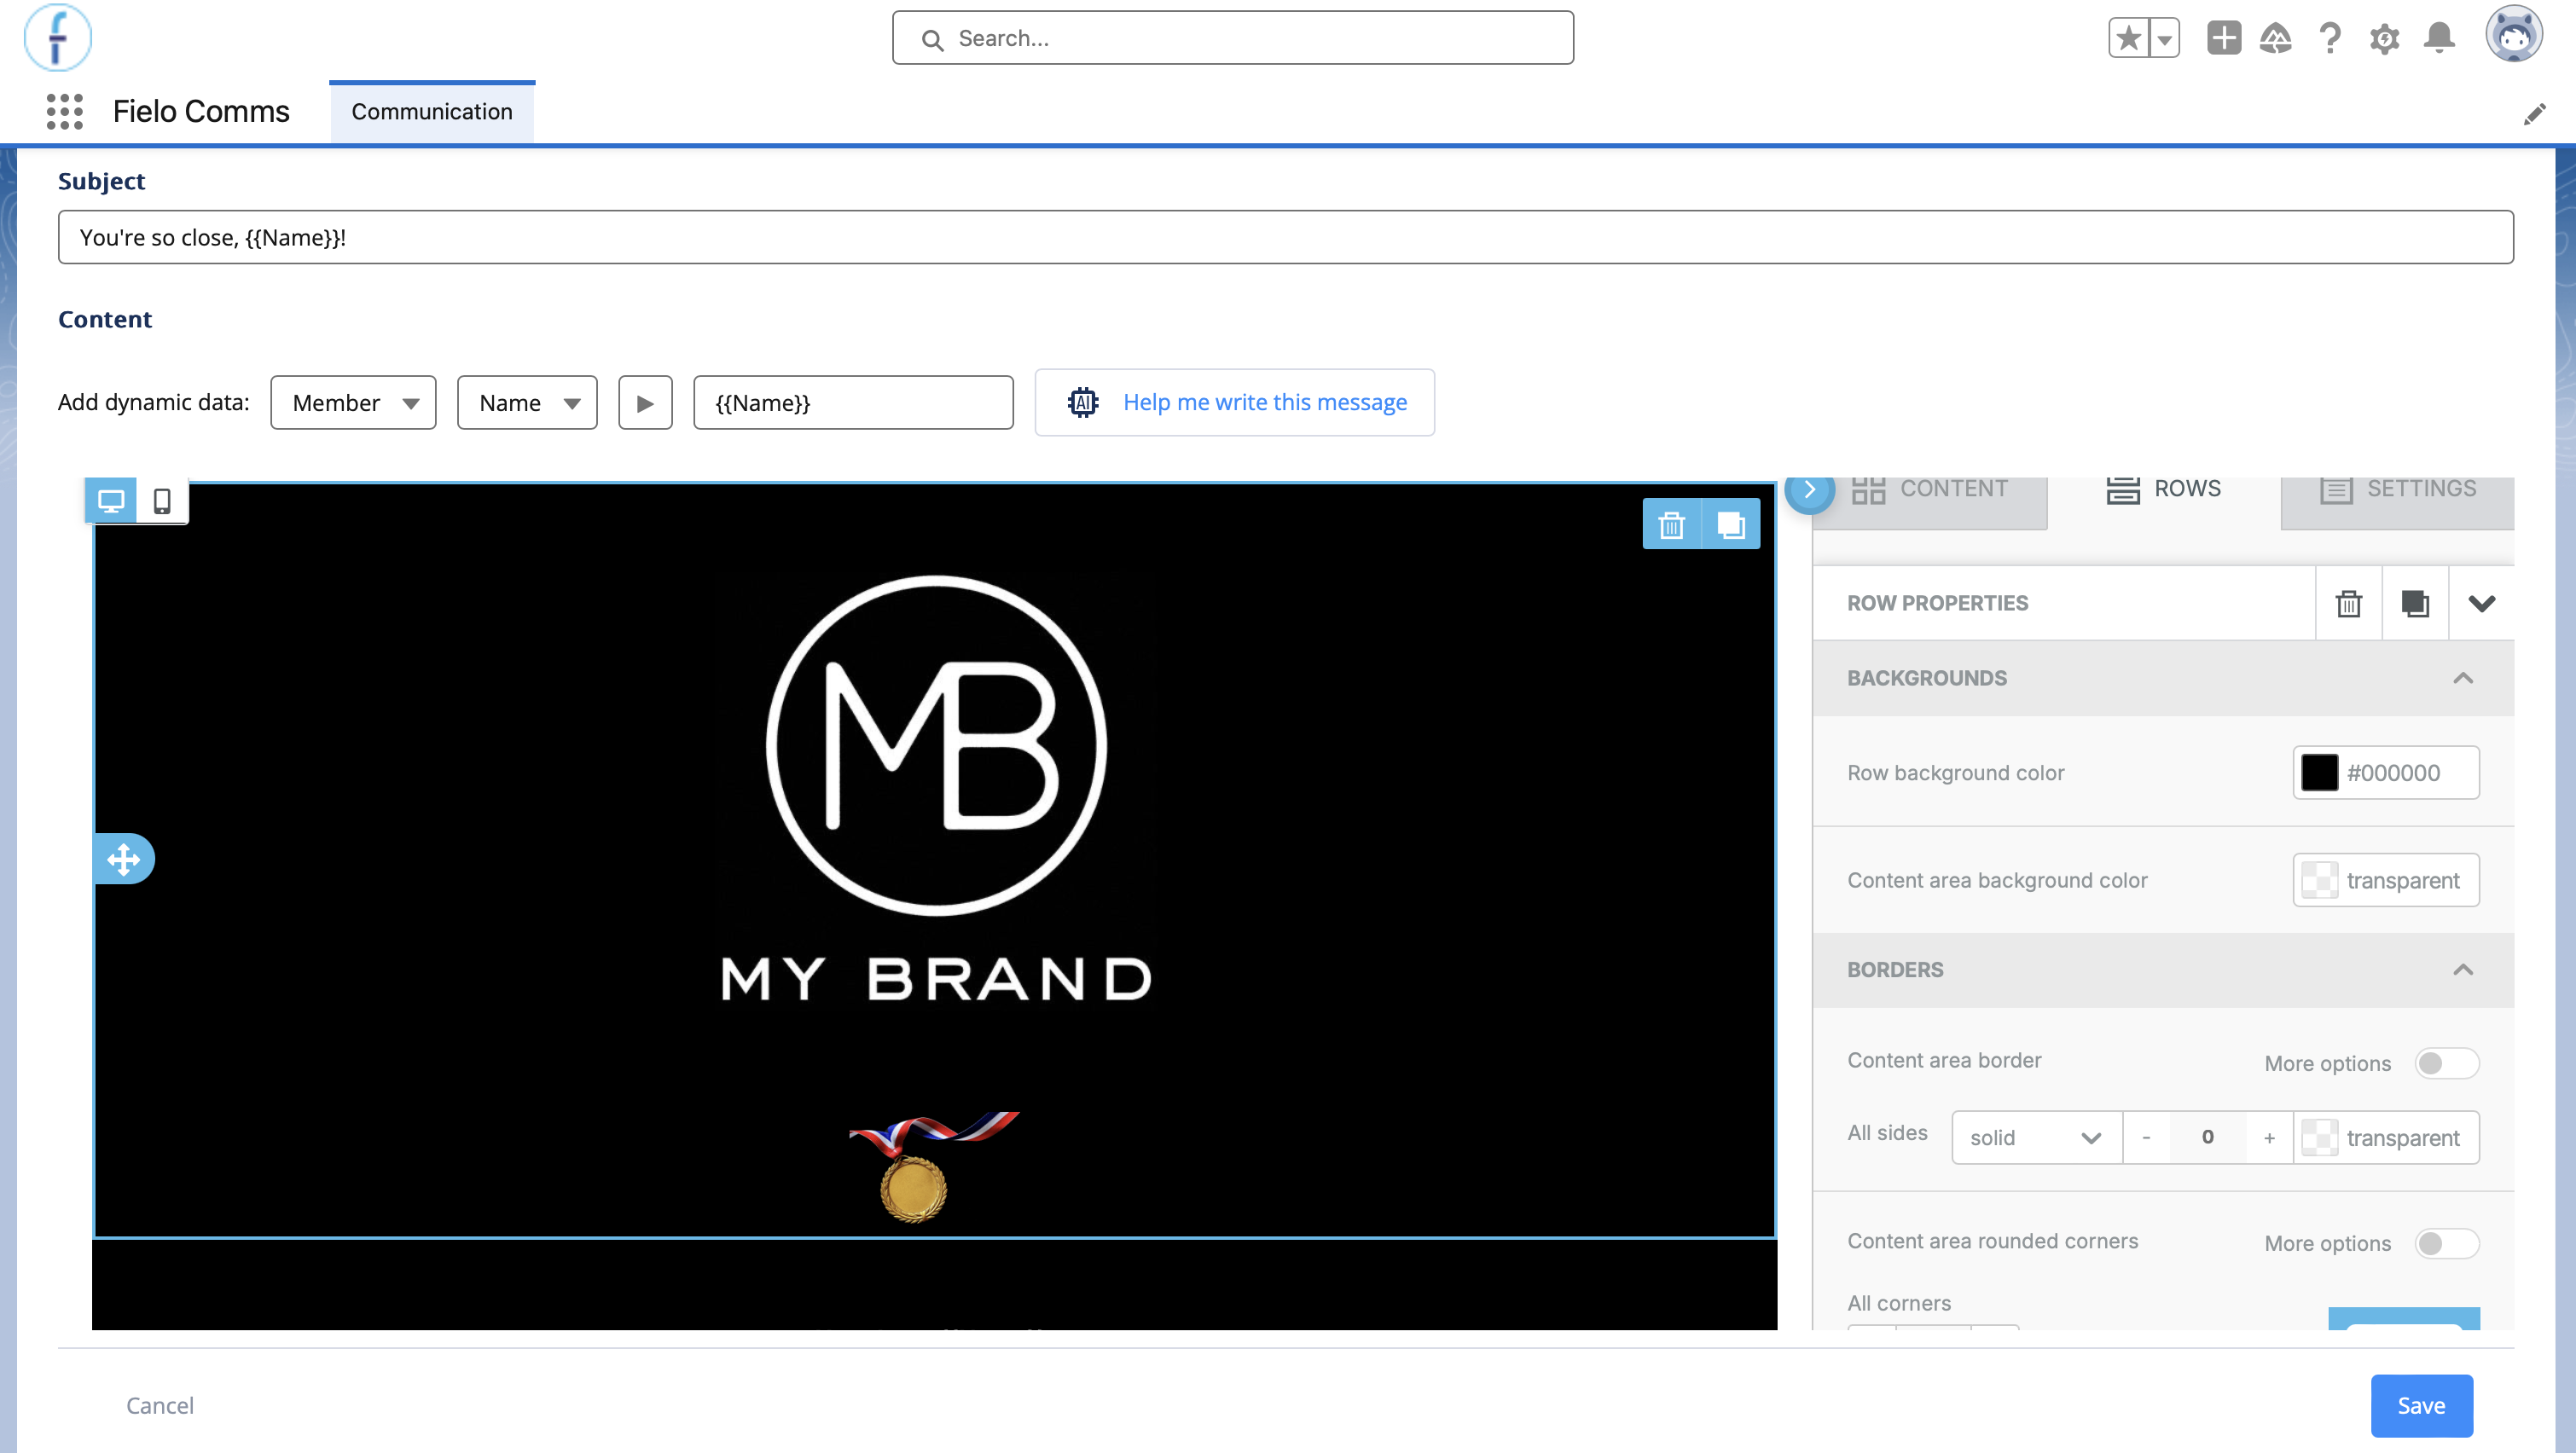
When you're done configuring the content of your message, go ahead and save.
Click Save on the bottom of the page. Do not click the "Save" button located inside the BeeFree editor.
Activate Your Communication
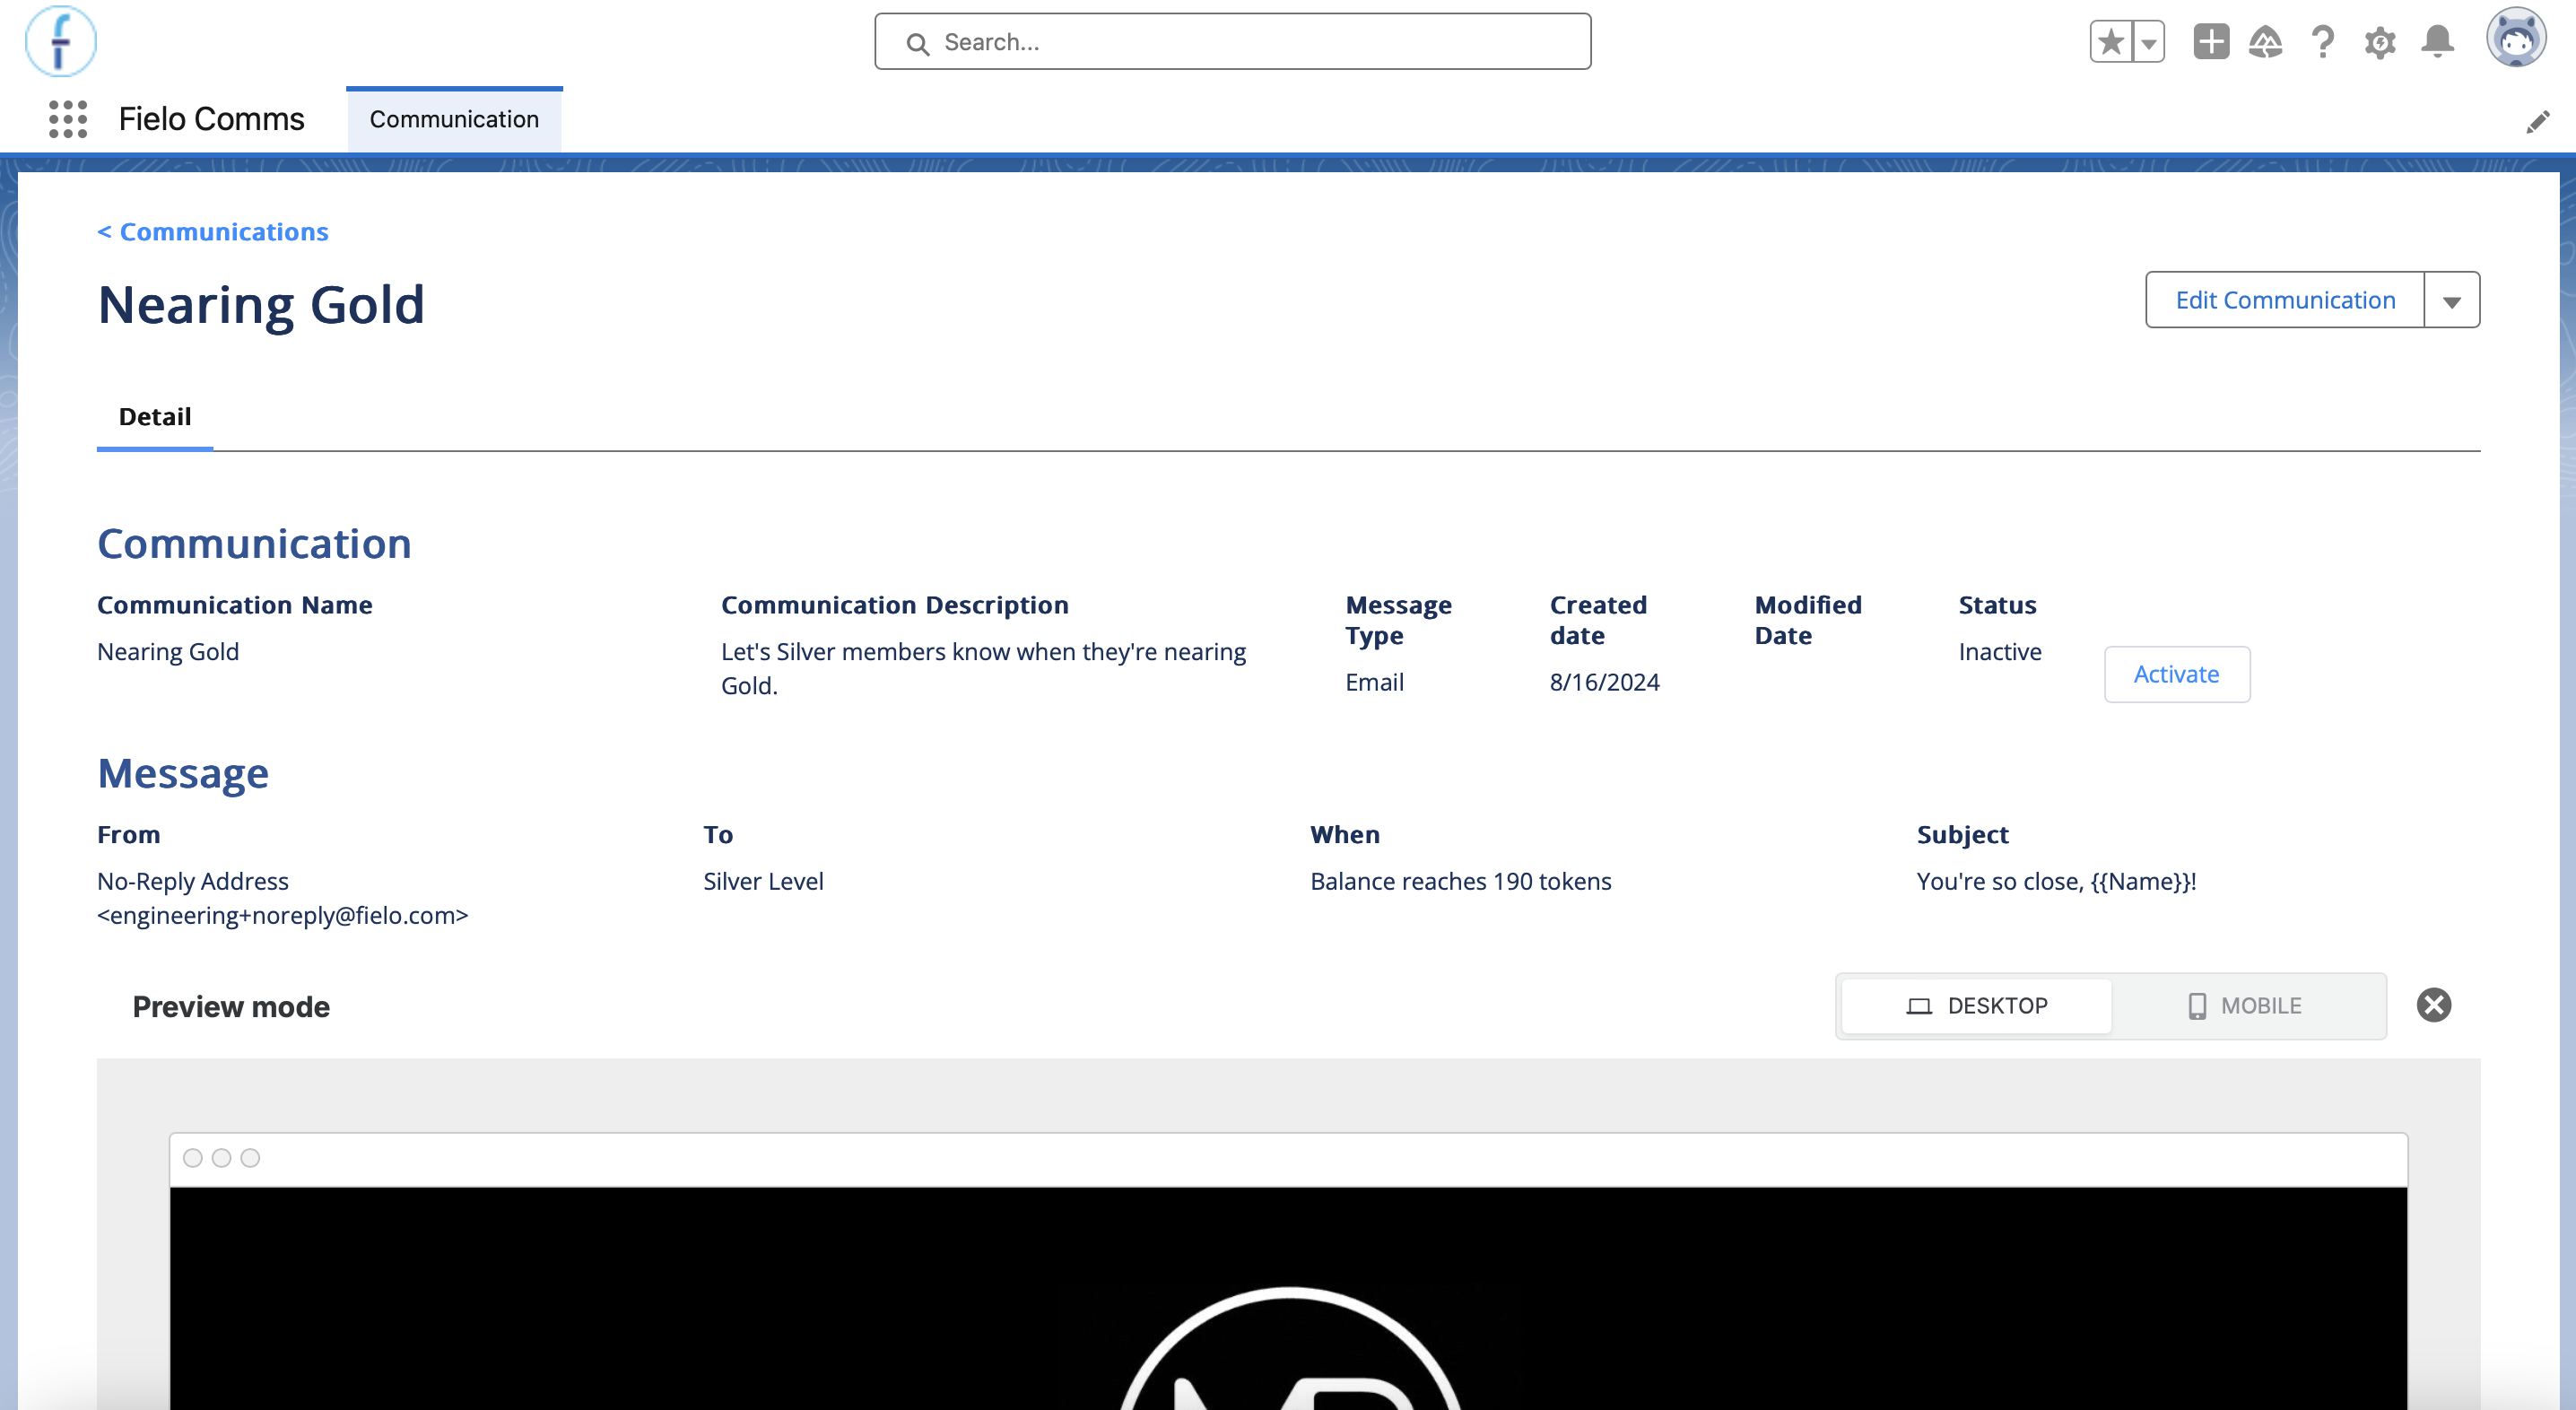
When you're ready to make your communication to go live, navigate to the detail page of the campaign in which it sits and click on the name of your communication. On the detail page, click Activate.
Note that, for this and any other communications to be sent out, the parent Campaign must also be active.
Updated over 1 year ago