
Member Experience
Configure your Salesforce Community or Fielo CMS Site for your members to take courses
Community Cloud
If you're using Salesforce Community Cloud for your loyalty portal, get your members learning right away with the My Learning suite of components.
Fielo CMS
Are you using Fielo CMS for your loyalty portal? If so, you'll need to create a Site where they can access all the available Courses and Modules, as well as assess their past performance, and request Rewards. Thankfully, the team at Fielo has made a number of page Models which you can select for your Site.
Creating your Site
To create your Site, start by reading Getting started with Content and then refer directly to information in Sites.
Setting up the E-Learning Pages
There are five specific E-Learning-related Pages you need to create for your CMS Site:
- My Courses: This is the Page where your Member can see all the Courses they've completed or are in the process of taking. It looks like this:
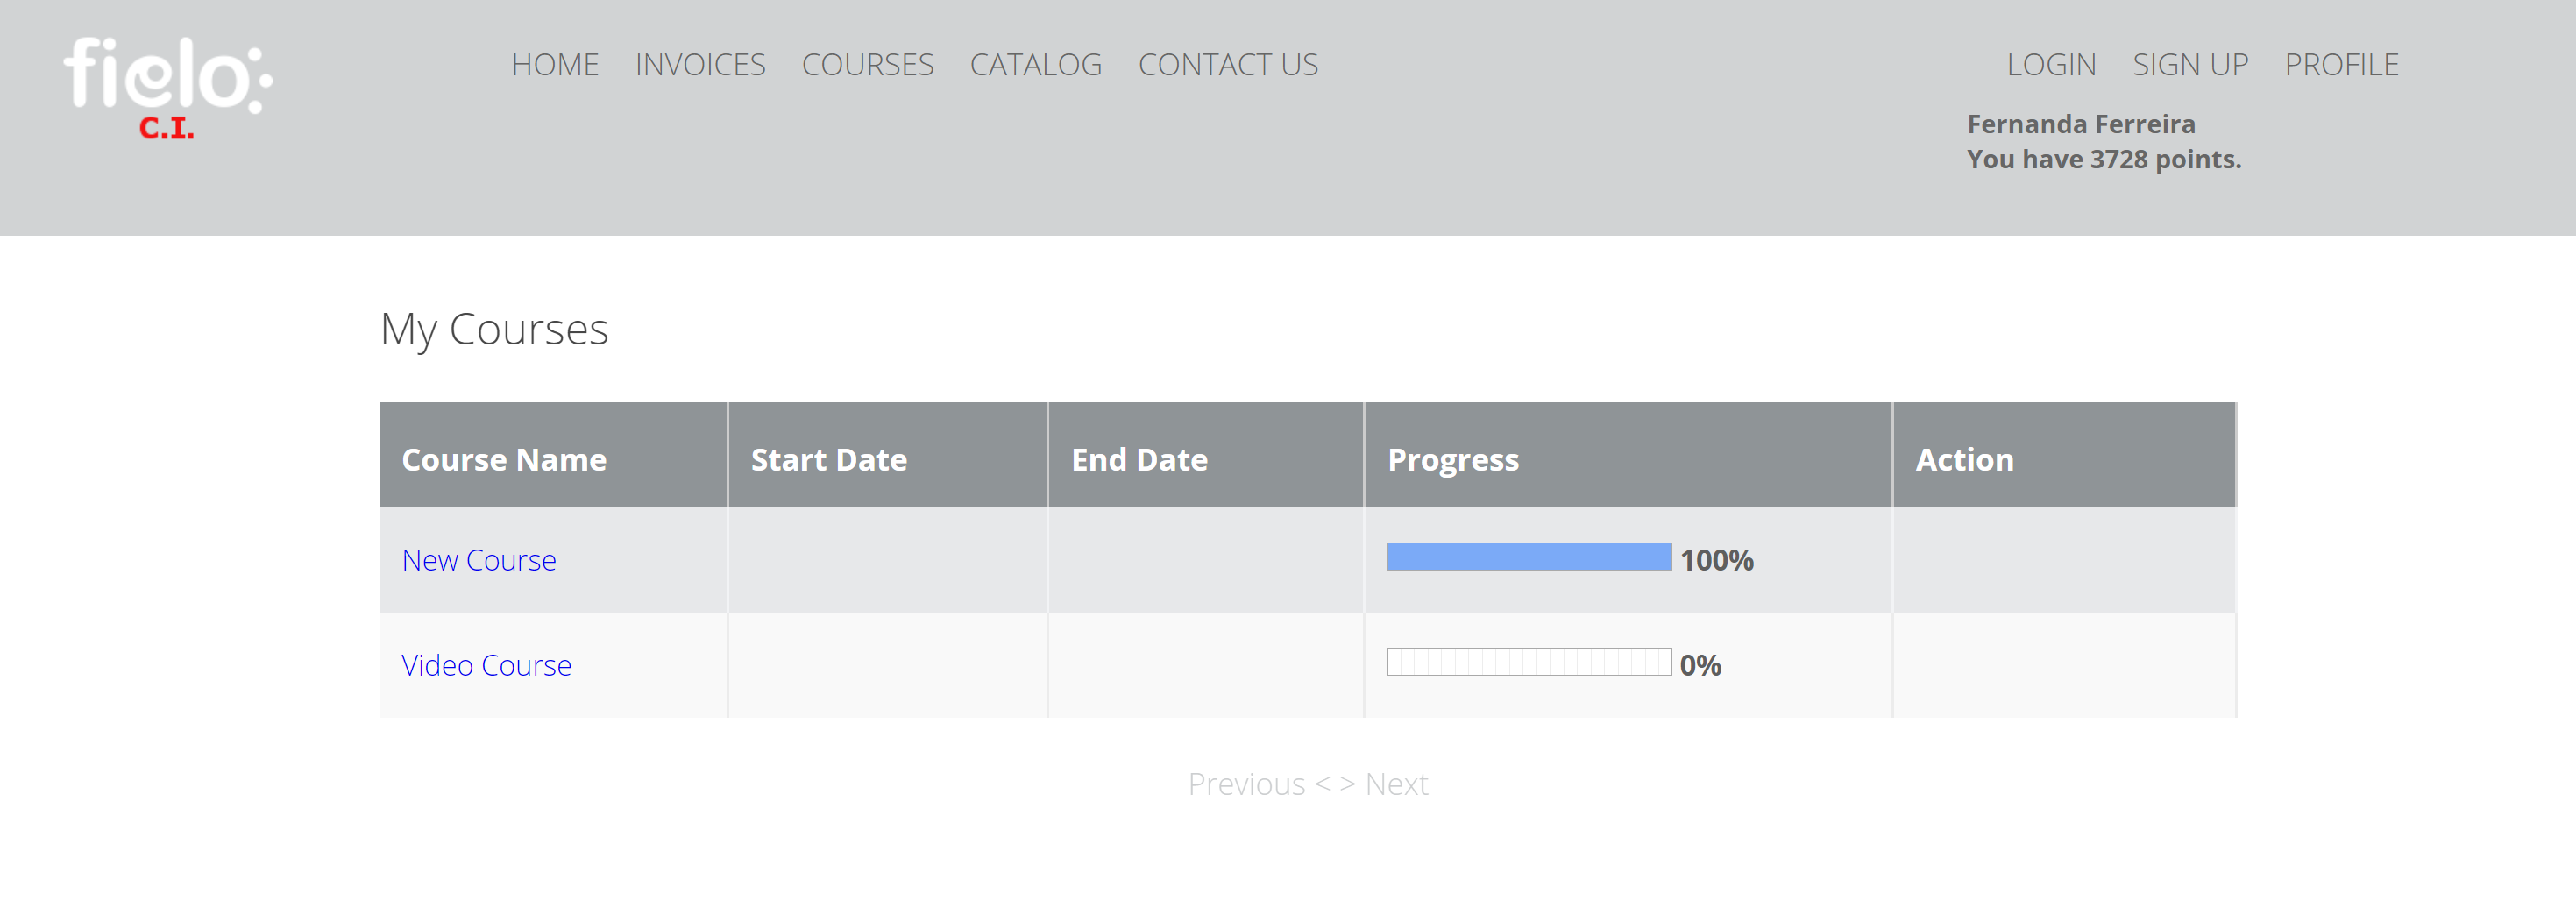
Member Site: My Courses Page
- Courses: This Page displays the Courses which are available to the Member, including those that have been taken, those that haven't, and those that are in progress. It looks like this:
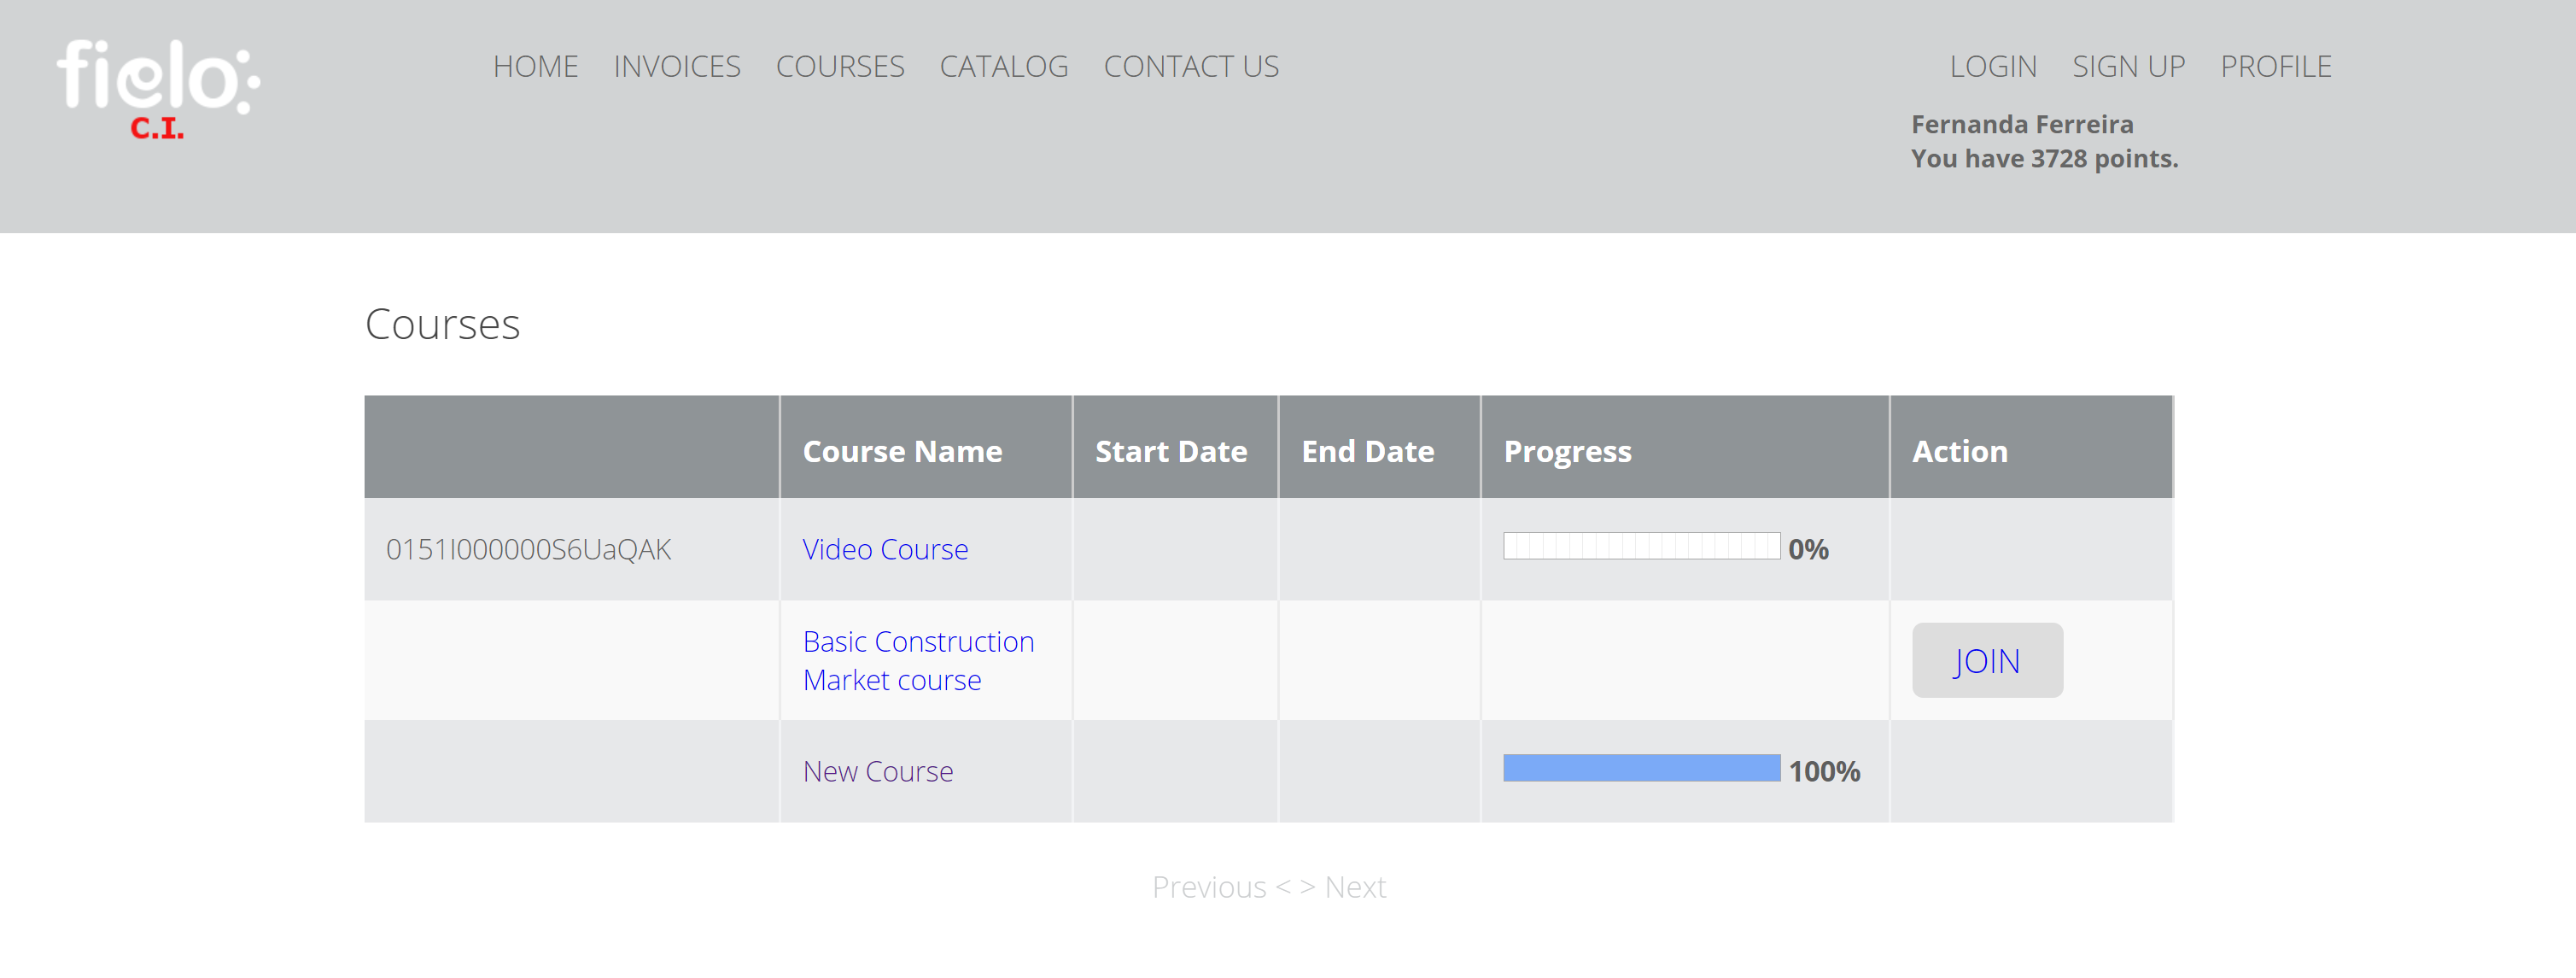
Member Site: Courses Page
- Course Detail: This is the Sub-Page of My Courses. You get to it by clicking through to any of the Courses in the My Courses Page or Courses Page. It provides a breakdown of the Course information, including start date, end date, course progress, media and a list of completed Modules. It looks like this:
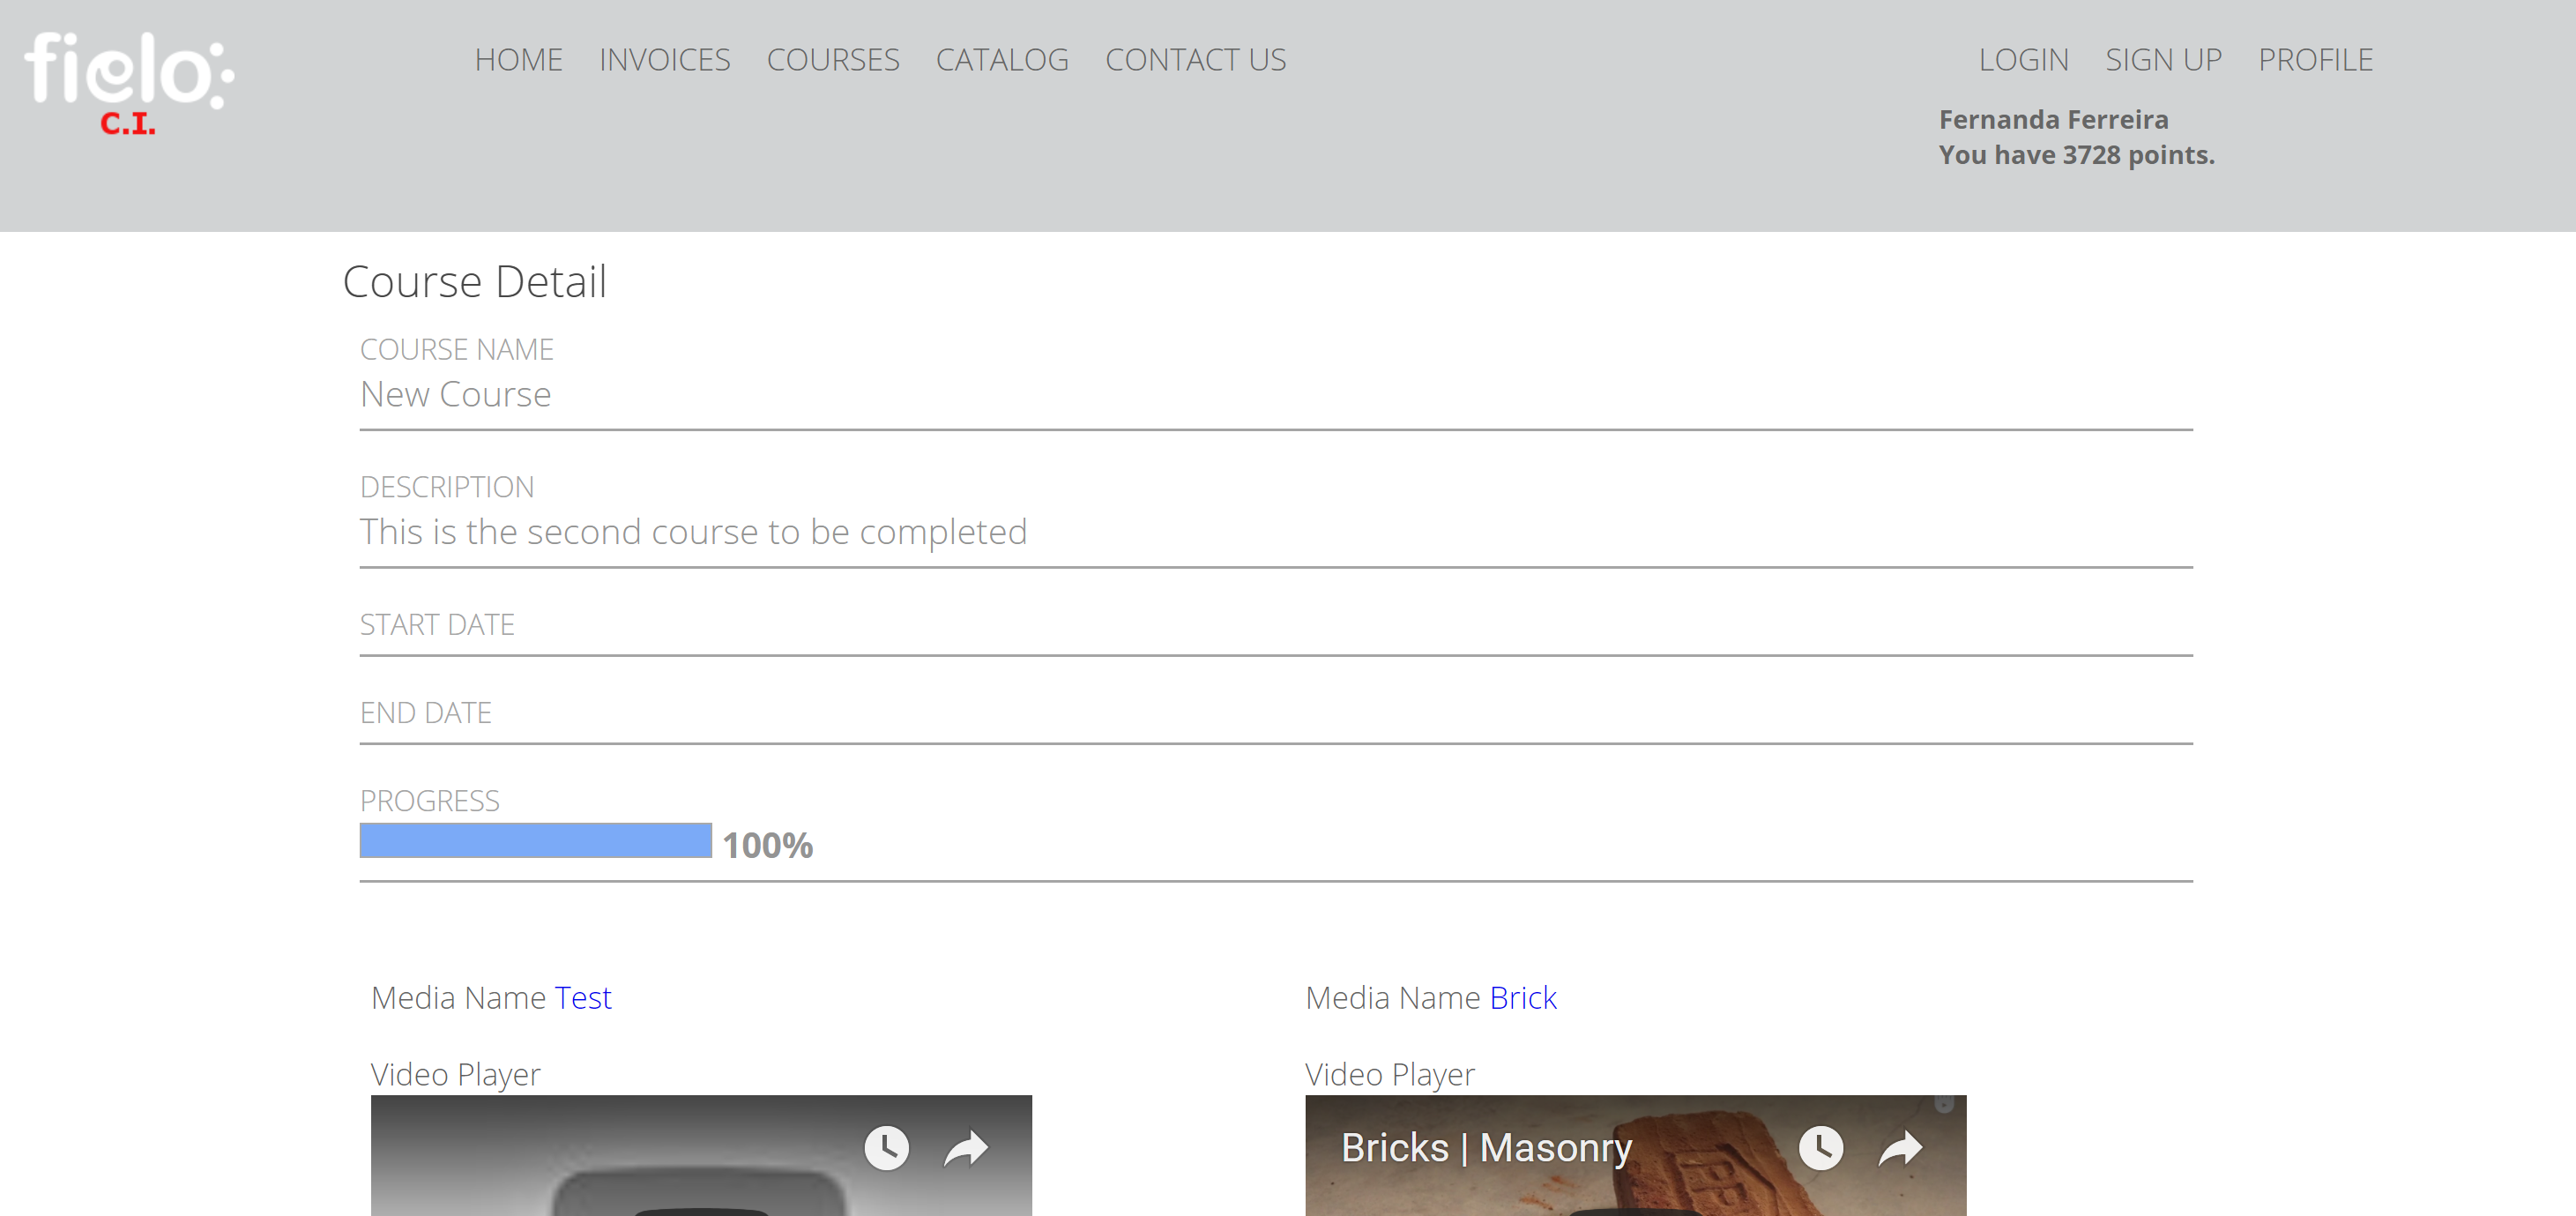
Member Site: Course Detail Page
- Module Detail Page: This is the Sub-Page you get to by clicking through to one of the Modules displayed on the Course Details Page. It includes all of the Module information, including your Member's progress, how many times it's already been taken, and all of the Media it contains, such as videos and presentations. It looks like this:
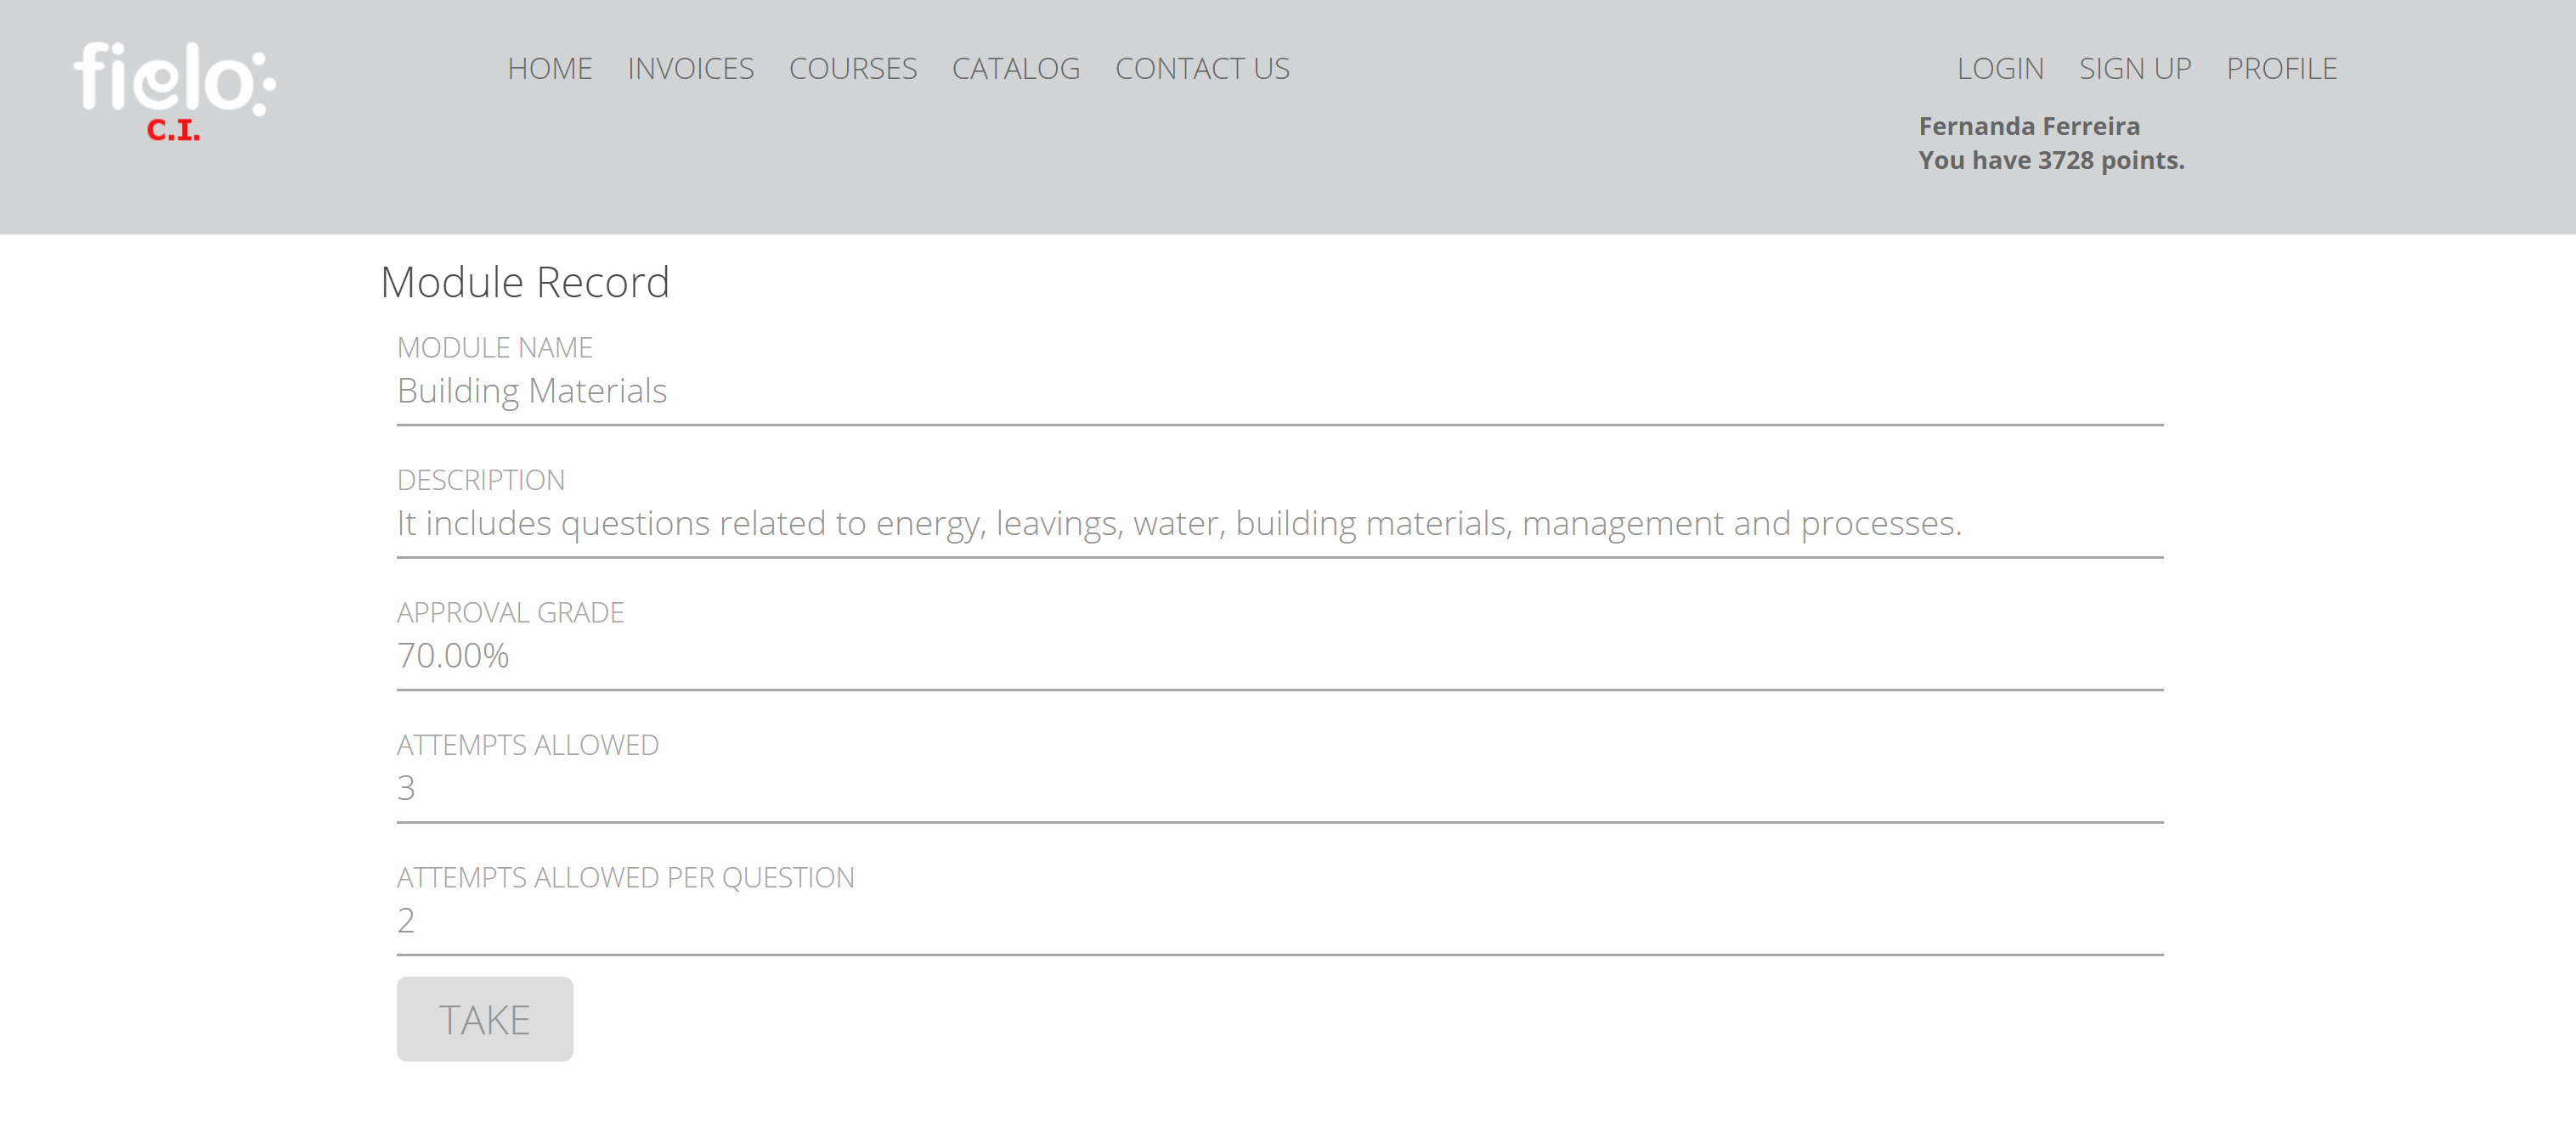
Member Site: Module Detail Page
- Module Reponse Detail: This is a smart Page which is only available on Modules which have been completed. Once you've completed a Module, from the Module Detail Page, you can click View and you will be taken to this Page, which shows the Member how they did, and which answers they got wrong and right. It looks like this:
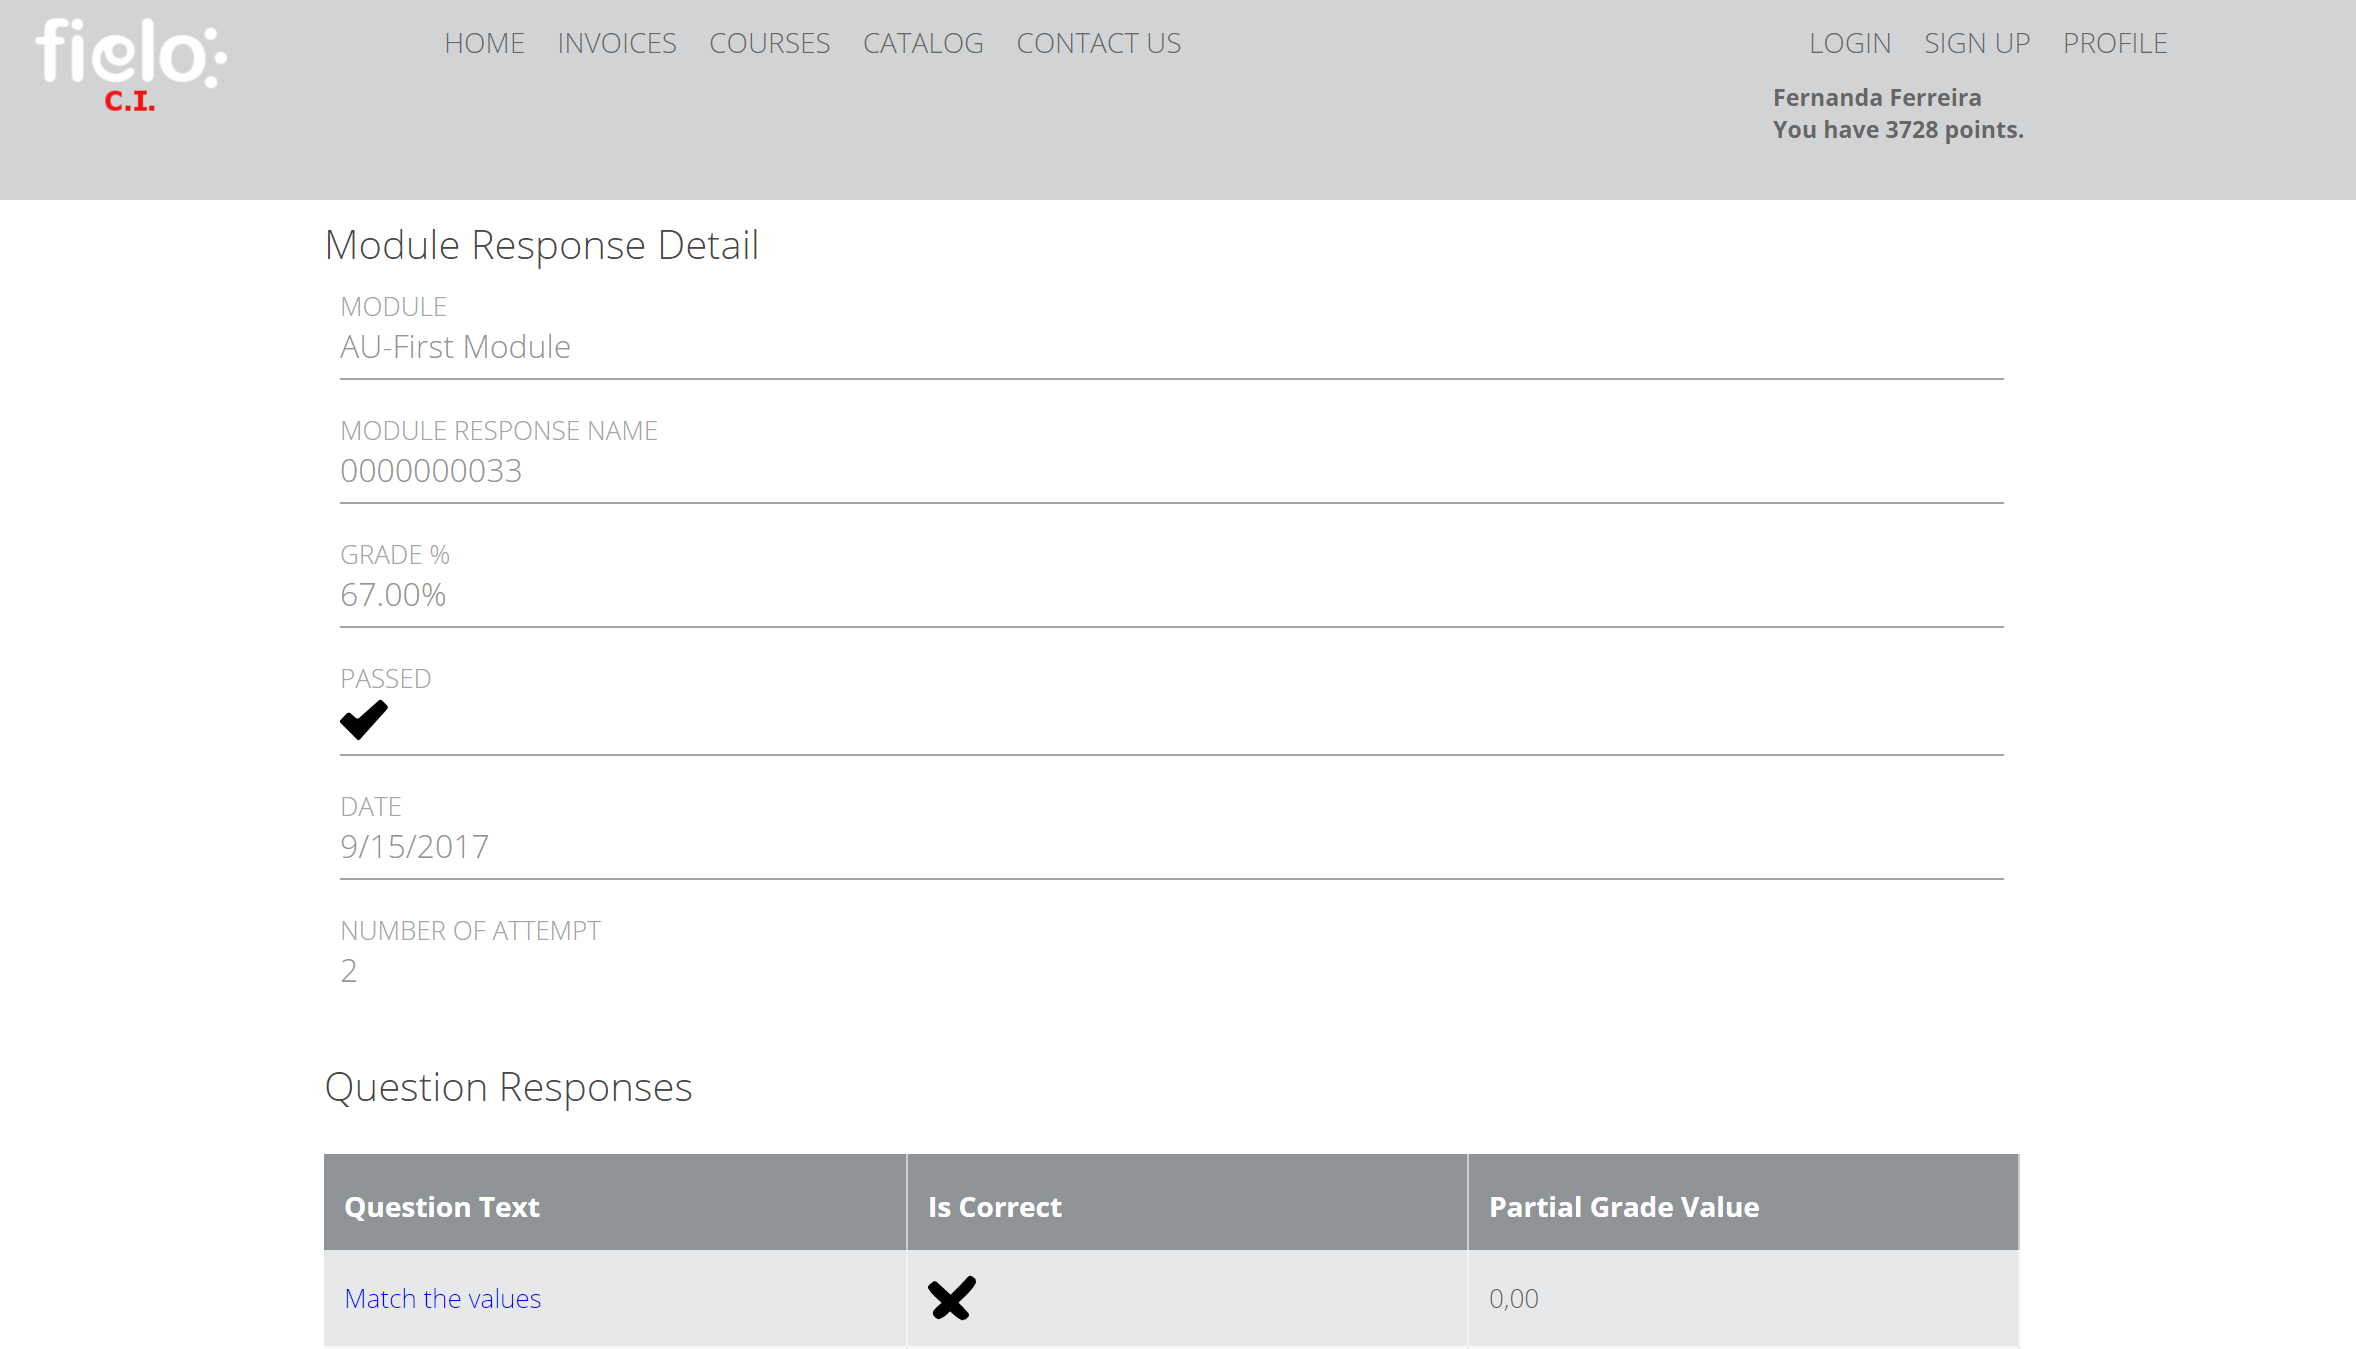
Member Site: Module Response Detail Page
Let's get started. To create your first page, go to the Site tab and press New in Pages. Fortunately, there are already Models set up for you.
My Courses
Select the My Courses Model and give it the same name in the Basic Information: Name field. Then press Save. You can then see that the Page automatically comes with the My Courses Component. Click on Edit to see the Details. We advise that you leave the settings of this Page as they are unless you have a detailed understanding of how to configure Content Management software.
Courses
Select the Courses Model and give it the same name in the Basic Information: Name field. Then press Save. You can then see that the Page automatically comes with the Courses Component. Click on Edit to see the Details. We advise that you leave the settings of this Page as they are unless you have a detailed understanding of how to configure Software.
One of the changes you can make to settings on this Page is to add filters on what can be seen by your Members. Go to the Courses section of the component.
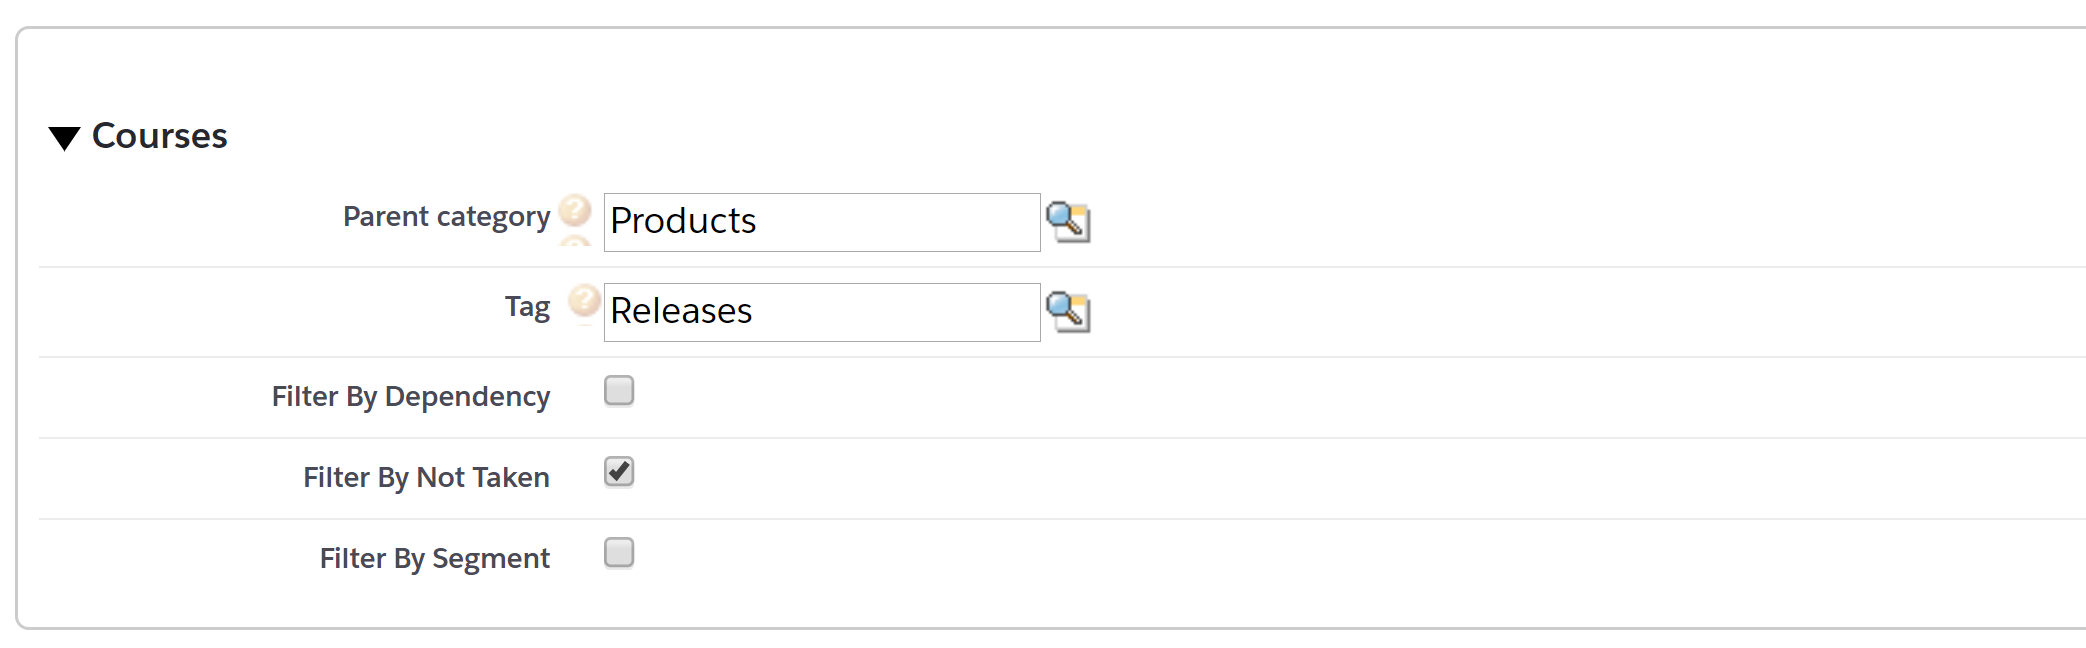
Filtering Courses
You can see that you can add Categories and *tags to filter what is displayed. To find out more, refer to Taxonomy.
You can also filter by Dependency, by ticking the Dependency box. This means that Courses will only appear to your Members if they have completed the necessary Courses beforehand. To find out more, refer to Course Dependencies.
You can also filter what is shown to your Members so that they can only see Courses that haven't been taken - by ticking the Not taken box, or by Segments, by selecting the Segments box.
Course Detail
Select the Course Detail Model and give it the same name in the Basic Information: Name field. Then press Save. You can then see that the Page automatically comes with the Course Detail Component, Media Component and Modules Component. Click on Edit to see the details of each of these components. In the Record View section, you can see that the Detail Component is set so that you can click through to the Module Detail Page, which shows the Member's entire Module Record
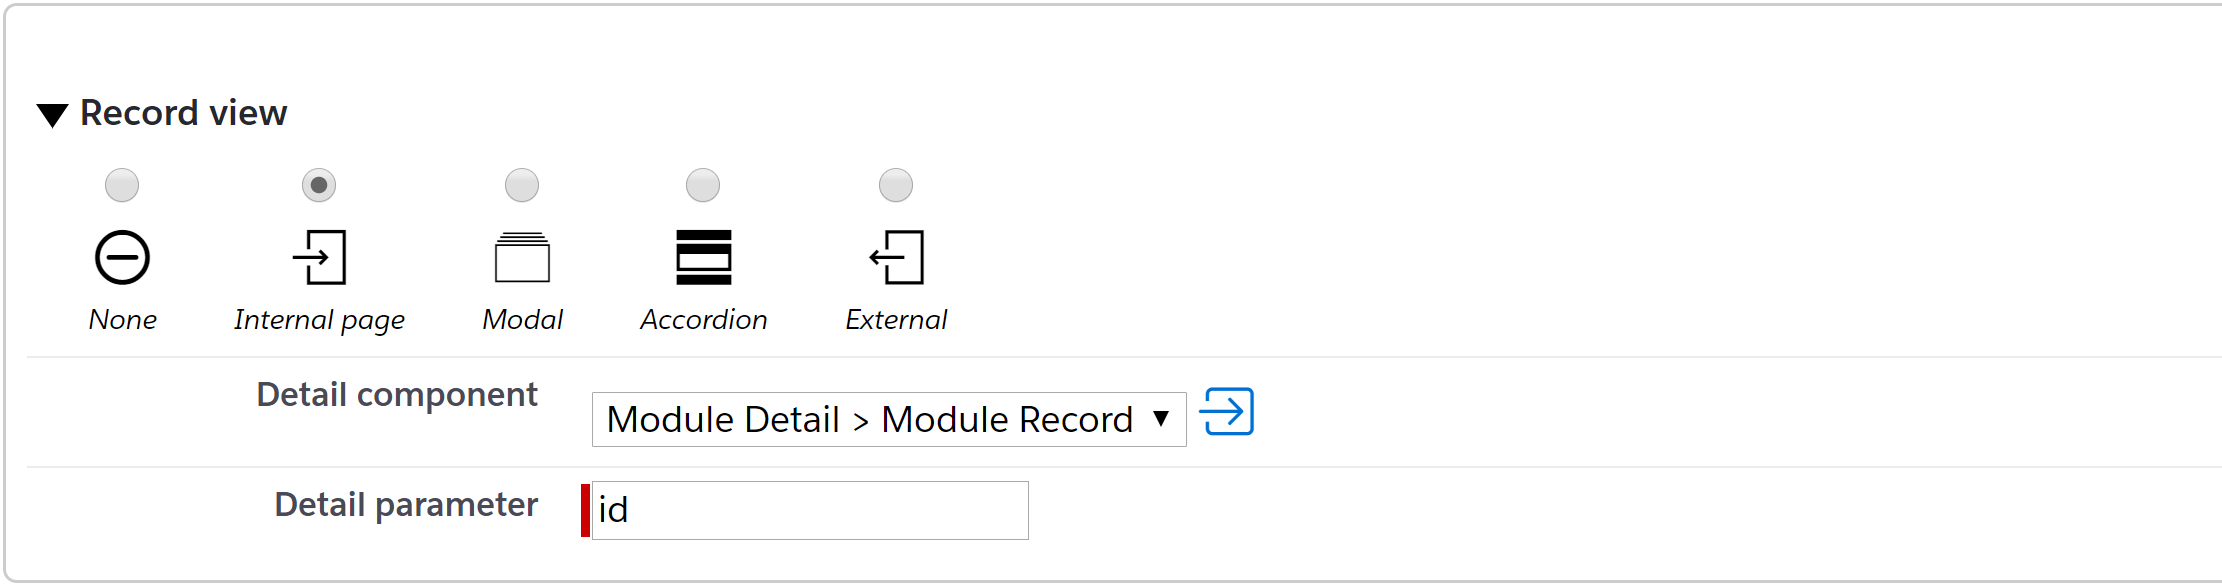
Module Detail
We advise that you leave the settings of this Page as they are unless you have a detailed understanding of how to configure CMS.
Module Detail
Select the Module Detail Model and give it the same name in the Basic Information: Name field. Then press Save. You can then see that the Page automatically comes with the Module Record Component, Quiz Component and Media Component. Click on Edit to see the Details of each of these.
In the Quiz component, you can see that the Redirect Page is automatically set to Module Response Detail. This means that once the Module Questions have been completed by the Member, or they have run out of chances to take the Module, the Quiz section will automatically redirect them to the Module Response Detail Page which details how they did.
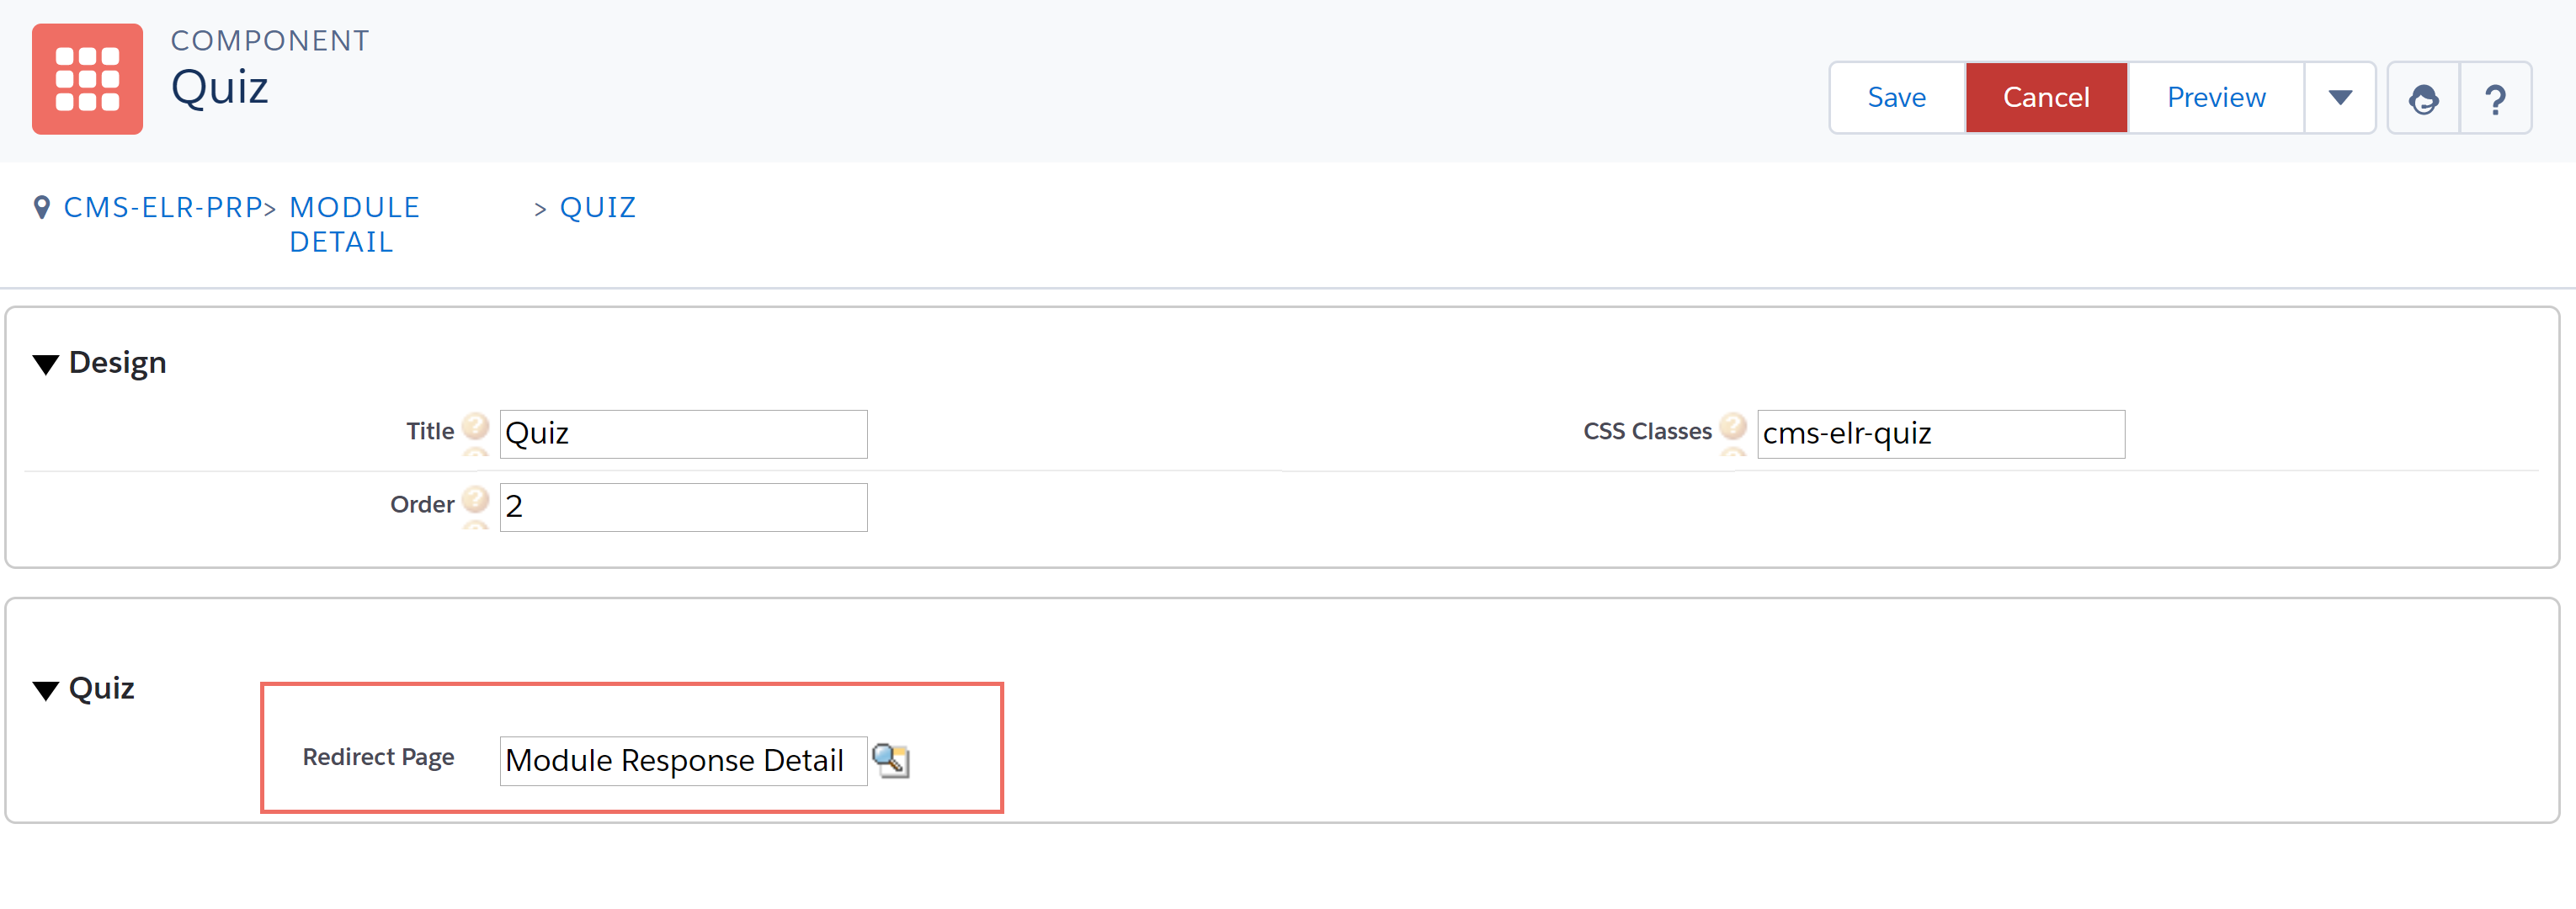
Redirect Page to Module Response Detail
We advise that you leave the settings of this Page as they are unless you have a detailed understanding of how to configure software.
Module Response Detail
Select the Module Response Detail Model and give it the same name in the Basic Information: Name field. Then press Save. You can then see that the Page automatically comes with the Module Response Component, and the Question Response List Component. Click on Edit to see the Details of each of these.
We advise that you leave the settings of this Page as they are unless you have a detailed understanding of how to configure software.
Your Site should now include the following Pages:
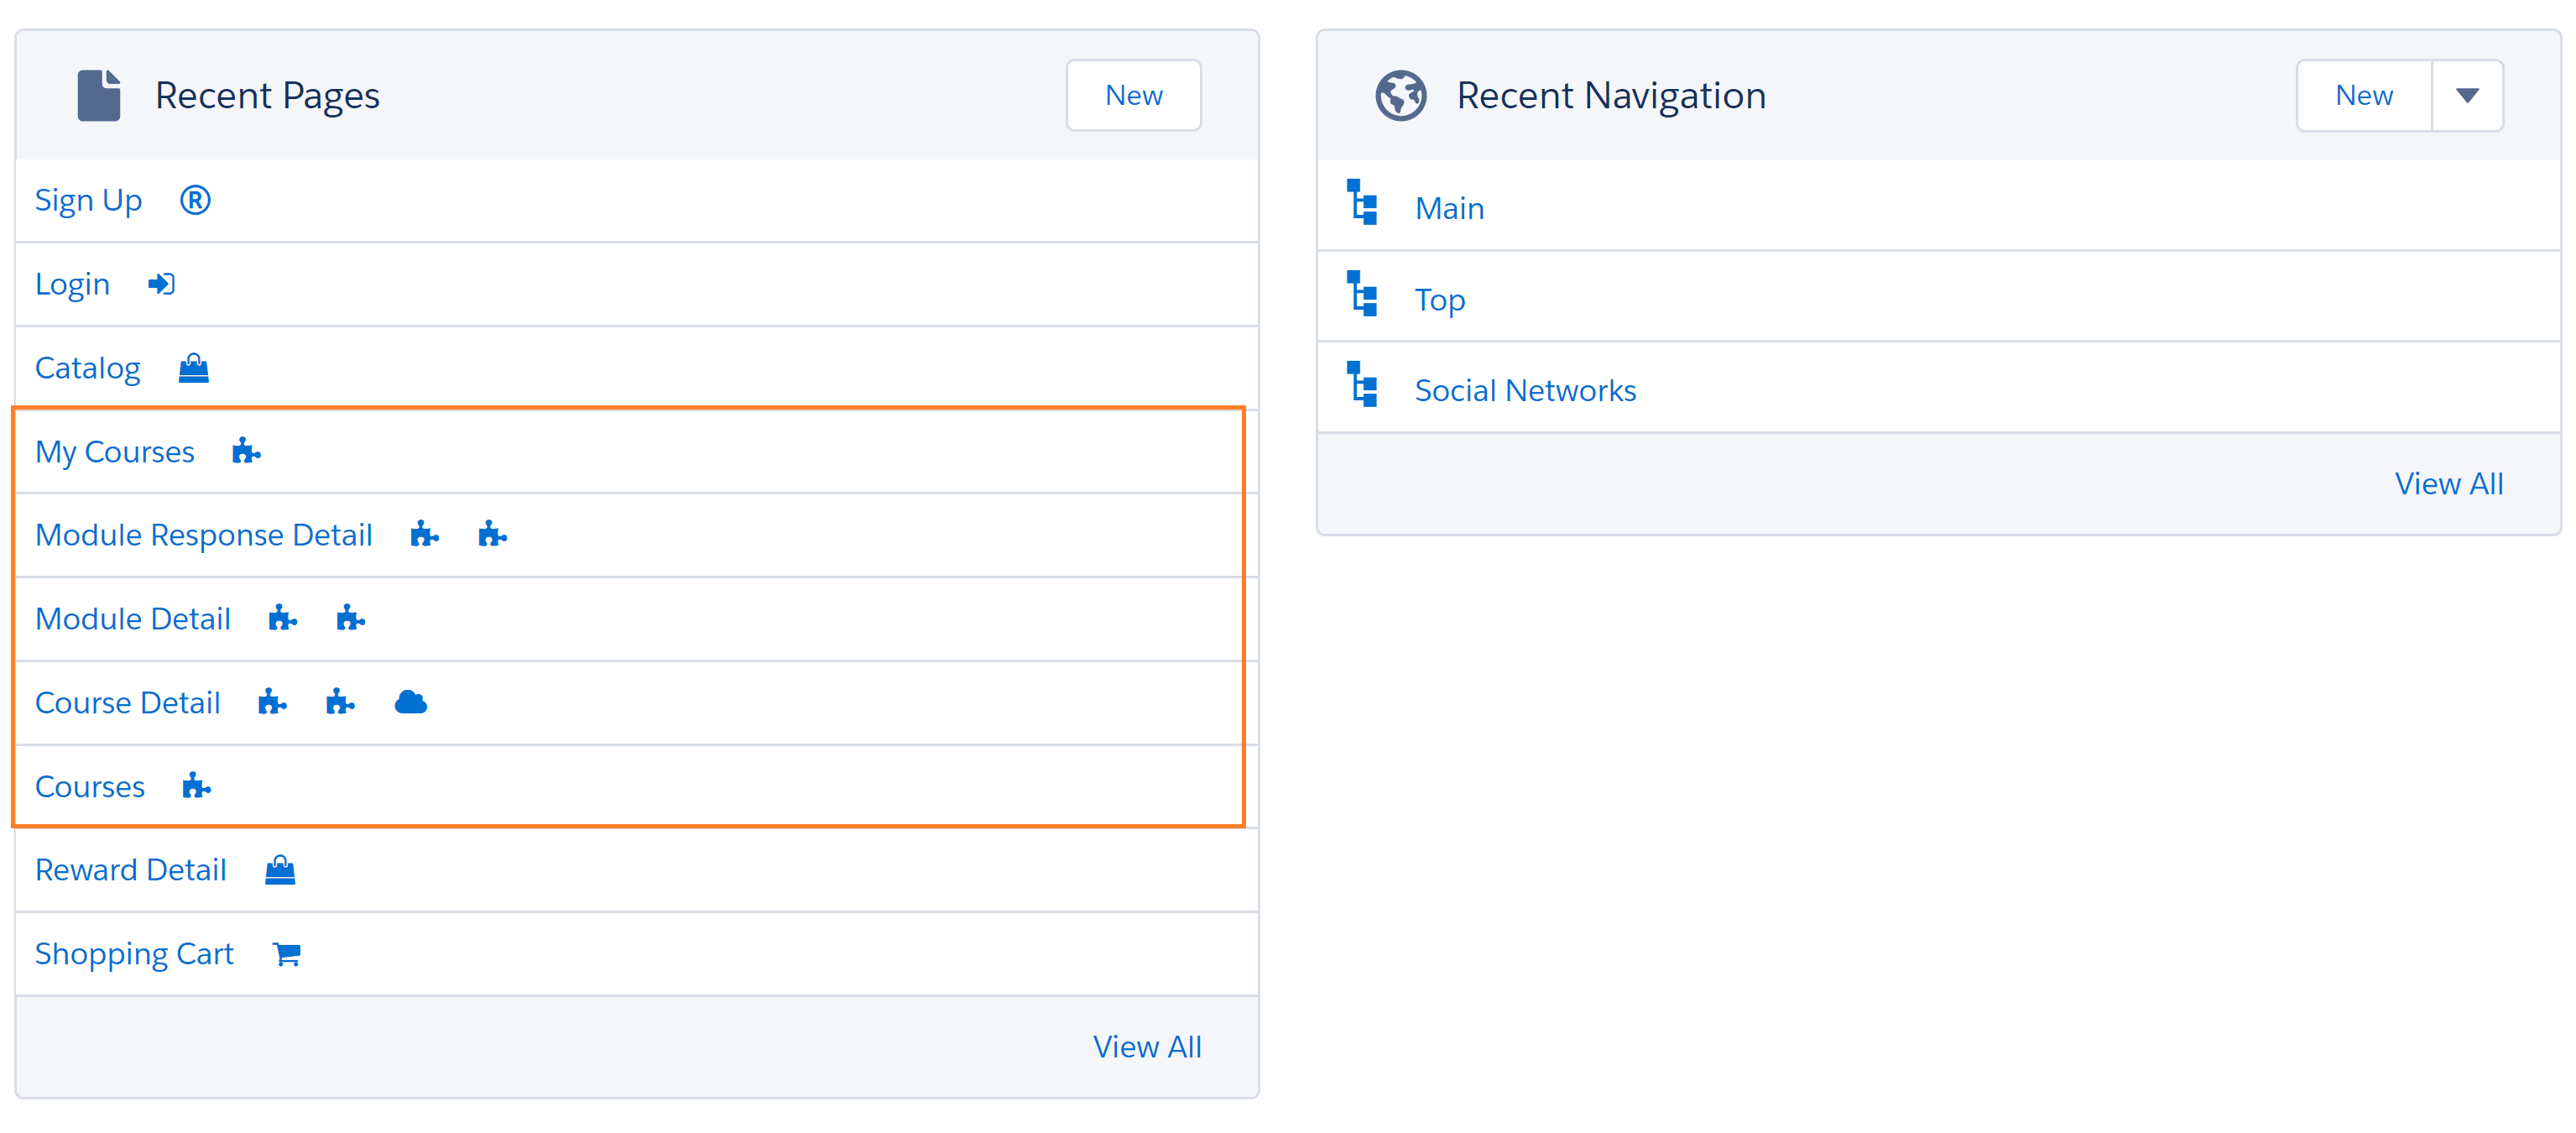
ELR Pages
Site Navigation
This is the part where you determine the way that Members will navigate around your Site. In the Recent Navigation widget, click Main.
Click on Add Existing Page in the Navigation Tree section, and add the following Pages:
Updated over 1 year ago
What's next
Now that you've created the Courses and Modules and your Members can access them, it's time you start creating Incentives to encourage and award them for their knowledge