
Build an Experience Cloud Site
Give your Community users the best loyalty experience out there
Does your organization use Salesforce Experience Cloud? With Fielo Lightning Components, you can build Fielo's best features into your Experience Cloud-based loyalty portal. They're easy to use. Simply drag and drop components onto your pages in Experience Builder and, voilà, watch your members' incentive and loyalty experience come to life! Let's get started.
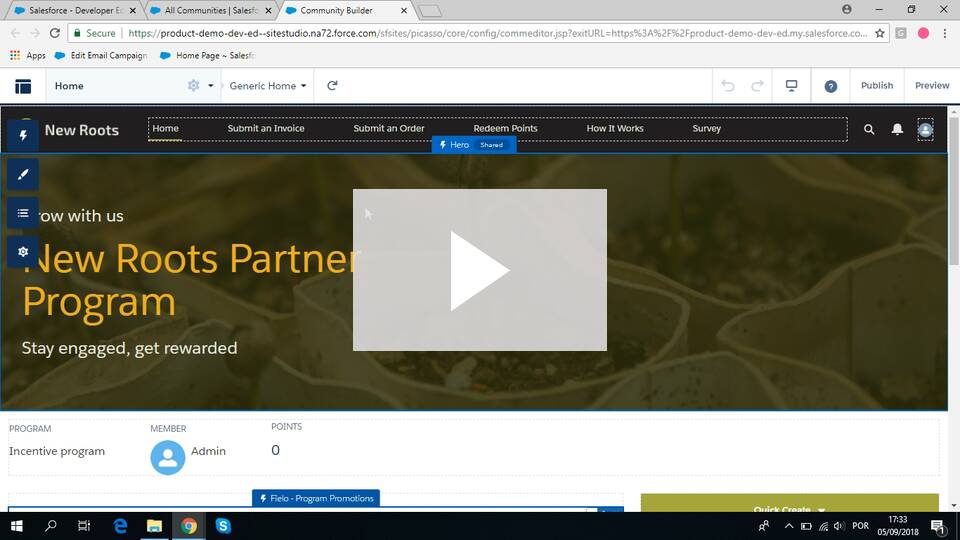
Salesforce Experience Cloud
Previously known as Community Cloud, as of Salesforce Spring '21 release Community is now referred to as Experience Cloud and/or Site.
1. Edit Sharing Settings
Your new site will require edits to the Sharing Settings section; you will need to ensure that the following options have the correct settings for Default Internal Access and Default External Access.
For that, click on Setup from the top right navigation. Under the Home tab, search in the Quick Find box for Sharing Settings. Go into on Sharing Settings and click on the Edit button.
Go through the list, find and change the settings for each item in the picture below. For example, find User within the list and ensure that it is set to Public Read Only for both accesses.
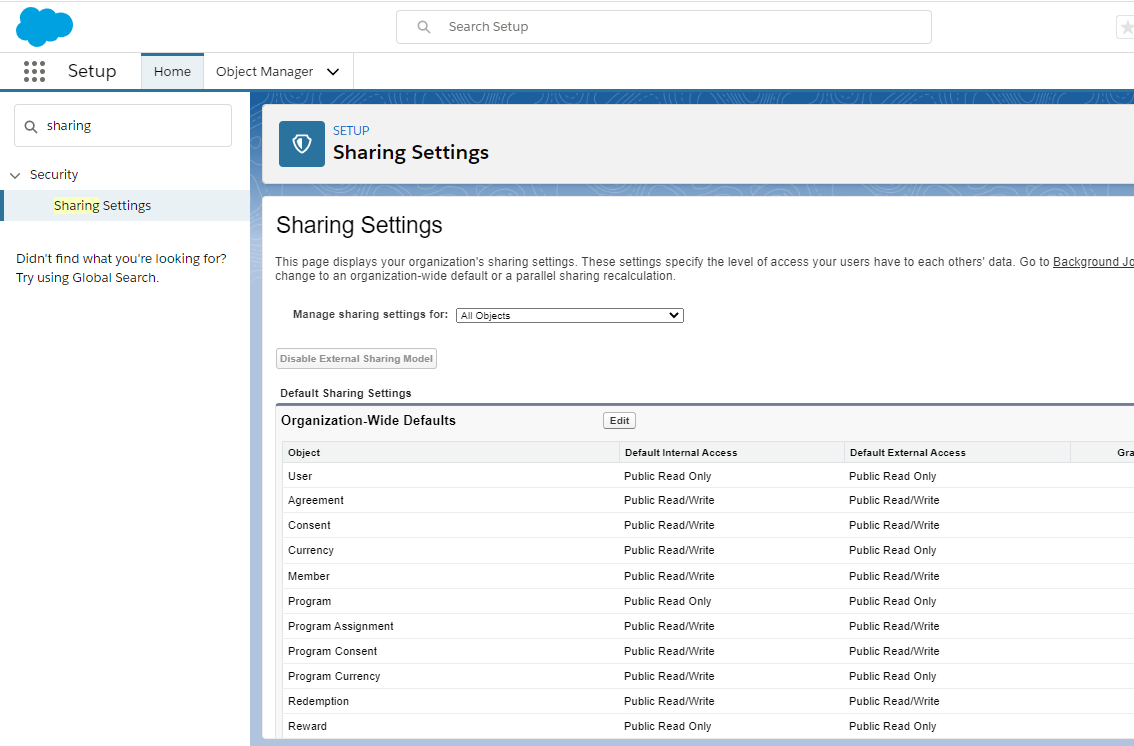
Once you have gone through the user, agreement, consent, currency, member, program, program assignment, program consent, program currency, redemption and reward fields, go ahead and click Save.
2. Edit Portal User Profile
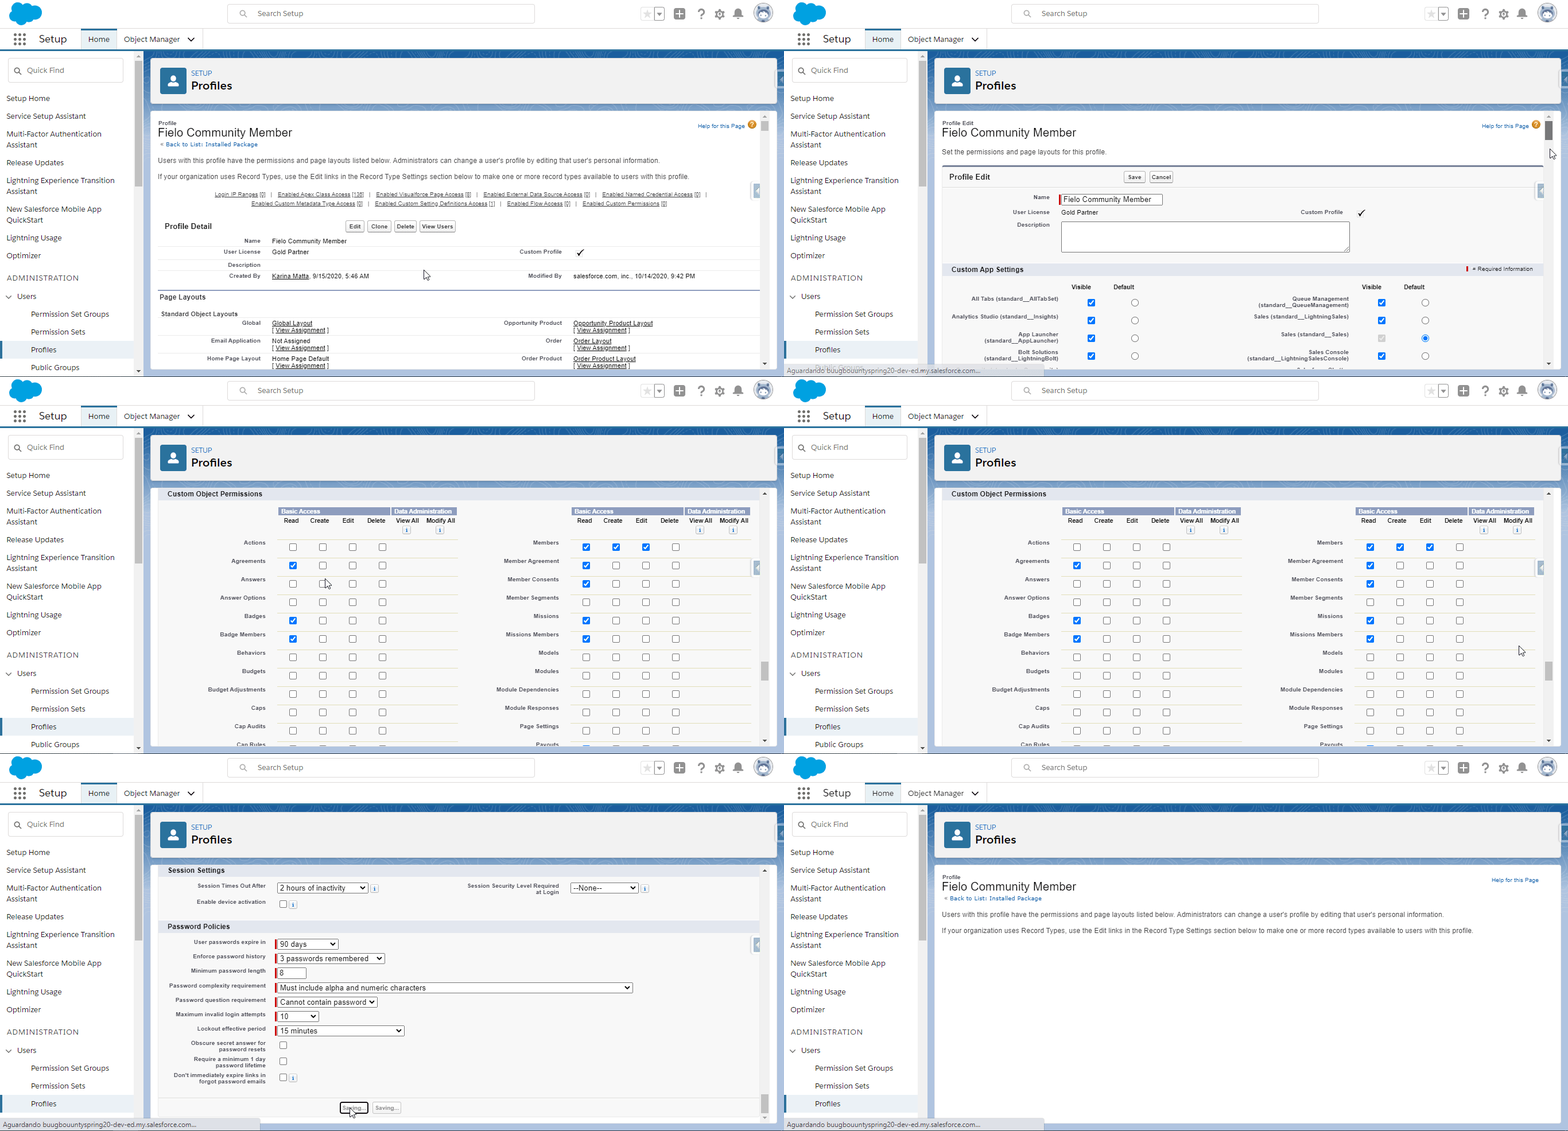
Before being able to use Fielo's Lightning Components in a Salesforce Site, it is necessary enable the required Apex Classes and object and field permissions for the profile you will be assigning to new members as follows. Otherwise, logged members might be blocked from viewing them.
Important!
To make your work easier, the necessary permissions and apex classes that gives users the right accesses are provided and all ready to use upon the installation of Fielo (available from Fielo Spring ‘20 release, version 2.95.9), by using the Fielo Member Permission Set.
Therefore, if you have installed or upgraded Fielo and related the Permission Set to the profile, there's no need to perform this step. But if you have been using Fielo for a while and did not use the Permission Set, proceed with this step.
If you didn't create a profile before installing Fielo and assigned the permission set to it, go ahead and create a new custom profile before proceeding with this step. This profile has to have a community related user license, such as Portal or Partner.
Enable Apex Classes
In order to enable the required classes, click on Setup from the top right navigation. Under the Home tab, search in the Quick Find box for Profiles. Within the profiles list, find the one that you are going to use for the Site Members and click on it.
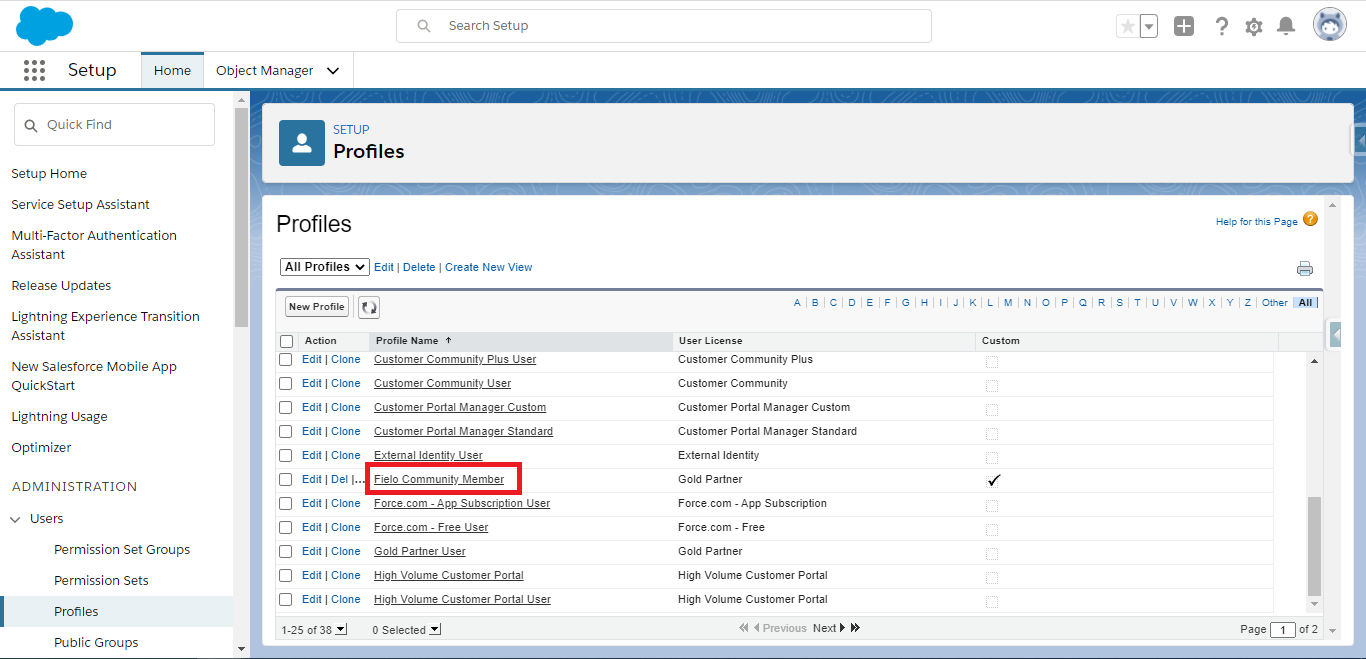
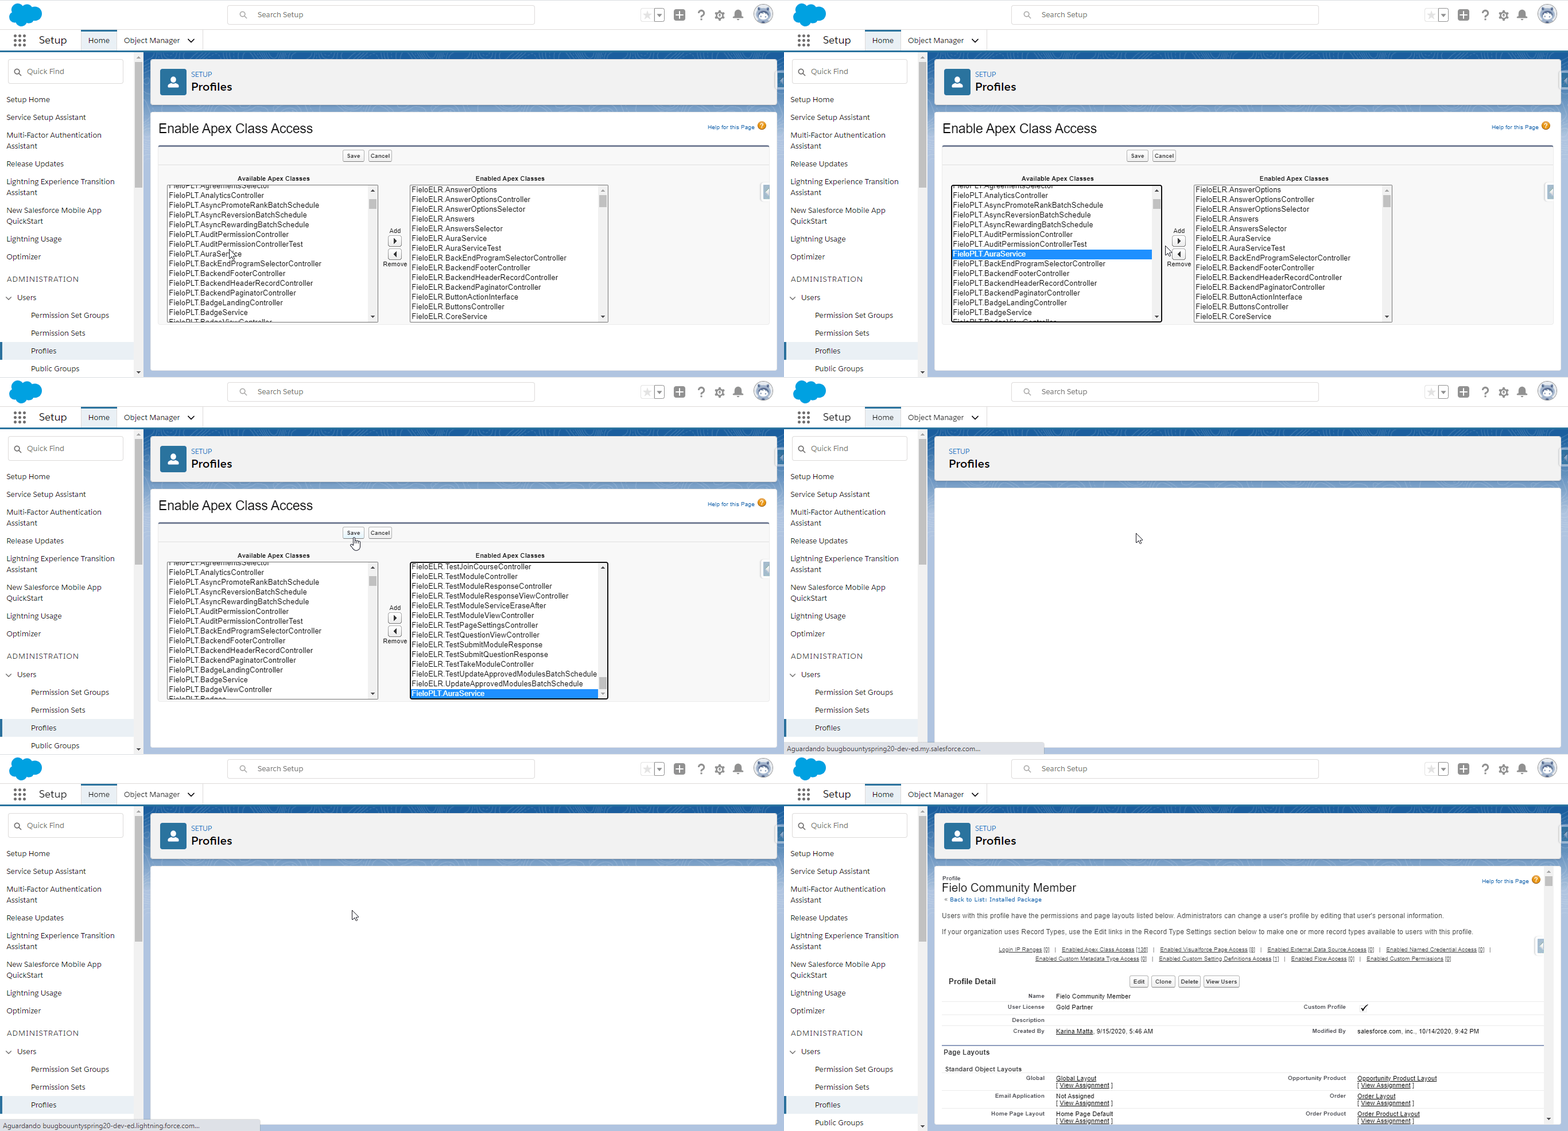
In the profile's page, find the Enabled Apex Class Access section and click on Edit. In the column to the left, select the following FieloPLT classes and add them to the right.
Apex Classes that need permission:
- FieloPLT.AgreementService
- FieloPLT.AgreementServiceController
- FieloPLT.AuraService
- FieloPLT.BeCriteriaController
- FieloPLT.BeMissionDependencyController
- FieloPLT.BeSegmentSelectorController
- FieloPLT.CatalogController
- FieloPLT.CcIncentivesController
- FieloPLT.CcMemberAgreementController
- FieloPLT.CommunityRegistrationController
- FieloPLT.EligibilityService
- FieloPLT.FilterController
- FieloPLT.FormRedemptionController
- FieloPLT.ListViewController
- FieloPLT.LookupController
- FieloPLT.ManageConsentsController
- FieloPLT.MemberSelectorController
- FieloPLT.MissionLeaderboardController
- FieloPLT.MultiPointsListController
- FieloPLT.MyBadgesController
- FieloPLT.MyChallengesController
- FieloPLT.MyPayoutsController
- FieloPLT.MyPromotionsController
- FieloPLT.MyRedemptionsController
- FieloPLT.MyTransactionsController
- FieloPLT.ProfileController
- FieloPLT.ProgramAgreementController
- FieloPLT.RegistrationController
- FieloPLT.SegmentService
- FieloPLT.ShoppingCartController
- FieloPLT.ShowRecordController
- FieloPLT.SObjectService
- FieloPLT.TranslationService
- FieloPLT.LWCService
- FieloPLT.SecurityUtils
Fielo Learning and Invoicing
Some of these classes will also be applied to FieloELR and FieloPRP, so if you use these apps, add them too.
Success
Don't forget to Save afterwards.
Give Permission to Fielo Objects and Fields
You'll also want to make sure they have the appropriate object permissions and field permissions for Fielo resources.
Below, you can find how the Permission Set has been configured so members can use Fielo to the fullest extent possible. From within the profile's page, make sure that it has these Custom Object Permissions and Custom Field-Level Security access.
| Objects | Read | Create | Edit | Delete | Fields |
|---|---|---|---|---|---|
| Account | X | - | |||
| Agreement | X | All read | |||
| Badges | X | All read | |||
| Challenges | X | All read | |||
| Challenge Member | X | X | X | All read & edit | |
| Consents | X | All read | |||
| Conditions | X | - | |||
| Criteria Group | X | - | |||
| Criterion Group | - | - | - | - | All read |
| Criterion | - | - | - | - | All read |
| Currencies | X | All read | |||
| Event | X | X | X | All read & edit | |
| Languages | X | All read & edit | |||
| Level | X | All read | |||
| Level Member | X | X | X | All read & edit | |
| Members | X | X | X | All read & edit | |
| Member Agreement | X | X | X | All read & edit | |
| Member Badge | X | X | All read & edit | ||
| Member Consent | X | X | All read & edit | ||
| Member Segment | X | X | X | X | All read & edit |
| Missions | X | All read | |||
| Mission Member | X | X | X | All read & edit | |
| Payout | X | X | X | All read & edit | |
| Points | X | X | X | All read & edit | |
| Program | X | All read | |||
| Program Consent | X | All read | |||
| Program Currency | X | All read | |||
| Promotions | X | All read | |||
| Provider Order | X | X | X | All read & edit | |
| Redemptions | X | X | X | All read & edit | |
| Redemption Item | X | X | X | All read & edit | |
| Rewards | X | X | All read + edit for editable stock related fields | ||
| Reward Item | X | X | All read & edit | ||
| Rules | X | All read | |||
| Segments | X | All read | |||
| Simulation Settings | X | All read | |||
| Team Members | X | All read | |||
| Tracker | X | X | X | All read & edit | |
| Transactions | X | X | X | All read & edit | |
| Translations | X | All read | |||
| Version | X | All read |
Fielo Apps
In addition, be sure to assign the required permissions for objects and fields related to any Fielo Apps you may be using in your org.
3. Creating a Salesforce Experience Cloud Site
First thing's first: you must have a Site set up in your org. Be sure that you've enabled Digital Experiences and have the requisite Community User licenses.
You can get a quick introduction to Sites in the Community Cloud Basics Trailhead module.
Info
For a complete reference on creating a Site, check out Create an Experience Cloud Site.
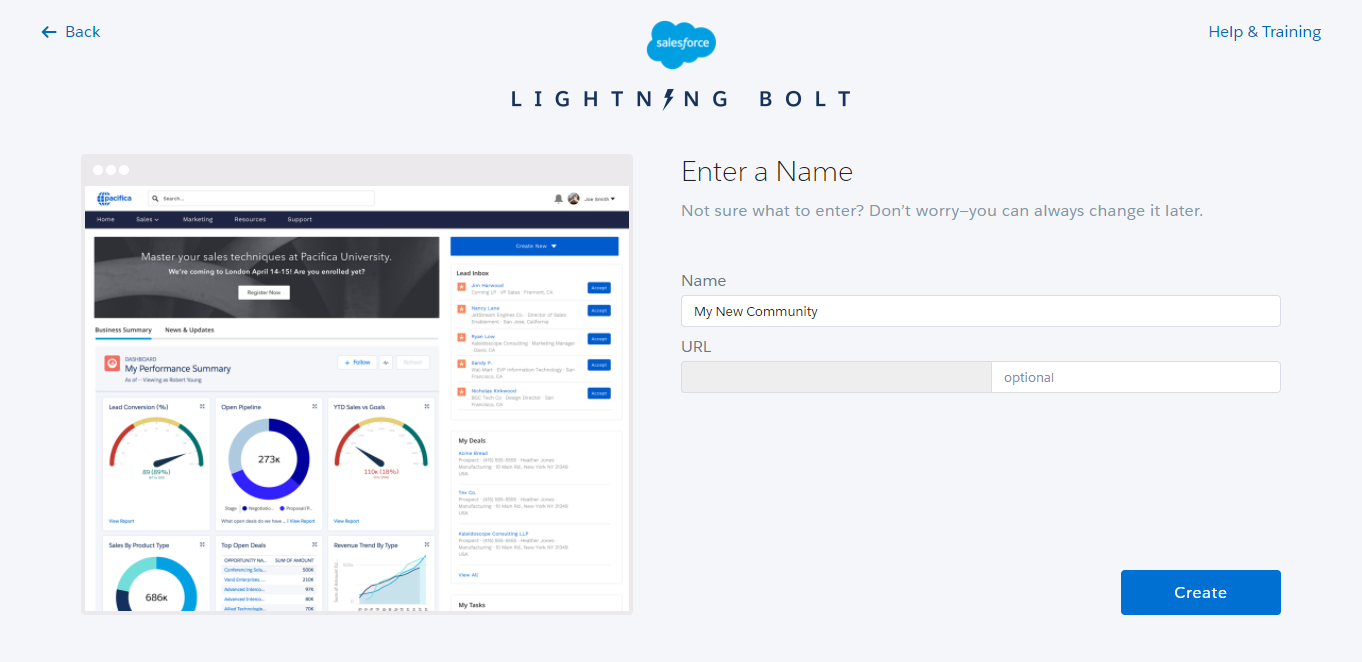
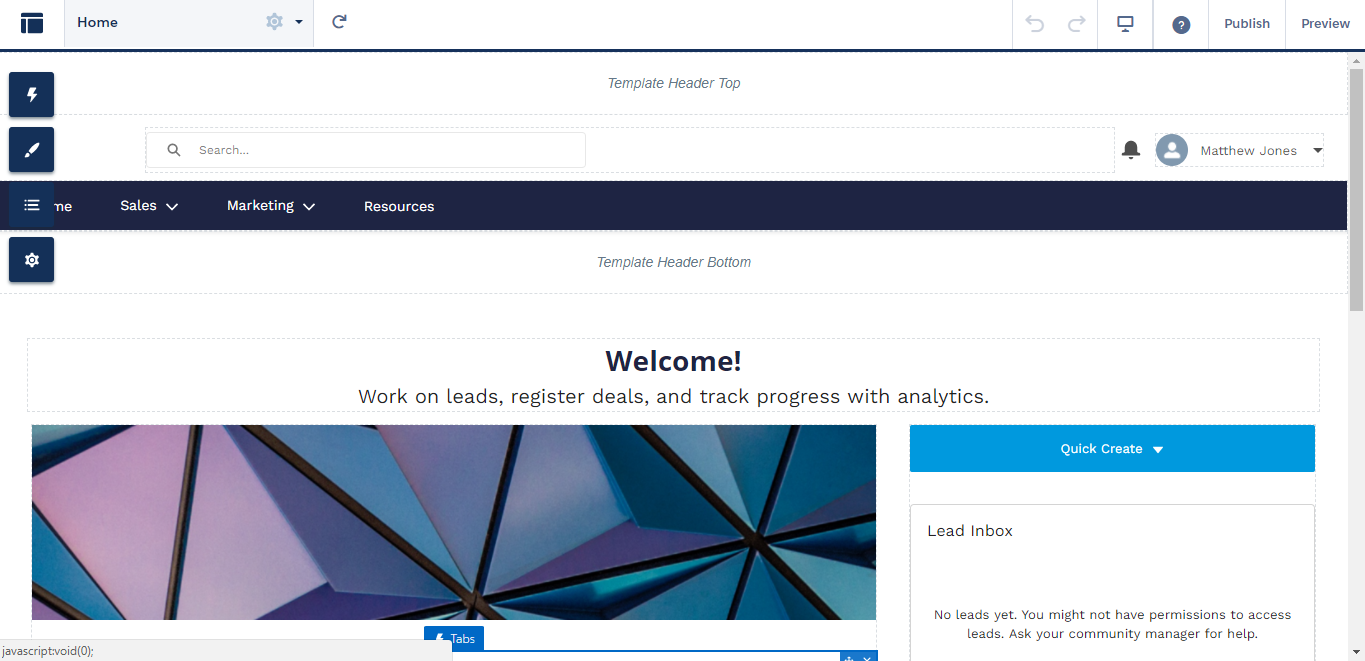
When your Site is ready, you can change it to show the Portal Users what you want them to see. This is done through the Experience Builder.
The Builder is your tool for putting together an amazing loyalty portal for your member. In it, you can set up the page structure of your loyalty portal, add and edit content and much more. Take a look at Salesforce's Experience Builder docs to learn about all of the features at your disposal.
4. Adding, Moving and Removing Lightning Components
Lightning Components are very intuitive to add, move and remove. From any page in Experience Builder, select the icon to see what components are available.
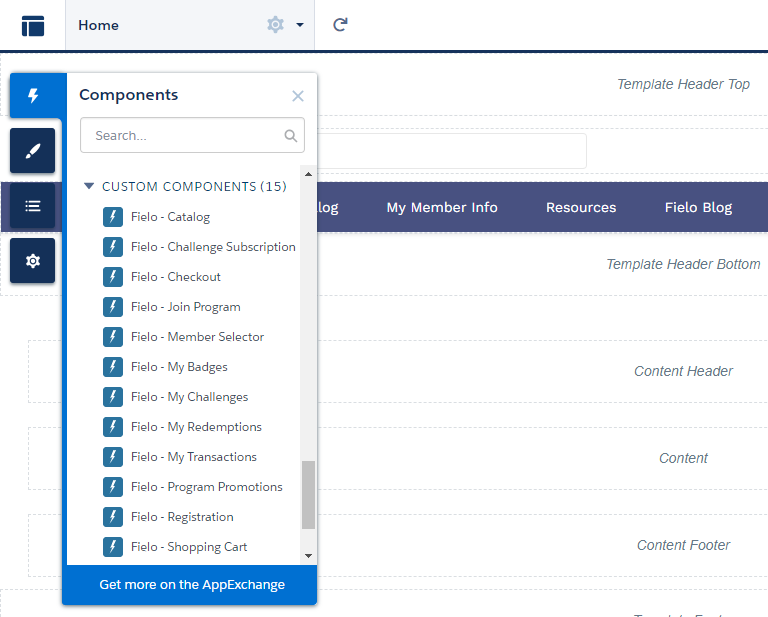
To add a component, click and drag it to the area of the page you would like to place it.

To move a component, click and hold on the icon and drag it to the desired location.

To remove a component, click on the icon.

To duplicate a component or assign one to an Audience, click on in its properties window and select the desired option.

5. Activating Your Experience Cloud Site
If you're starting your Site from scratch, you'll want to be sure to activate it when you've finished building out your incentive and loyalty content. See Salesforce's Activate Your Site doc for details.
Warning
Remember that when you activate a Site, it will be go live on the Internet and a welcome email will be sent to all users whose profile is associated with the Site.
Fielo Lightning Components
Now, we'll take a deep dive into all of the ways your loyalty portal can leverage Fielo incentive and loyalty solutions.
- Registration
- Join Program
- Member Selector
- Profile
- Incentives
- Badges
- Rewards Catalog
- My Redemptions
- My Transactions
- My Invoices
- My Learning
- My Payouts
- Program Promotions
- Challenges
Info
With the exception of the Incentives one, the components are not responsive in portrait mode or in the mobile format at the moment.
Updated over 1 year ago